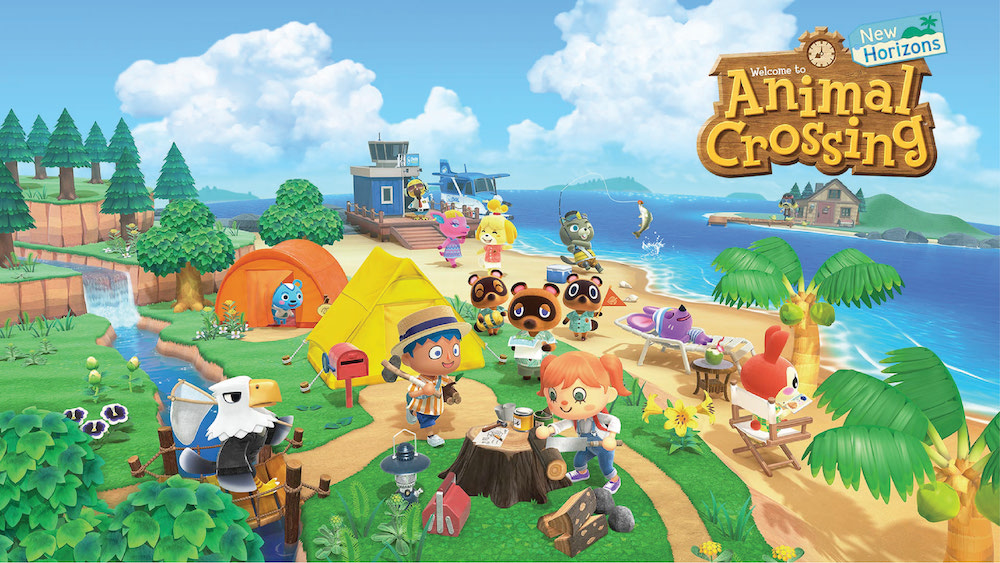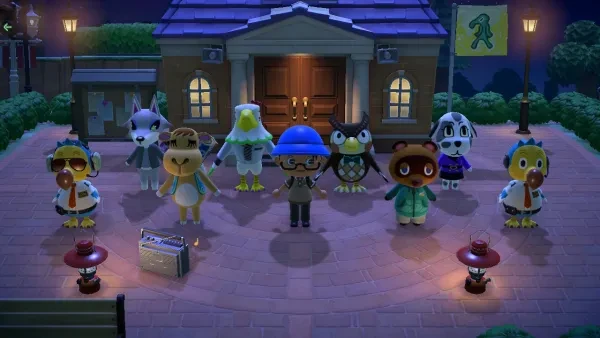
Hey there! If you're tired of running around your Animal Crossing island and seeing everything the same way it has been during the last couple of months (if not years), here are 15 different tips divided into three different methods you can follow to make all feel fresher than ever.
REDECORATE
It sounds pretty obvious but it isn't the moment we start working on it. Moving outside furniture, making gardens for your favorite villagers, and even twisting an existing path will make you feel satisfied even with tiny things such as walking through a renewed path.
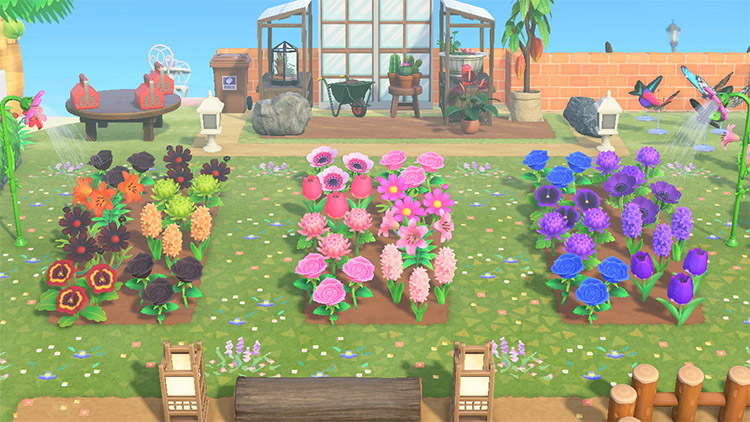
14. Flower Fields
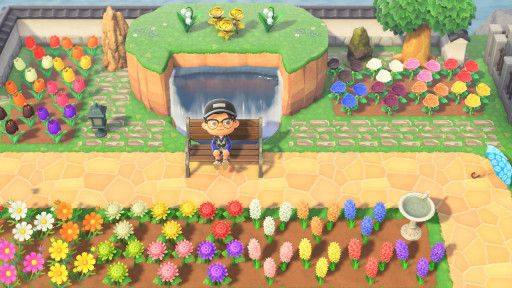
I must be honest and say that if I wanted to do that it would look awful, but there are thousands of people out there who are immensely creative and have done an awesome job with flower fields, why don't give it a try?
13. Pumpkin Patches
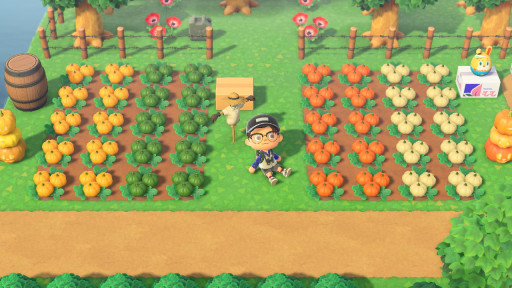
This isn't exclusive to pumpkins as we now have tomatoes, potatoes, and more; but building a vegetable dedicated section can look incredible, even if it's just as part of a neighbor's garden.
12. Fruit Fields
These don't just look amazing in real life, we can also make them look incredible as part of our island. Personally, I'm not in love with the idea of putting every available fruit in the same spot, but a place where you walk and everything you see is fruit trees is even a great option if you're looking to become rich and sell the fruit as soon as it's grown.
11. The Beach
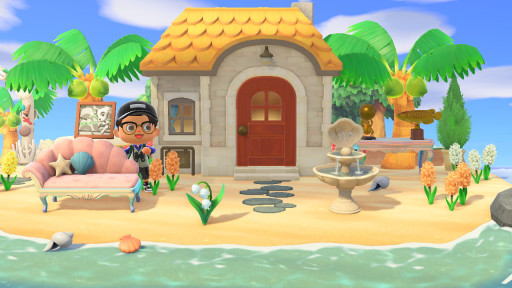
The beach areas of Animal Crossing had been a personal nightmare because I wasn't sure what to do with them, but once I actually tried to decorate them I saw that it wasn't that difficult at all. You can move a villager to the beach and decorate all around with themed furniture; I would highly recommend crafting some of those DIY recipes that Pascal gives us when we give him scallops, just make sure to have enough gold!
START FROM SCRATCH
This is not for everyone, but it definitely has its appeal. Deleting the island you've worked on can be difficult to get with, but there are several benefits we can get from that action. To start from scratch you just need to follow some easy steps from the title screen once we start the game; I'll leave a video that will show how to do it, just make sure this won't be a decision you won't regret.
9. Map Selection
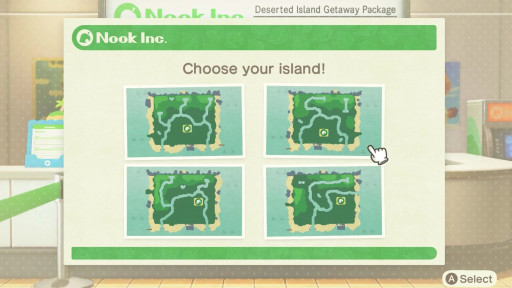
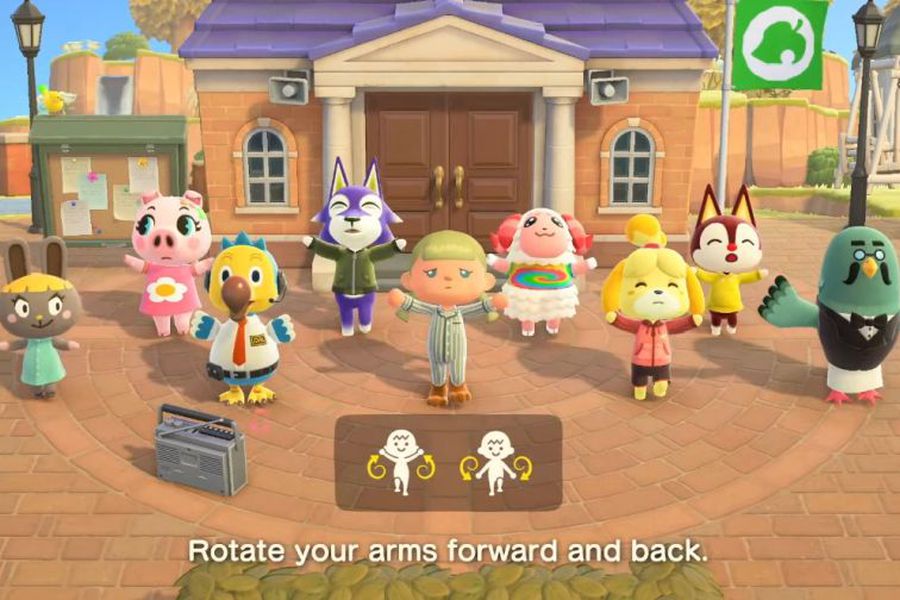
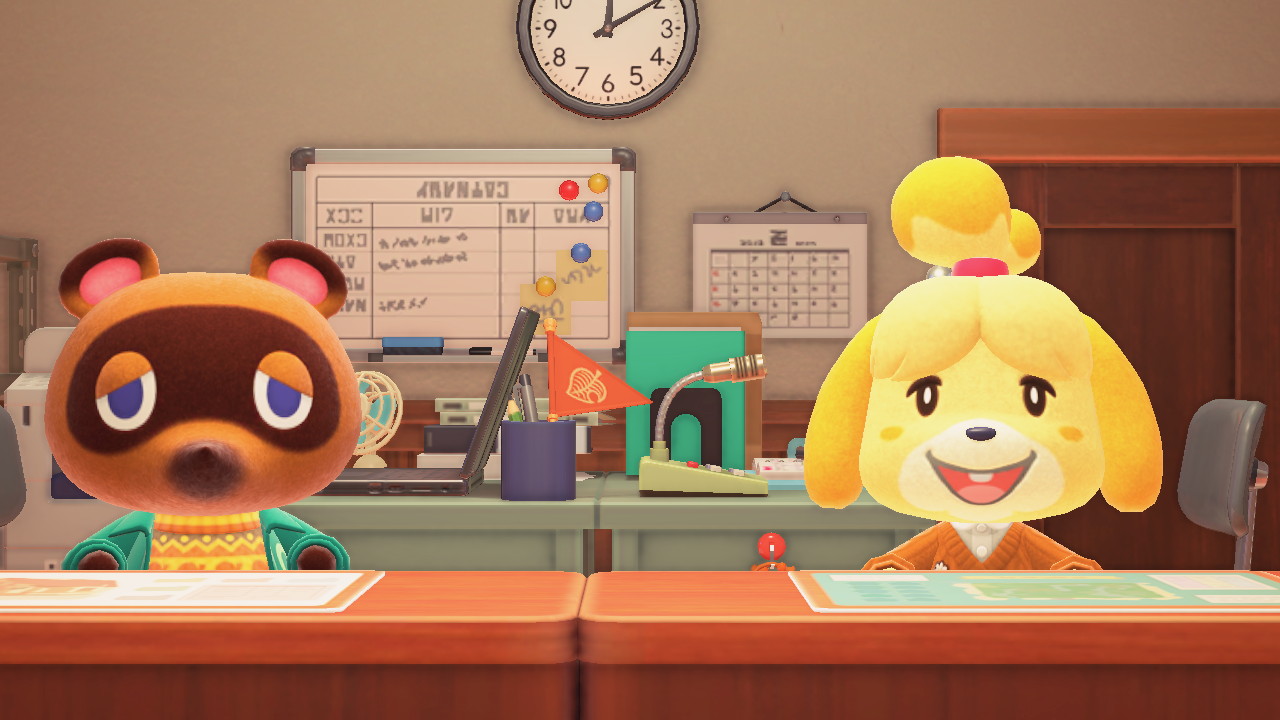
When we start playing Animal Crossings: New Horizons, we are welcomed by the Nook siblings at the airport to make some important decisions such as to name our island and select the map we'll be working with. This wouldn't be such a big deal if it wasn't for the fact that the Resident Services building placement can't be moved in the future, nor the island's dock; so make sure to feel satisfied with the location of those places!
8. Airport Color
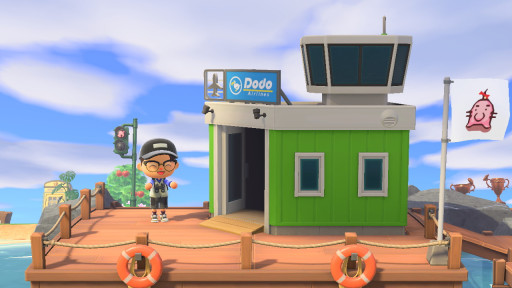
Another thing that's selected during the game's initial phase is the color of the airport. There are four colors in total in which we can find yellow, blue, green, and orange; these are automatically selected by the game, so if you don't like the Dodo Airlines' building color, you need to exit the game before the first saving icon appears so you can start all over again until your desire has been accomplished. The airport Color also has a lot to do with the color of the items you'll get with Nook Miles, but unlike the airport, those can be changed in the future with the help of Reese and Cyrus at Harv's island.
7. Beach Houses
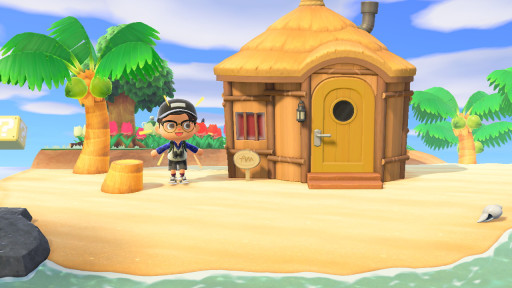
Our first-time innocence is not here anymore. This time we have the chance to work on house placement from the beginning; the best thing we can do so it doesn't become a pain in the ass in the future is to simply place all the houses on the beach so it isn't so expensive to move them all later once we have access to the entire island.
6. Swimming Suit
Speaking of access to the entire island, it's well known that we can only play on a small section when we start the game, but one thing we can do to skip part of the waiting process is to buy a swimming suit with your Nook Miles from Tom Nook at the Resident Services tent. With the swimming suit, you can rapidly get more resources and even start the museum as early as your first day on the island.
REWORK ON YOUR EXISTING ISLAND
Sure, starting from scratch can be refreshing and even a necessity sometimes in life; but if you actually don't mind the placement of both Resident Services and the island's dock we can always rework what we already have.
4. Connect Different Rivers
A connected island is an organized one, especially if you also take into account the couple of river mouths we have on the island. Bridges not only have to be either vertical or horizontal, there are a few angle options we can do so it looks even more amazing.
3. Don't Forget Waterfalls
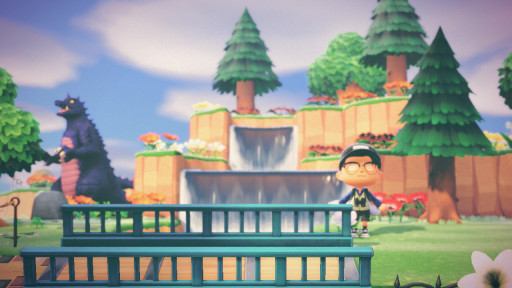
Speaking of rivers and amazing looks, we can't forget waterfalls are one of the most beautiful features of the game, not only because of their appearance but also for the sound they make and a couple of fish species we can exclusively get from them. Putting a bridge in front of a waterfall is my favorite personal recommendation as you can take some mesmerizing pictures there!
2. Build A Shopping Area
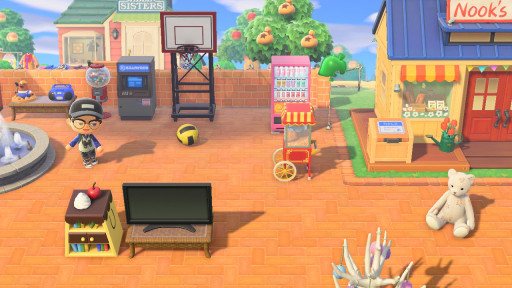
A dedicated area to shopping can have different outcomes; you can go from placing interesting furniture items around the Nook Shop and Able Sisters' buildings to garage sales or even beautiful markets. Something I highly recommend if you're into the Turnip StUnKs Market is to place your shopping area near your island's entrance so the trading becomes smoother.
1. Make Neighborhoods
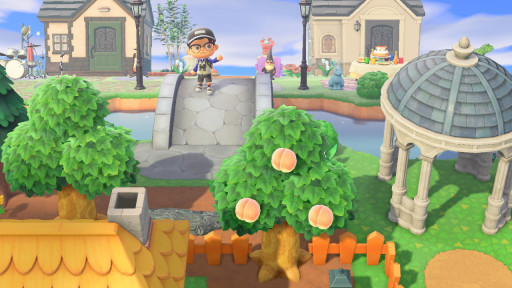
It doesn't have to be complicated or something replicating real life; you can make neighborhoods based on personality types, your favorite villagers, or even build a dedicated section of your island for every house in the game. Something I like to do so it doesn't look forced is to leave a couple of houses outside the neighborhood depending on the personality of the villager, but that's up to you and the enjoyment of your Animal Crossing life!

