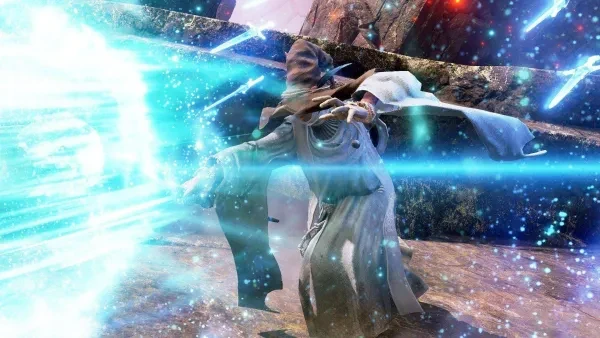
Casting Your First Spells in the Shadow Lands
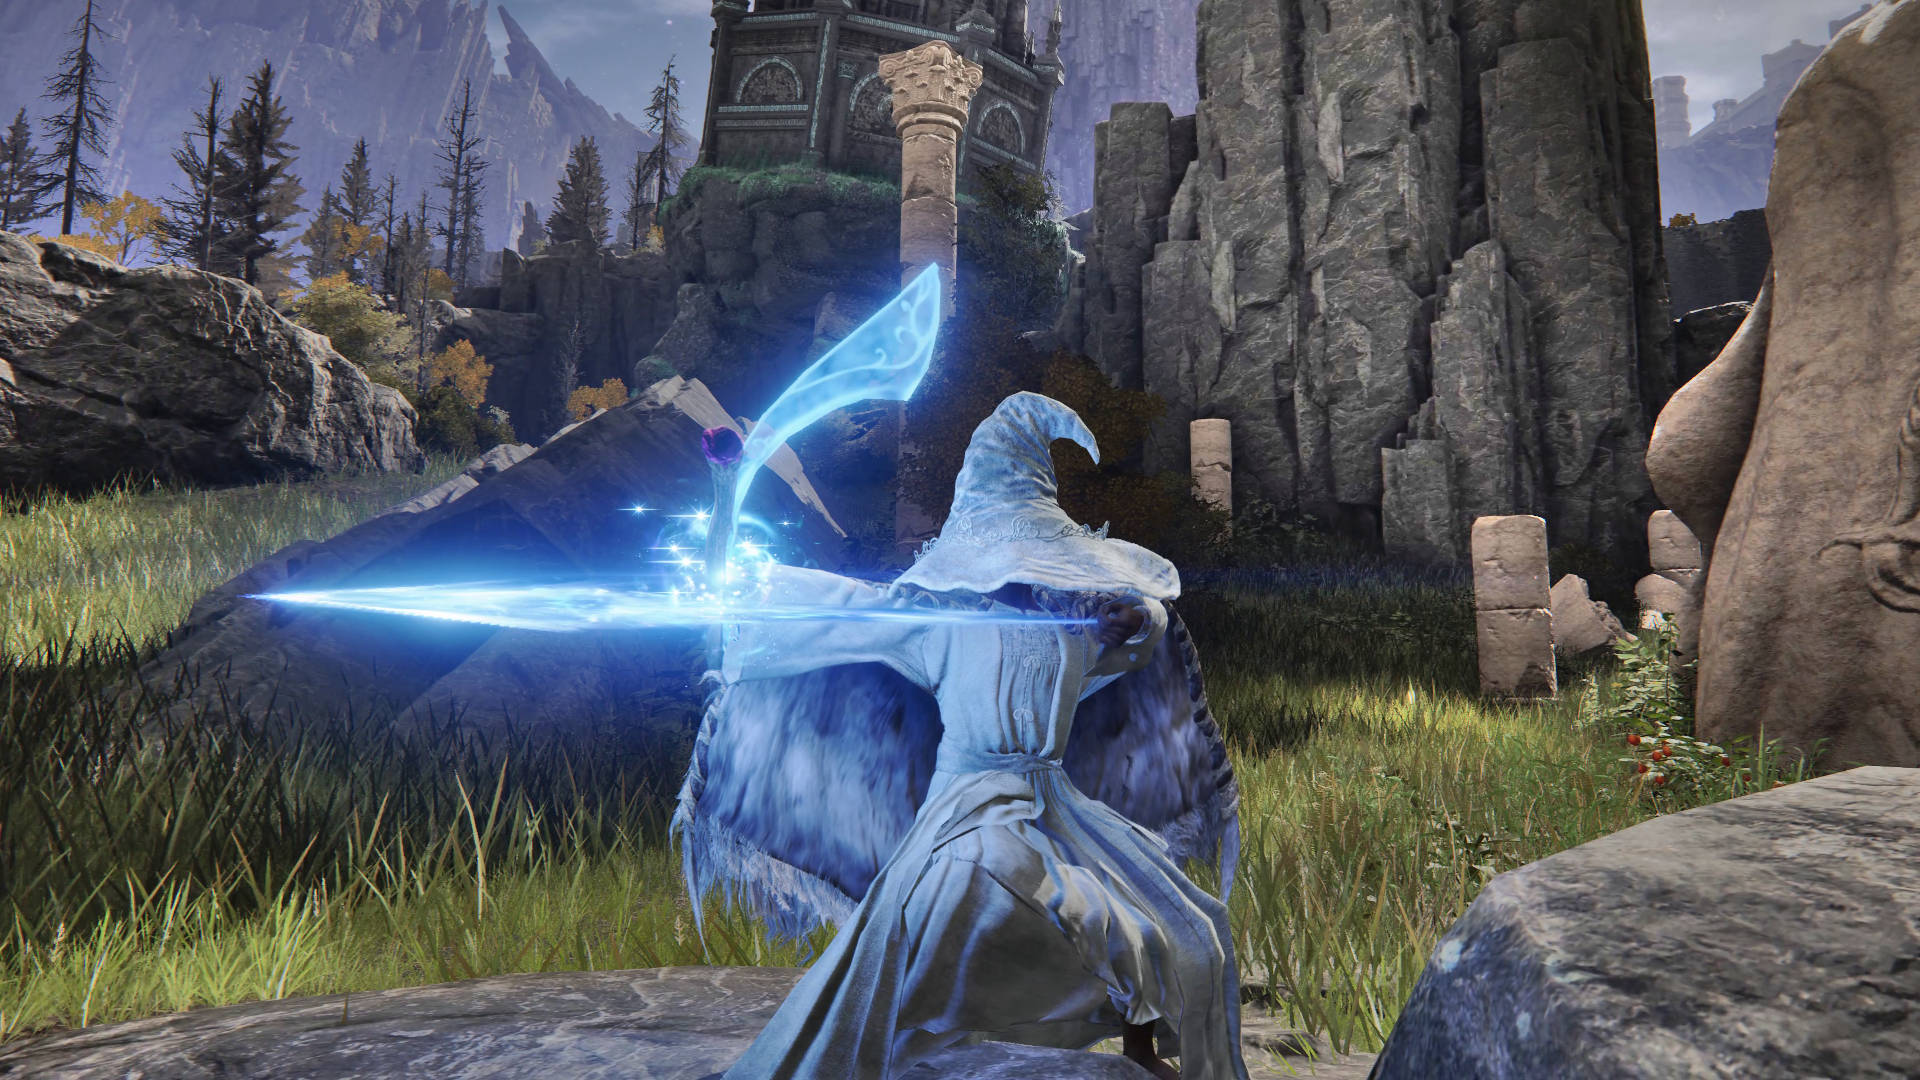
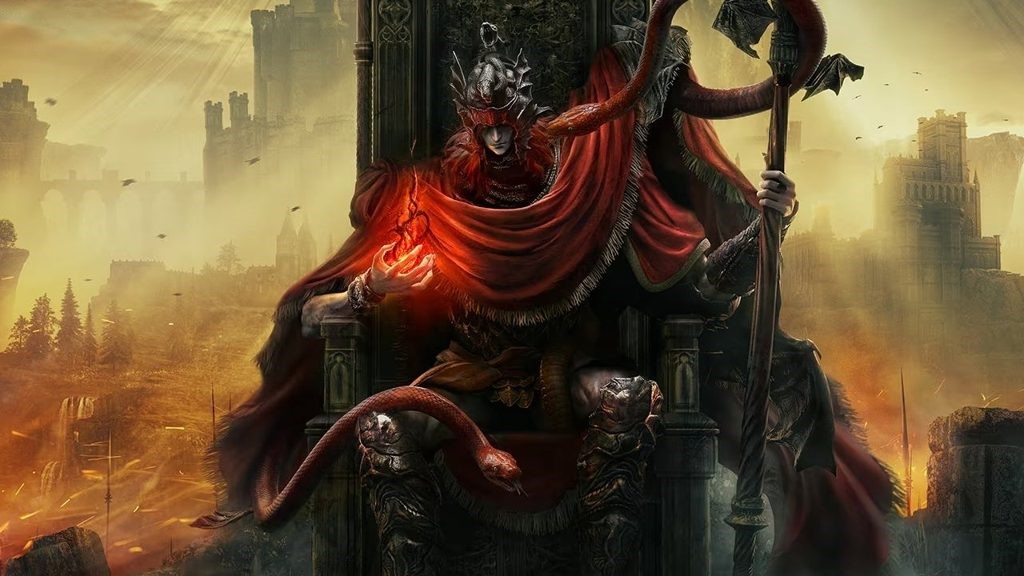
Dusty tomes, legendary staffs, and powerful magic, these are what we think of when we think of mages in the high fantasy setting. When we think of mages, the ideas of powerful sorcerers like Merlin, Harry Potter, or even Gandalf come to mind. Now, in the Lands Between, we have the chance to master our own spells and explore a vast land of dragons and high fantasy. In fact, when it comes to mage skills, any player of Skyrim will probably feel right at home with all the interesting spells and powers the mage build has to offer.
Playing A Mage in the Shadow Lands
It was true in Skyrim, and it's true here, playing a mage is usually a ranged build and requires knowing your spells well. On top of that, the Shadow Lands brought us an all new set of incantations and sorceries that we can conjure for our needs. If that's not enough, the DLC released some great new seals for the clerics, and we get the Maternal Staff and the Staff of the Great Beyond here in Shadow of the Erdtree. One of these conjures an all new type of sorcery that's great for poise, physical, and magical damage while the other gives us the first time ability to use incantations and sorceries without having to equip multiple pieces of gear.
Shadow of the Erdtree made the mages a powerful force to contend with, and with the new patches we saw an increase in some of the old sorceries that we used to use as well. Old builds have also been improved greatly and we see a lot of moves that we had only hoped we would see come available to us.
The real question then becomes how is the best way to play a mage? For all intents and purposes, sorcery users usually break down into three major groups: Magic Knights, Spellblades, and Mages. The Magic Knight is essentially a knight that focuses on the use of their magical weapons and armor to deal the damage, with little spellwork really put into the build. These end up your most aggressive magic players and there are some overwhelming magic weapon builds out there. The Spellblades seem to be our mostly mid range option, since they balance a mix of using their weapons and special skills, with a host of longer range attack spells and some buffs.
The mage is essentially the ranger of the sorcery users. This is the player with usually the most ranged spell options, and very little in the way of offensive unless you get into builds that focus on an accompanying weapon like Radagon, or a Death Mage. Both of these builds have great weapons to use, but the focus still revolves around the use of spells to blast away your enemies.
Picking the Top 5
Picking the top 5 in any build type can be hard, and Shadow of the Erdtree gave us a few new strong contenders that we didn't see before. We also have great padding added to old builds which have made it a whole new world in trying to figure out which is the right build for us. Old concepts like the Gravity Sorcerer, Meteor Mage, and Gravity God have all been buffed thanks to the new gravity sorceries.
For the purpose of this article, I chose the top 5 based on new releases and the best of the buffed up older builds that saw new options within the Shadow of the Erdtree. There are sure to be patches that will inevitably change the build dynamic, but these top 5 are chosen for their potential and their consistency.
5. Mother of Sorcerers

What is the Mother of Sorcerers
The Mother of Sorcerers is the first name on the list and it is a DLC exclusive build. Finger sorceries received four great spells in the Shadow of the Erdtree expansion, including a mix of both magic and physical damage. The Maternal staff boosts our finger sorceries by 15% while the robes give us an extra potency. On top of that, this build combos well with some weapons and can even mix well with some of the other powerful sets like gravity weapons and spells.
Playing the Mother of Sorcerers Pros and Cons
- This build gives us a good blend between physical damage and magical damage which makes it well rounded for different types of foes.
- If you're playing this build for a unique experience, you'll be mostly disappointed. Most of the spells in this build are a re-skinned version of a different spell, which makes it easy to learn how to play but not original.
- This build has a good consistency with spell ranges. We see long range in our nail spells, Fleeting Microcosm for a good mid-range AOE, and Cherishing fingers
- This set comes complete with armor and boosting gear, which makes it easier to build a specialized build.
Spell Loadout
1. Glintstone Nail
- Requirements: 18 Intelligence
- Spell Description: Fires a single shattering nail that deals magic damage
2. Glintstone Nails
- Requirements: 32 Intelligence
- Spell Description: Fires multiple shattering nails that deal magic and poise damage
3. Fleeting Microcosm
- Requirements: 42 Intelligence
- Spell Description: Fires a brief singularity at the enemy before causing an explosion of AOE damage
4. Cherishing Fingers
- Requirements: 36 Intelligence
- Spell Description: Summons up a group of fingers from the earth that deals physical damage to nearby enemies and protects the caster from damage when fully extended
5. Terra Magica
- Requirements: 20 Intelligence
- Spell Description: This spell increases magical damage done by 22.5% for 30 seconds
Weapons and Staffs
1. Carian Regal Scepter
- Requirements: 8 Strength, 10 Dexterity, 60 Intelligence
The Carian Regal Scepter is great for both full moon sorceries and the fact that it increases intelligence scaling immensely. That means that this is one of the most damaging staffs in the game without having to give up the cost of extra FP like Lusat's Glintstone Staff. Full moon sorceries can always be added to this list, but really we use this staff for the pure damage output in our main hand and run the maternal staff in our offhand for the buffs.
2. Maternal Staff
- Requirements: 7 Strength, 21 Intelligence, 21 Arcane
The Maternal staff is the staff that boosts finger sorceries by 15%. Naturally, having two would be fantastic but that always requires an extra playthrough. This staff has two fun effects. The first is that it boosts finger sorceries which makes it perfect for the finger mage builds. The second effect is that this staff causes bleed buildup. That's right, it can be mixed with any build that causes bleed for dramatic effect.
3. Rosus' Axe
- Requirements: 18 Strength, 10 Dexterity, 18 Intelligence
The Rosus Axe was originally seen in a Youtube build that featured a combination between the Rosus Axe and the Cherishing Fingers sorcery. Essentially the player summons the Cherishing fingers and then hits the enemy with the Rosus's Summons special ability about the same time. This combo serves to deal a fair bit of physical and magic damage which make for a powerful combo that can hurt any foe.
Gear Loadout
Helms
- Spellblade's Pointed Hat- Increases magic and frost damage by 2%
- Queen's Crescent Crown- Increases Intelligence by +3
- High Priest Hat- Boosts Intelligence and Arcane +1
- Rakshasa Helm- Increases damage dealt and received by 2%
Armor
- Spellblade's Traveling Attire- Increases magic and frost damage by 2%
- Rakshasa Armor- Increases damage dealt and received by 2%
- Finger Robe- Increases finger sorcery damage by 8%
Gauntlets
- Spellblade's Gloves- Increases magic and frost damage by 2%
- Rakshasa Gauntlets- Increases damage dealt and received by 2%
- Radahn Gauntlets- Heavy armor for poise and defense
Greaves
- Spellblade's Trousers- Increases magic and frost damage by 2%
- Rakshasa Greaves- Increases damage dealt and received by 2%
- Radahn Greaves- Heavy armor for poise and defense.
Extra Essentials
Talismans
- Magic Scorpion Charm- Increases magic damage by 12% and damage receive by 10%
- Graven-Mass Talisman- Increases the potency of sorceries by 8%
- Godfrey Icon- Boosts charged skills and spells by 15%
- Radagon Icon- Increases spellcasting speed
- Blade of Mercy- Increases damage by 20% after each critical strike
- Talisman of Lord's Bestowal- Increases poise by 54% after drinking from a flask of tears
Stats
- 50 Vigor
- 35-50 Mind
- 25-35 Endurance
- 40-80 Strength
- 12-21 Dexterity
- 80 Intelligence
- 7-25 Faith
- 40-65 Arcane
4. The Death Mage
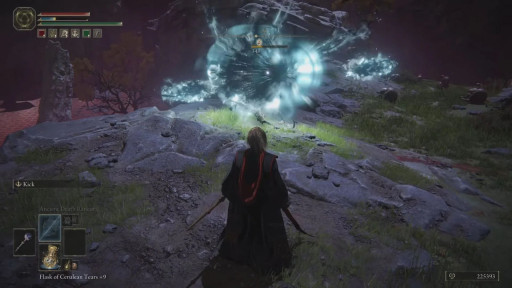
What is a Death Mage
The Death Mage is a type of build that focuses on the Death sorceries specifically. These are sorceries that for lack of a better explanation, cause the buildup of Deathblight. When this triggers in a player, it causes instant death and is game over. On monsters, we see less of that but we see some hard hitting spells that really have a good way to stagger enemies and whittle down foes.
Playing the Death Mage Pros and Cons
- This is one of the better builds for breaking stance and poise.
- This is probably one of the strongest builds for PvP play.
- Almost every enemy in the game seems to have a resistance or immunity to Death Blight which makes it hard to get any instant kill abilities to trigger.
- Death builds often either get nerfed, or get bugs that make them overly strong which makes them inconsistent. This is currently true with weapons like the Eclipse Shotel which has been either nerfed, or made the center of attention because of glitches connected with the weapon.
Spell Loadout
1. Rancorcall
- Requirements: 16 Intelligence, 14 Faith
- Spell Description: Summons vengeful spirits skulls that chase down the enemy
2. Ancient Death Rancor
- Requirements: 34 Intelligence, 24 Faith
- Spell Description: Summons a large host of vengeful spirit skulls that chase down the enemy
3. Explosive Ghostflame
- Requirements: 42 Intelligence, 30 Faith
- Spell Description: Causes a ghostflame explosion that burns a wide area.
4. Mass of Putrescence
- Requirements: 28 Intelligence, 22 Faith
- Spell Description: Summons a large mass which is flung at the enemy with force.
5. Howl of Shabriri
- Requirements: 33 Faith
- Spell Description: Increases damage dealt by 35%, as well as causes madness buildup and causes foes to attack the caster
6. Terra Magica
- Requirements: 20 Intelligence
- Spell Description: Boosts magical damage done by 22.5% for 30 seconds
Weapons and Staffs
1. Staff of the Prince of Death
- Requirements: 6 Strength, 18 Intelligence, 18 Faith
This prince of death staff is the staff for death builds because it boosts death sorceries by 10%. This isn't as much as other builds have done, but it makes for a consistent style of play and it works for what we're using it for. This is a staff that scales equally with faith and with intelligence so it's good to bring both stats up together to get the most out of this weapon and handle the scaling of death sorceries
2. Commander's Standard
- Requirements: 24 Strength, 14 Dexterity
The Commander's Standard is in here for the fact that it increases damage by 20% and increases damage negation by 20% as well. This makes it better than Golden Vow, and is one of the harder hitting buffs that make a build good. I don't like to use it all too often for a mage build, but it serves the purpose for really making this a competitive build.
3. Death's Poker
- Requirements: 15 Strength, 17 Dexterity, 11 Intelligence
Death's poker is the popular ghostflame weapon that does a good amount of frostbite damage. This is a build that scales well with intelligence, and this weapon has a skill called Explosive Ghostflame. This is a strong magic and frostbite skill that scales purely with intelligence. Since we always put intelligence at 80 for this build, we start to see some great returns starting at 50 even.
4. Frenzied Flame Seal
- Requirements: N/A
This Frenzied Flame seal makes the list here because of the Howl of Shabiri and the fact that it has no stat requirements. We can also use the Dragon Communion Seal, which scales with faith and arcane, but it really depends on how the player wants to play. We don't really see the Frenzied Flame Seal outside of the Frenzied Flame ending so any seal with no weight or a relevant buff to a specific type of incantation is the best way to go.
Gear Loadout
Helms
- Malikeths Helm
- Rakshasa Helm- Increases damage dealt and received by 2%
- Spellblade's Pointed Hat- Increases magic and frost damage by 2%
Armor
- Malikeths Armor
- Rakshasa Armor- Increases damage dealt and received by 2%
- Spellblades Traveling Attire- Increases magic and frost damage by 2%
Gauntlets
- Maliketh's Gauntlets
- Rakshasa Gauntlets- Increases damage dealt and received by 2%
- Spellblade's Gloves- Increases magic and frost damage by 2%
Greaves
- Maliketh's Greaves
- Rakshasa Greaves- Increases damage dealt and received by 2%
- Spellblade Trousers- Increases magic and frost damage by 2%
Extra Essentials
Talismans
- Godfrey Icon- Increase damage from charged skills and spells by 15%
- Shard of Alexander- Increases damage dealt by skills by 15%
- Dragoncrest Greatshield Talisman- Increases physical damage negation by 20%
- Magic Scorpion Charm- Increases magic damage by 12% and damage receive by 10%
- Graven-Mass Talisman- Increases the potency of sorceries by 8%
- Radagon Icon- Increases spell casting speed by adding +30 virtual Dexterity to casting
Stats
- 50 Vigor
- 25-40 Mind
- 20-35 Endurance
- 16-25 Strength
- 17-80 Dexterity
- 80 Intelligence
- 65-80 Faith
- 7-21 Arcane
3. All-Knowing Sage Radagon

What is All-Knowing Sage Radagon
Radagon is one of the biggest bosses in the game, and a powerful foe. He should be too, since he is supposedly a demigod that learned both incantations and sorceries before his becoming a boss for the game. Luckily, we've got a great new staff in the Staff of the Great Beyond that allows us to do the same thing. This is one of the only builds that seamlessly blends the two, dealing overwhelming AOE holy and fire damage before beating things to death like a barbarian.
Playing the All-Knowing Sage Radagon Pros and Cons
- This build has access to both incantations and sorceries so it gets the best of both worlds
- This build can be made very tank driven or very glass cannon based depending on the talismans and the armor.
- This build got more new spell options and upgrades than almost any other mage build with the DLC
- There is a risk that this can be pulled in too many directions. At the very least it is a high maintenance build that may require a lot of swapping to get the best effect
Spell Loadout
1. Multilayered Ring of Light
- Requirements: 35 Faith
- Spell Description: This spell fires multilayered golden rings of light that inflict continuous damage
2. Light of Miquella
- Requirements: 72 Faith
- Spell Description: This spell summons large pillars of light that deal extensive damage to enemies.
3. Knight's Lightning Spear
- Requirements: 36 Faith
- Spell Description: Summons and hurls a lightning spear followed by multiple additional spears
4. Ranni's Dark Moon
- Requirements: 68 Intelligence
- Spell Description: Summons a cold dark moon to launch at foes while dealing frostbite damage and sucks in spells to negate them
5. Rykards Rancor
- Requirements: 40 Intelligence, 18 Faith
- Spell Description: Summons plenty of flaming skulls that deal damage to the enemy and explode after contact
6. Giantsflame Take Thee
- Requirements: 30 Faith
- Spell Description: Fires a large fireball at the enemy that explodes on contact
7. Golden Vow
- Requirements: 25 Faith
- Spell Description: Increases damage done by 15% and damage negation by 10%
8. Land of Shadow
- Requirements: 58 Faith
- Spell Description: Fires a blast of golden projectiles towards the enemy
Weapons and Staffs
1. Staff of the Great Beyond
- Requirements: 7 Strength, 25 Intelligence, 25 Faith
The staff of the great beyond is one of the best staffs in the game and it can cast both incantation and sorceries. It also scales with both intelligence and faith and gives major damage when both are at 65-80. Really we use this staff in one hand to cast all of our spells, and keep our hammer in our left hand to use it as we need to against enemies that close in too fast.
2. Marika's Hammer
- Requirements: 20 Strength, 12 Dexterity, 19 Faith
This is the powerful hammer that we get when we defeat the Elden Beast and it's also used as Radagons weapon during the boss battles. We like the hammer for the striking damage and the extreme amounts of damage it does when scaled with faith and strength.
Gear Loadout
Helms
- Rakshasa Helm- Increases damage dealt and received by 2%
- Spellblades Hat- Increases magic and frost damage by 2%
- Elden Lord Crown
Armor
- Rakshasa Armor- Increases damage dealt and received by 2%
- Spellblades Traveling Attire- Increases magic and frost damage by 2%
- All- Knowing Armor
Gauntlets
- Rakshasa Gauntlets- Increases damage dealt and received by 2%
- Spellblade's Gloves- Increases magic and frost damage by 2%
- All-Knowing Gauntlets
Greaves
- Rakshasa Greaves- Increases damage dealt and received by 2%
- Spellblade's Trousers- Increases magic and frost damage by 2%
- All-Knowing Greaves
Extra Essentials
Talismans
- Any Scorpion Charm- Boosts damage of that type by 12% and damage received by 10%
- Godfrey Icon- Boosts charged spells and abilities by 15%
- Two-Headed Turtle Talisman- Boosts Stamina Recovery by 22.2%
- Graven Mass Talisman- Boosts Sorcery damage by 8%
- Flocks Canvas Talisman- Boosts incantation damage by 8%
- Radagon Icon- increases sorcery casting speed with +30 virtual Dexterity
- Talisman of Lord's Bestowal- increases poise by 54% after drinking from a flask of tears
- Bull-Goat Talisman- increases poise by 33%
Stats
- 50 Vigor
- 25-40 Mind
- 35 Endurance
- 50-80 Strength
- 35-45 Dexterity
- 50-80 Intelligence
- 50-80 Faith
- 9-28 Arcane
2. Gravity God 2.0
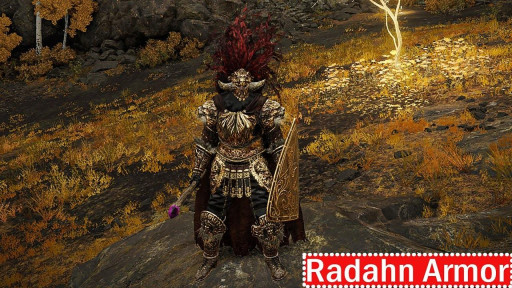
What is a Gravity God
The Gravity God is one of my favorite builds that was originally inspired by the gravity powers like Radahn. On top of that, we got spells like Blades of Stone in the DLC which only made this build better, before we ever got into the new armors and talismans that make this build thrive. Gravity is probably one of the most devastating damage spell groups out there, which makes it no surprise that Radahn was a fan of it in the original game and the DLC as the new boss. Thankfully we have access to plenty of great gravity spells to challenge even the consort of Miquella with this powerful build.
Playing the Gravity God Pros and Cons
- This build deals plenty of powerful damage
- There are very few builds that can control your opponents stance or break their poise as well as gravity spells. This gives the player a stronger control over the battles.
- This build is capable of dealing a lot of physical damage as well as magic damage which makes it perfect for bosses like the Elden Beast and other magic resistant bosses.
- This build can be tricky to learn since it may require specific spells used in a specific way at specific times. Sometimes it ends up a good thing to keep it as basic as possible to make it more fluid.
- This build is one of the tankiest mage and spellblade builds in the game. It does a good job absorbing damage while trading attacks with an enemy either close or far.
Spell Loadout
1. Terra Magica
- Requirements: 20 Intelligence
- Spell Description: This spell increases magical damage done by 22.5% for 30 seconds
2. Ranni's Dark Moon
- Requirements: 68 Intelligence
- Spell Description: Creates a dark moon that draws in other spells then hits the foe for damage and large amounts of frostbite
3. Collapsing Stars
- Requirements: 36 Intelligence
- Spell Description: Pulls foes towards the caster with a gravity projectile volley
4. Meteorite
- Requirements: 30 Intelligence
- Spell Description: Calls down three small meteors from the sky to strike the opponent
5. Meteorite of Astel
- Requirements: 55 Intelligence
- Spell Description: Calls down a shower of small meteorites to crash into the foe
6. Blades of Stone
- Requirements: 48 Intelligence
- Spell Description: Pulls blade-like clumps of rock from the earth to hit the foe with strong physical damage
7. Gravitational Missile
- Requirements: 36 Intelligence
- Spell Description: Fires a gravity ball at the enemy that pulls them in before exploding
Weapons and Staffs
1. Meteor Staff x2
- Requirements: 6 Strength, 18 Intelligence
The Meteor Staff is the best staff in the game for gravity spells and we should really be using two of them this build. They may not scale quite as well as the Carian Regal Scepter does, which we can use for the Ranni's Dark Moon spell, but when you have two of them together they buff gravity spells by 60%. That's even before counting buffs from spells like Terra Magica, or the new DLC Rakshasa armor set.
The downside to the Meteor staff is that it can't be upgraded at all. Not even a little bit. So, it's not an uncommon choice for a player to use a stronger staff in the main hand and use the meteor staff for a passive buff in the other hand.
2. Carian Regal Scepter
- Requirements: 8 Strength, 10 Dexterity, 60 Intelligence
The Carian Regal Scepter is one of the best staffs in the game in terms of sorcery scaling. It scales incredibly well after 68 Intelligence and can even give the Lusat Glinstone Staff a run for its money. We like this staff for that reason and the fact that it can be upgraded along with buffing the Full Moon Sorceries by 10%. This buffs one of our starter attacks that does a great amount of damage and can even take care of the DLC Radahn's most frustrating skills.
3. Alabaster Lord's Sword
- Requirements: 16 Strength, 12 Dexterity, 18 Intelligence
This is a greatsword which we use for the special skill, Alabaster Lord's Pull. This is a gravitational skill that stuns enemies and pulls them closer from a wide range. The real reason for this weapon is just to give us some kind of extra offensive for aggressive enemies, and to trigger a combo of Alabaster Lord's Pull, followed by Gravity Blades. This draws them in and knocks them off balance before hitting them with hard physical and magical damage from the stones that mimic the fallen starbeasts.
Gear Loadout
Helms
- Rakshasa Helm- Increases damage dealt and received by 2%
- Spelblade's Hat- Increases magic and frost damage by 2%
- Radahn's Helm
Armor
- Rakshasa Armor- Increases damage dealt and received by 2%
- Spellblade's Traveling Attire- Increases magic and frost damage by 2%
- Young Lion's Armor
Gauntlets
- Rakshasa Gauntlets- Increases damage dealt and received by 2%
- Spellblade's Gloves- Increases magic and frost damage by 2%
- Young Lion's Gauntlets
Greaves
- Rakshasa Greaves- Increases damage dealt and received by 2%
- Spellblade's Trousers- Increases magic and frost damage by 2%
- Young Lion's Greaves
Extra Essentials
Talismans
- Radagon Icon- Increases spellcasting speed with virtual dexterity +30
- Magic Scorpion Charm- Increases magic damage by 12% and damage receive by 10%
- Graven-Mass Talisman Increases potency of sorceries by 8%
- Godfrey Icon- Increases charged spells and ability damage by 15%
- Two-Headed Turtle Talisman- increases stamina recovery speed by 22.2%
- Dragoncrest Greatshield Talisman- reduces physical damage by 20%
Stats
- 50 Vigor
- 35-60 Mind
- 25-40 Endurance
- 40-60 Strength
- 65-80 Dexterity
- 80 Intelligence
- 9-25 Faith
- 9-18 Arcane
1. Night Witch
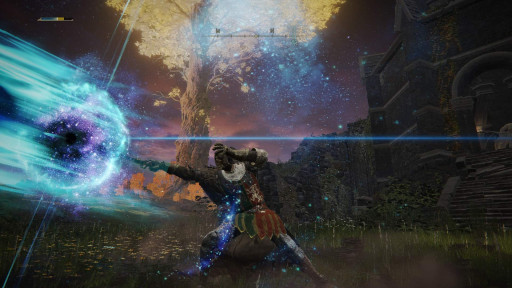
What is a Night Witch
The Night Witch is the name given to a Night Comet built by youtuber, Moxsy. It's also one of the most well known builds out there, since it is used as one of the best mage builds for cheesing bosses in no-hit runs. The reason for that is that Night Comet and Night shard are both given massive buffs by the Staff of Loss., along with other buffs that are universal to pretty much any mage build. It's tried, it's true, and the comet may be blue, but so are the enemies that get left in the dirt thanks to this powerful button-mash build.
Playing the Night Witch Pros and Cons
- Is one of the most consistently good builds for any high level mage
- This build can deliver 3k or more damage per hit, or higher depending on the buffs applied
- This build can be started fairly early in the game so it works as a full game build
- There isn't a lot of variety or fun to this build. There can be, but this is a build that focuses on spamming the tried and true. It works, but you may want to have a different build on hand if you want to spice it up
Spell Loadout
1. Night Comet
- Requirements: 34 Intelligence
- Spell Description: This is the primary spell of the build and it fires a semi-invisible comet at the enemy.
2. Night Shard
- Requirements: 18 Intelligence
- Spell Description: This is a weaker version of the night comet sorcery, but it quickly fires magic projectiles.
3. Founding Rain of Stars
- Requirements: 52 Intelligence
- Spell Description: Releases a downpour of star rain for a period of time.
4. Comet Azur
- Requirements: 60 Intelligence
- Spell Description: Fires a large blast of magical star energy at the opponent that hits for large amounts of damage.
5. Stars of Ruin
- Requirements: 32 Intelligence
- Spell Description: Fires twelve dark shooting stars that chase down foes
6. Howl of Shabriri
- Requirements: 33 Faith
- Spell Description: Increases damage done but also inflicts madness and draws enemies to attack the player.
7. Golden Vow
- Requirements: 25 Faith
- Spell Description: Increases damage dealt by 15% and reduces damage taken by 10%
Weapons and Staffs
1. Staff of Loss x2
- Requirements: 6 Strength, 12 Dexterity, 14 Intelligence
The Staff of Loss boosts Invisibility sorceries like Night Shard and Night comet by 30% per staff.
2. Azur Glintstone Staff
- Requirements: 10 Strength, 52 Intelligence
The real reason for the Azur Glinstrone Staff is either if you want faster casting times, or you simply don't have a second Staff of Loss. The Azur Glintstone fasts gives us a virtual 40 dexterity which means even sitting at a lower dexterity, this combines with Radagon Icon for a total of 70 virtual dexterity put into spellcasting.
Spells will also cost 20% more but if we run the Carian Filigreed Crest, that's quickly canceled out leaving us with a rapid fire way to fire off Night Comets. The Azur Glintstone Staff is traditionally about the third or fourth best staff in scaling, but we have plenty of ways to buff up our damage anyways, so it makes up for it in attack speed.
3. Frenzied Flame Seal
- Requirements: N/A
The Frenzied Flame Seal is one of two seals that are recommended for this build, and it's specifically good because we use Howl of Shabiri and it doesn't require any stats for the player to use it. Granted, we also don't pick this seal up until much later in the game, but that makes it the lowest requirement and lightest seal in the game. There are other seals like the Erdtree Seal and the Dragon Communion Seal which are weightless, but both of them have requirements in faith or arcane. This seal lets us keep all our stats focused on the requirements that we need the most.
Erdtree Seal is way higher in terms of Faith than this build needs, and Dragon Communion Seal usually revolves around some Arcane which means that it pairs better with the Maternal Staff than anything else. However you want to do the seals for this build, is up to you, really.
Gear Loadout
Helms
- Spellblade's Hat- Boosts magic and frost damage by 2%
- Black Hood- Aesthetic Choice
- Rakshasa Helm- Boosts all damage dealt and received by 2%
Armor
- Rakshasa Armor- Increases damage dealt and received by 2%
- Spellblade's Attire- Increases magic and frost damage by 2%
- Black Knife Assassin Armor
Gauntlets
- Rakshasa Gauntlets- Increases damage dealt and received by 2%
- Spellblade's Gloves- Increases magic and frost damage by 2%
Greaves
- Rakshasa Greaves- Increases damage dealt and received by 2%
- Spellblade's Trousers- Increases magic and frost damage by 2%
- Radahn's Greaves
Extra Essentials
Talismans
- Marika's Soreseal- This boosts Mind, Intelligence, Faith, and Arcane but also increases damage taken.
- Godfrey Icon- Increases charged skills and spells by 15%
- Magic Scorpion Charm- Increases magic damage by 12% and damage receive by 10%
- Graven-Mass Talisman- Increases potency of sorceries by 8%
- Radagon Icon- Reduces spell casting time
- Two-Headed Turtle Talisman- Increases stamina regeneration by 22.2%
- Ritual Sword Talisman- increases attack damage when player is at full health
- Carian Filigreed Crest- reduces casting cost by 20%
Stats
- 50 Vigor
- 40-60 Mind
- 20-35 Endurance
- 12-21 Strength
- 30-50 Dexterity
- 80 Intelligence
- 35-40 Faith
- 9-25 Arcane
Can you Conjure a Victory?
Magical staffs and mighty spells are a hallmark of any good high fantasy genre, and that's true of Elden Ring as well. If anything, the mage may not be as long ranged as the archer, but the sheer power that they generate more than makes up for being the shorter distance range fighter. On top of that, the fact of the matter is that the mages are simply just better equipped and they can be more versatile. I know I enjoy throwing the iconic fireball classic, but we have all sorts of tricks that we got from the Shadow Lands that just really do the trick for me. Whether it be burning away the competition, making the stars fall, crushing the enemy with gravitational forces, or even delivering holy perdition, mages are some of the most fun builds to play in the Lands Between and the Shadow Lands.


