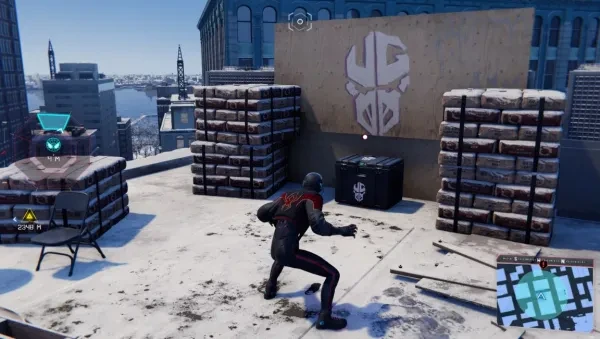
Today we’ll be looking at the best Underground Caches that can be attained in Spider-Man: Miles Morales on your playthrough.
The Caches gathered by the Underground forces are part of the side activities present in-game that allow Miles to find them using the combined abilities of his Spider-Sense and acrobatics/reflexes. Finding them can be a chore and a pain as well so this list would help you which to get easily and from where as well.
Let’s get on with the list, then.
15. Cache #32, Roxxon Lab East, Chinatown
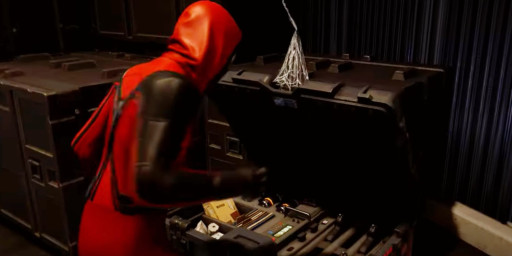
First on the list, we have Cache # 32. This one, as the name indicates, is present within the Roxxon Lab Eastern Side, which is located in the Chinatown district.
Roxxon Lab Caches are one of the most difficult ones to obtain and they can be missed on the first try as well but once you figure out the strategy and game plan, the reward is all the more fulfilling. Be sure to scan your environment at all times when trying to find it.
Here’s a hint, it’s at the beginning of the lab mission. Be mindful that once you cross the vent leading to the lab, it gets closed from behind so you won’t be able to access the previous location unless you restart the area OR finish the mission and try again.
Why it’s a great cache:
- Located in a puzzling area, good for brain exercise.
- Gains Tech Parts, suitable for upgrade of Miles’s abilities.
- Trophy list completion becomes possible and all the more easier.
How to get Cache # 32:
Start at 0:00
14. Cache # 33, Roxxon Lab West, Hells Kitchen
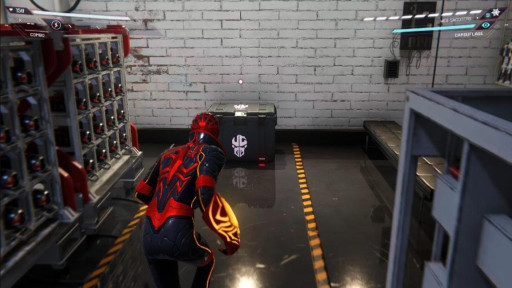
Up next, we have Cache # 33 which is situated in Roxxon Lab West, Hell’s Kitchen. Its cache placement is similarly tricky to the lab mentioned above, making it all the more trickier yet rewarding if found with a bit of luck and ingenuity.
This time, to find this, you’ll have to web the first fans in the vent and go left to get access to the room. And voila, you’re there!
Why it’s a great cache:
- Located in a puzzling area, good for brain exercise.
- Gains Tech Parts, suitable for upgrade of Miles’s abilities.
- Trophy list completion becomes possible and all the more easier.
How to get Cache # 33:
Start at 0:02
13. Cache # 34, Roxxon Lab South, Financial District
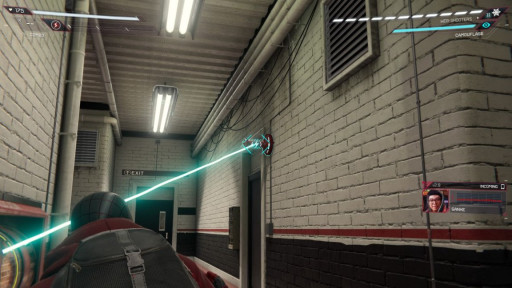
Next, we Cache # 34, located in Roxxon Lab South, which is in Financial District. Compared to the previous two, this one is relatively easier as you just have to connect the generator power lines to the door before going toward the lab for infiltration.
Why it’s a great cache:
- Located in a simple area, which saves time altogether.
- Gains Tech Parts, suitable for upgrade of Miles’s abilities.
- Trophy list completion becomes possible and all the more easier.
How to get Cache # 34:
Start at 0:00
12. Cache # 29, Underground Hideout, Upper East Side
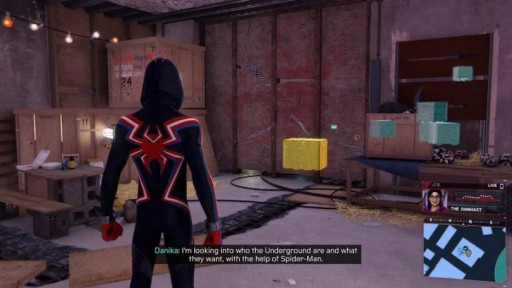
And now, we have Cache # 29, and this time, it’s located in the Underground Hideouts. This one is in the Upper East Side and this one is fairly easier to get!
Simply find the green Underground Logo, smash it, and collect the reward!
Why it’s a great cache:
- Located in a simple area, which saves time altogether.
- Gains Tech Parts, suitable for upgrade of Miles’s abilities.
- Trophy list completion becomes possible and all the more easier.
How to get Cache # 29:
Start at 0:10
11. Cache # 30, Underground Hideout, Upper West Side
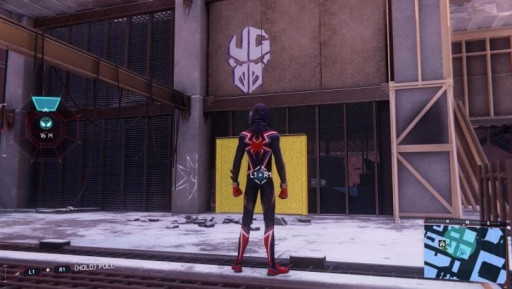
Cache # 30, which is in an Underground Hideout at Upper West Side is next on the list and you’ll be able to get access to the cache after defeating the horde of Underground forces and punch the brown and red wall after destroying the beacon.
Do all these steps and you’ll be good to go and get access to those sweet Tech parts tokens!
Why it’s a great cache:
- Located in a puzzling area, good for brain exercise.
- Gains Tech Parts, suitable for upgrade of Miles’s abilities.
- Trophy list completion becomes possible and all the more easier.
How to get Cache # 30:
Start at 0:00
10. Cache # 31, Underground Hideout, Greenwich
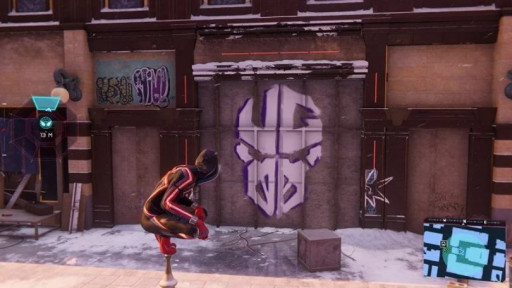
Cache # 31 is up next on the list and, seeing as how you can get access to the cache after fighting, this one fairly takes the cake.
Scan the area, and find a barred door. Pull down the scaffolding next to it to find a way in and you’ll be good to go.
Why it’s a great cache:
- Located in a simple area, which saves time altogether.
- Gains Tech Parts, suitable for upgrade of Miles’s abilities.
- Trophy list completion becomes possible and all the more easier.
How to get Cache # 31:
Start at 0:00
9. Cache # 6, North Central Park
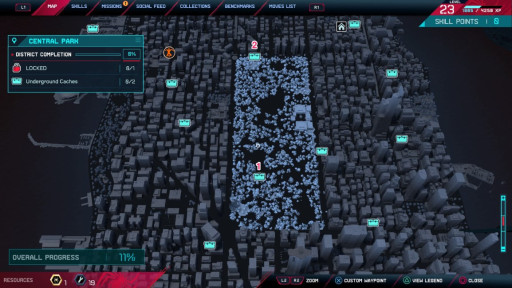
Cache #6, located in North Central Park is up next with the location being fairly simple, provided you keep scanning after every 2 minutes while you’re swinging and you take note of the cache locator that’ll be present in the lower left corner of the HUD screen.
Make it up the small fort, and it’ll be there next to the Underground symbol.
Why it’s a great cache:
- Located in a simple area, which saves time altogether.
- Gains Tech Parts, suitable for upgrade of Miles’s abilities.
- Trophy list completion becomes possible and all the more easier.
How to get Cache # 6:
Start at 0:00
8. Cache #7, South Central Park
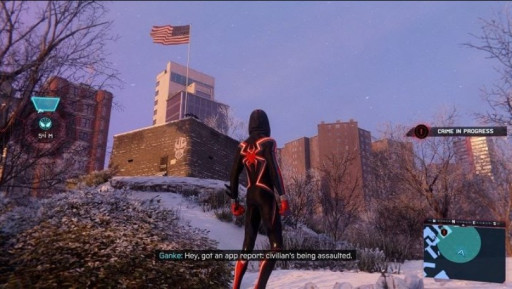
Cache #7, situated in South Central Park is up next on the list and like the cache before this, this one is an easy grab as well.
You’ll find a cracked wall next to a fountain, punch it to gain access, and voila, the cache is there.
Why it’s a great cache:
- Located in a simple area, which saves time altogether.
- Gains Tech Parts, suitable for upgrade of Miles’s abilities.
- Trophy list completion becomes possible and all the more easier.
How to get Cache # 7:
Start at 0:23
7. Cache # 23, Central Greenwich
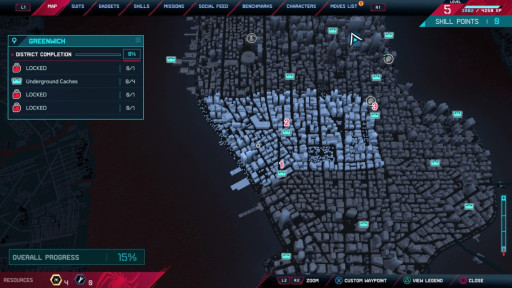
Next on the list, we have Cache #23, present in Central Greenwich. This is one easy grab, just find the right door by webbing the gears near the gas station, and you’ll get this free hassle free cache.
Why it’s a great cache:
- Located in a simple area, which saves time altogether.
- Gains Tech Parts, suitable for upgrade of Miles’s abilities.
- Trophy list completion becomes possible and all the more easier.
How to get Cache # 23:
Start at 0:02
6. Cache # 22, East Greenwich
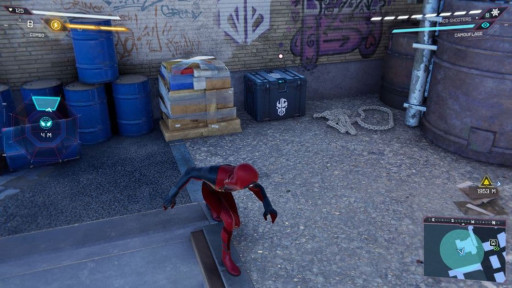
Next up, we have Cache #22, located in East Greenwich, and this too, like the previous Cache is an easy grab.
Go to the top of the tall, brown building and there will be an Underground symbol along with a small cage. Pull open the door, and the cache will be yours.
Why it’s a great cache:
- Located in a simple area, which saves time altogether.
- Gains Tech Parts, suitable for upgrade of Miles’s abilities.
- Trophy list completion becomes possible and all the more easier.
How to get Cache # 22:
Start at 1:08
5. Cache #24, Southwest Greenwich
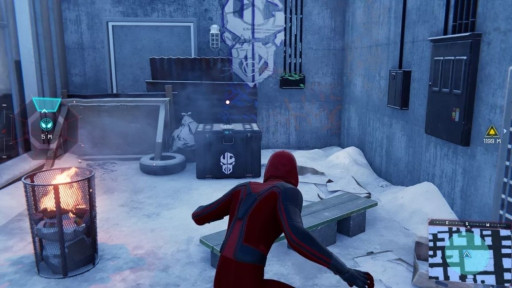
Cache #24, located in Southwest Greenwich, is next on the list and you can get this cache by going in the “Consolidated Shipping” building and walk inside the shaded area.
Smash a few boxes and the cache is all yours.
Why it’s a great cache:
- Located in a simple area, which saves time altogether.
- Gains Tech Parts, suitable for upgrade of Miles’s abilities.
- Trophy list completion becomes possible and all the more easier.
How to get Cache # 24:
Start at 0:33
4. Cache #5, Central West Side
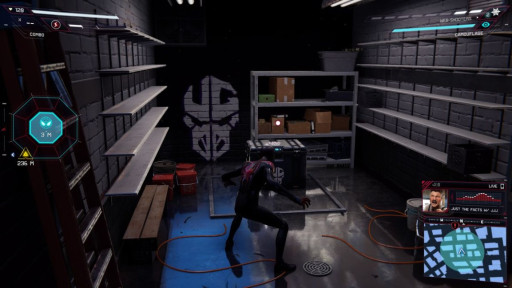
Cache #5, located in Central West Side, is next on the list and you can get this on top of a roof and under a wooden board with the Underground symbol being in white.
Why it’s a great cache:
- Located in a simple area, which saves time altogether.
- Gains Tech Parts, suitable for upgrade of Miles’s abilities.
- Trophy list completion becomes possible and all the more easier.
How to get Cache # 5:
Start at 0:05
3. Cache #3, East Harlem
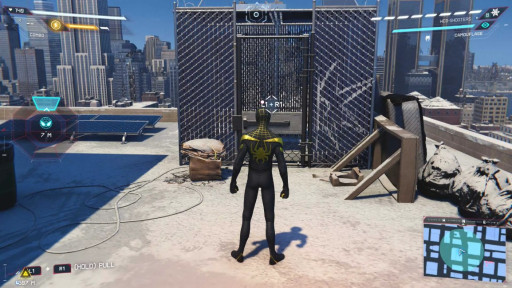
On the third entry, we have Cache #3, located in East Harlem.
This one is a literal cakewalk, just search the construction area until a door is found that you can pull open and inside the makeshift room, the cache is present.
Why it’s a great cache:
- Located in a simple area, which saves time altogether.
- Gains Tech Parts, suitable for upgrade of Miles’s abilities.
- Trophy list completion becomes possible and all the more easier.
How to get Cache # 3:
Start at 0:58
2. Cache #2, North Harlem
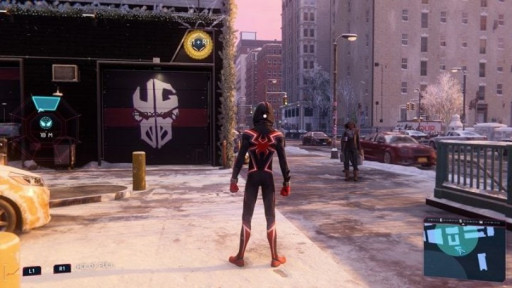
On #2, we have Cache #2 located in North Harlem and that’s … probably the second Cache that you get in-game.
This one is a freebie. Go to the Harlem gas station (Marked Cache on the map), open the door, and web the gears. You’re good to go.
Why it’s a great cache:
- Located in a simple area, which saves time altogether.
- Gains Tech Parts, suitable for upgrade of Miles’s abilities.
- Trophy list completion becomes possible and all the more easier.
How to get Cache # 1:
Start at 0:29
1. Cache #1, West Harlem
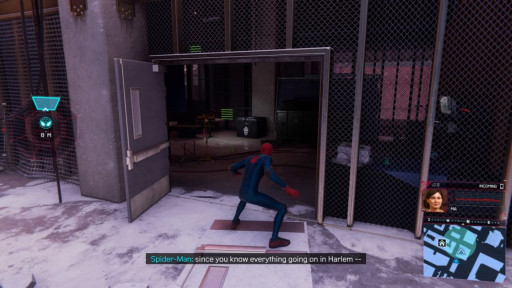
And on the top of the list, we have Cache #1, located in West Harlem.
Take out the enemies guarding the shipping yard next to the water, break boxes, scan the environment, find the Cache, and you’re good to go.
Why it’s a great cache:
- Located in a simple area, which saves time altogether.
- Gains Tech Parts, suitable for upgrade of Miles’s abilities.
- Trophy list completion becomes possible and all the more easier.
How to get Cache # 2:
Start at 0:05
And with that, we conclude our best underground caches in Spider-Man: Miles Morales! I hope it helped you. That’s about it. See ya.
You may also be interested in:
- [Top 5] Spider-Man: Miles Morales Plotholes That Leave Fans Wondering
- [Top 5] Spider-Man: Miles Morales Best Builds
- [Top 10] Spider-Man: Miles Morales Best Visor Mods (And How to Get Them)


