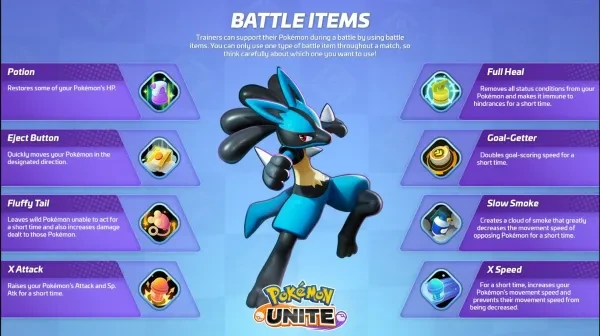
In Pokémon Unite matches, players can support their Pokémon through various battle consumables, held items, and emblems. These customizable options can mean the difference between victory and defeat, as how you allocate your stat boosts and effects can drastically change the playstyle of your character. In this article, I will share with you some of the best builds that will help you augment your ability to dominate your matches more efficiently based on several factors, including scaling, accessibility, and ease of use.
10. Offensive Tank Venusaur

This build transforms Venusaur into a mobile healing machine with the Petal Dance and Giga Drain combo.
Muscle Band offers faster and stronger attacks, allowing you to fire off your boosted attack, which stuns enemies, more frequently. Choice Specs is a solid item to increase the overall power of Venusaur’s moves. Buddy Barrier offers more survivability during riskier engagements.
The eject button is a solid movement tool that allows Venusaur to close distances or escape from dangerous situations. The boost emblems increase Venusaur’s damage and health.
This build is great because it is simple yet highly effective. The combo starts with Petal Dance, running into the enemy team, and spamming Giga Drain on as many enemies as possible. Weave in standard attacks where applicable and repeat until either you or the enemy team is defeated. Use your ultimate move, Verdant Anger, to soften up enemies and get a shield.
What Offensive Tank Venusaur excels in:
High mobility through Petal Dance
Moveset offers consistent damage during skirmishes
Strong self-sustain through Giga Drain
Relatively easy playstyle
Strong impact throughout the match
Build details:
Moveset: Giga Drain, Petal Dance
Recommended Lane: Jungle
Battle Item: Eject Button/Slow Smoke
Held Items: Buddy Barrier, Muscle Band, Choice Specs
Emblems: Green, White
9. Aggressive Support Mr. Mime
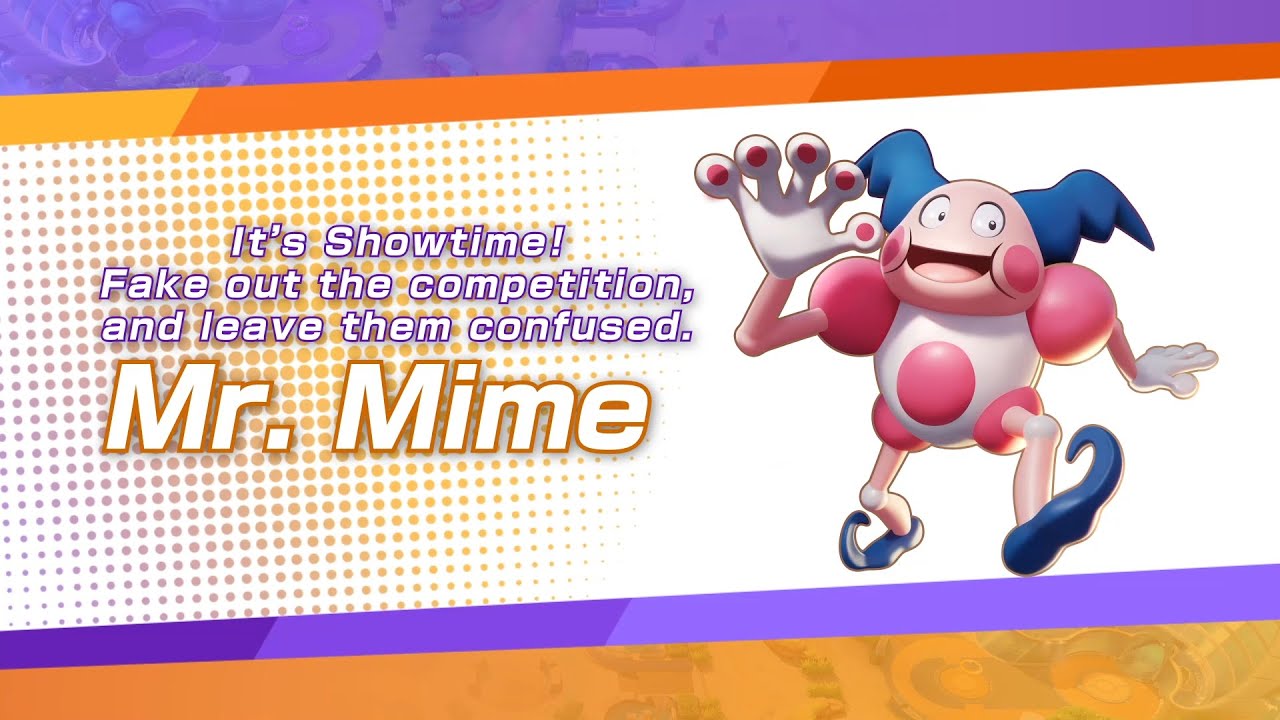 This build enhances Mr. Mime’s support and disruption capabilities with high burst damage from Confusion and Power Swap.
Choice Specs help increase Mr. Mime’s base ability damage from Confusion and Power Swap, while Wise Glasses grant an overall special attack boost. Buddy Barrier provides more durability when jumping into the fray to engage with Showtime!, which is Mr. Mime’s Ultimate Move that grants a temporary aura that stuns nearby enemies. X Speed offers a valuable movement speed boost that can help Mr. Mime get into position when setting up for combos, protecting allies, or locking enemies down. The boost emblems increase Mr. Mime’s damage and health.
This build is great because it offers versatility. Use Power Swap to link to either an ally or an enemy, and follow up with Confusion to either disengage or deal a massive burst of damage. Follow up with a boosted attack or your ultimate move, which both stun enemies, to further immobilize them.
What Aggressive Support Mr. Mime excels in:
Moveset and item options allow high versatility in almost any situation
Threatening burst damage through Confusion + Power Swap
Annoying amounts of crowd control in the moveset
Supporting allies through greater positioning abilities
Simple build concept maximizes enemy grief if executed well
Build details:
Moveset: Confusion, Power Swap
Recommended Lane: Top or Bottom Lane
Battle Item: X Speed
Held Items: Choice Specs, Wise Glasses, Buddy Barrier
Emblems: Green, White
8. Mobility Menace Cinderace
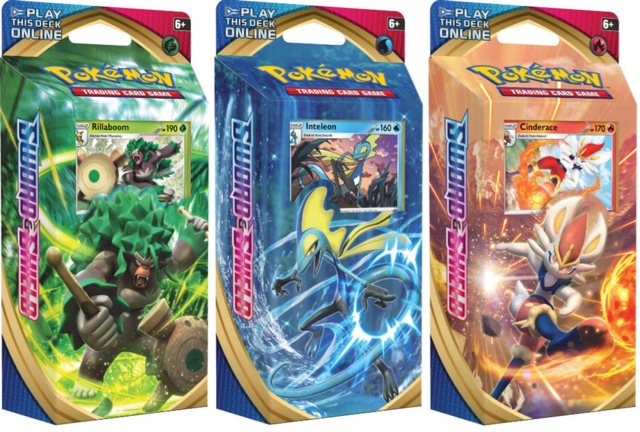
 This build grants Cinderace several mobility options that turn it into a mobile powerhouse with Blaze Kick and Flame Charge.
Cinderace's already powerful standard attacks become even more powerful with the Muscle Band. Scope Lens makes Cinderace’s critical hits hurt even more, and Razor Claw gives a bump of extra damage after executing one of Cinderace’s low-cooldown moves. Eject Button offers an immediate blink for tighter engagements. The boost emblems increase Cinderace’s attack speed and damage.
This build is great because it offers mobility. While barraging enemies with standard attacks, use Flame Charge as a quick dash and Blaze Kick for a stronger repositioning tool. The amount of movement in Cinderace’s kit will make it extremely difficult for enemies to approach you.
What Mobility Menace Cinderace excels in:
Strong standard attacks and long-range melt enemies quickly from a distance
Numerous mobility options grant many positioning opportunities
Solid team fight capabilities through strong damage and movement options
Simple yet highly effective attack damage carry playstyle
Absurd late-game carry potential
Build details:
Moveset: Blaze Kick, Flame Charge
Recommended Lane: Jungle
Battle Item: Eject Button
Held Items: Muscle Band, Scope Lens, Razor Claw
Emblems: Red, Brown
7. Sticky Sustain Azumarill
 This build emphasizes Azumarill’s duelling and durability capabilities with Play Rough and Whirlpool.
Scope Lens complements Azumarill’s Huge Power ability, which guarantees critical hits when fighting single opponents. Weakness Policy grants a bigger attack boost when Azumarill engages in prolonged fights, and Buddy Barrier helps to maximize the effectiveness of Belly Bash, which sacrifices health in exchange for greater shields and attack power. X Speed helps Azumarill stick to more slippery targets and can be used as a positioning tool. The boost emblems increase Azumarill’s health and damage.
This build is great because it helps Azumarill initiate and stick to key targets. Activate Play Rough and run towards your target with the increased movement speed. Whirlpool is your main damage and sustain tool, and it works best when Azumarill is in melee range of his opponents. Activate Belly Bash before engaging for even more damage.
What Sticky Sustain Azumarill excels in:
Huge Power allows Azumarill to duel and win against most opponents
Play Rough grants needed mobility to initiate and continue fights
Whirlpool doubles as both a damage and a healing source
Relatively simple combo that basically anyone can pick up
Unique ability forces opponents into unfavorable positioning
Build details:
Moveset: Play Rough, Whirlpool
Recommended Lane: Jungle
Battle Item: X Speed
Held Items: Scope Lens, Weakness Policy, Buddy Barrier
Emblems: White, Brown
6. Full Support Clefable
 This build places Clefable as a full-fledged support that can control the pace of fights with Moonlight and Gravity.
EXP Share is the classic support item that helps Clefable’s teammates gain bonus experience while farming. The Focus Band is a strong defensive item that can increase Clefable’s longevity during critical moments. Wise Glasses increase Clefable's healing power by using Moonlight. X Speed lets Clefable better move around to support its allies. The boost emblems increase Clefable’s cooldown reduction and healing power.
This build is great because it offers control. Use Moonlight to heal your allies and Gravity to put a halt to enemy movement. Clefable’s Ultimate Move, Wonder Wish, can save an ally during more precarious situations and unlock access to a temporary move that could turn the tide of battle.
What Full Support Clefable excels in:
Moveset enables Clefable to better control the flow of battle
Moonlight provides invaluable team-wide healing
Stopping enemy movement with Gravity completely shuts down some opponents
Sticking to allies to maximize character effectiveness
Support utility offers huge benefits throughout the game
Build details:
Moveset: Moonlight, Gravity
Recommended Lane: Top or Bottom Lane
Battle Item: X Speed
Held Items: EXP Share, Focus Band, Wise Glasses
Emblems: Black, Green
5. Full Offense Absol
 This build centres around Absol’s role as a mobile assassin that can quickly delete opponents with Night Slash and Psycho Cut.
Absol's gameplay revolves heavily around landing massive critical hits through fast and relentless assaults, so Muscle Band and Scope Lens are required. Weaving standard attacks between abilities allows Absol to maximize the effects of Razor Claw. If something unexpected happens, the Eject Button is your escape plan. The boost emblems increase Absol’s damage and attack speed.
This build is great because it offers raw burst damage. Initiate with Night Slash to close the distance between yourself and your opponent, and follow up with Psycho Cut for additional damage. Finish the combo with the second Night Slash after several standard attacks to finish off your opponents. Absol’s Ultimate Move, Midnight Slash, can offer a brief window of burst and invincibility if needed.
What Full Offense Absol excels in:
Absol’s moveset pairs well with the fast and aggressive playstyle
Night Slash functions as both a gap closer and an execute
Psycho Cut’s multiplier increases overall damage output during fights
Proper positioning allows Absol to decimate enemy backlines
Massive burst forces enemy carries to play more conservatively
Build details:
Moveset: Night Slash, Psycho Cut
Recommended Lane: Jungle
Battle Item: Eject Button
Held Items: Muscle Band, Scope Lens, Razor Claw
Emblems: Brown, Red
4. Classic Ninja Greninja
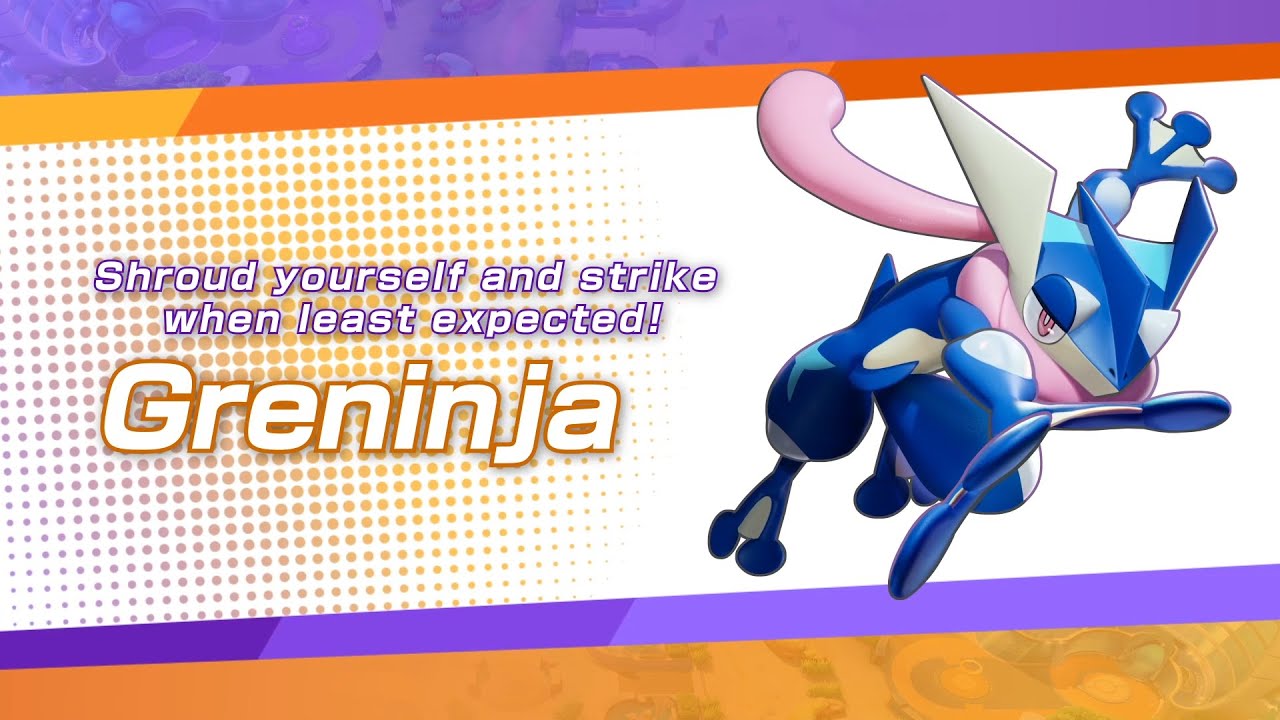
This build is a standard attack-damage carry set that Greninja wields to great effect with Water Shuriken and Double Team.
Muscle Band and Scope Lens are the standard items that allow Greninja to deal as much damage as possible through standard attacks and critical hits. Buddy Barrier offers much-needed survivability when Greninja activates Waterburst Shuriken, which deals a massive burst of damage while moving the character into melee range. Use the Eject Button to escape or reposition for landing Water Shuriken. The boost emblems increase Greninja’s attack speed and damage.
This build is great because it offers simplicity. Water Shuriken offers movement control while healing Greninja during and in between battles. Double Team is a versatile move that allows Greninja to reposition as needed while also confusing opponents with the spawned clones. Careful resource management can separate a good from a great Greninja.
What Classic Ninja Greninja excels in:
The moveset is simple and easy to understand
Water Shuriken can quickly rack up damage and prolong survivability
Double Team serves as a general solution to most circumstances
Basic positioning and skill shots make the character easy to play
Mobility and evasive maneuvers keep foes on their feet
Build details:
Moveset: Water Shuriken, Double Team
Recommended Lane: Jungle
Battle Item: Eject Button
Held Items: Muscle Band, Scope Lens, Razor Claw
Emblems: Red, Brown
3. High Sustain Tsareena
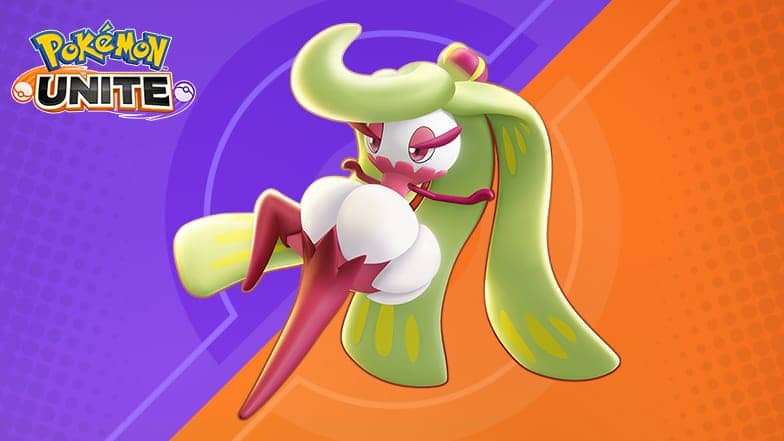 This build maximizes Tsareena’s brawling potential through high sustain with Stomp and Trop Kick.
Attack Weight is the main item that grants a massive attack boost when fully stacked. Weakness Policy synergizes well with Tsareena’s longevity by granting extra damage during long fights. Focus Band helps Tsareena stick around longer during dangerously feisty scenarios. Full Heal helps remove disables that would otherwise cripple Tsareena.The boost emblems increase Tsareena’s damage and health.
This build is great because it offers longevity. By properly cycling through the bonus shielding and healing granted by Tsareena’s ability, Queenly Majesty, opponents will have a challenging time defeating a good Tsareena. Engage with Trop Kick and Stomp the opponent to victory while being mindful of the buffs granted through Queenly Majesty.
What High Sustain Tsareena excels in:
Moveset gives many options to outmaneuver opponents
Trop Kick is a decent mobility and shield option
Stomp offers great damage, healing, and crowd control
Adequate mastery can open up many playstyle options
Provides numerous flanking options throughout the match
Build details:
Moveset: Stomp, Trop Kick
Recommended Lane: Top or Bottom lane
Battle Item: Full Heal
Held Items: Attack Weight, Weakness Policy, Focus Band
Emblems: Brown, White
2. Offense-Focused Mew
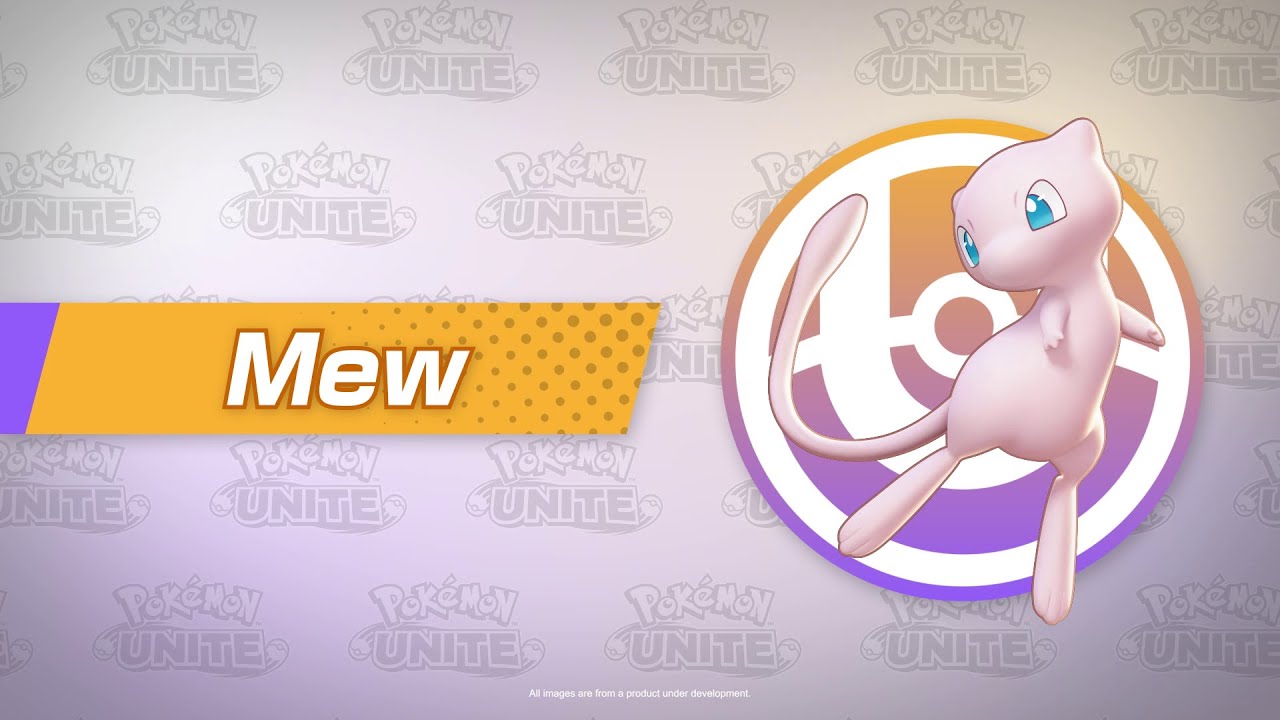 This build focuses on orienting Mew’s flexibility toward dealing as much damage as possible.
Wise Glasses grant an overall special attack boost, while Choice Specs help boost the power of Mew’s wide arsenal of moves. Shell Bell provides additional recovery and reduces move cooldowns. X Attack boosts Mew’s damage when bursting down enemies from afar. The boost emblems increase Mew’s damage and cooldown reduction.
As Mew has access to an expansive pool of moves during battle, this build emphasizes giving more punch to the offensive-oriented moves. The current setup entails creating a light screen and then shooting a solar beam through it to devastating effect. However, properly cycling Mew’s numerous moves can greatly expand what you can do during matches.
What Offense-Focused Mew excels in:
Solar Beam + Light Screen combo is simple yet impactful
A wide selection of moves opens doors to many playstyle approaches
Utility options provide numerous mobility and positioning tools
Countless combos offer depth and nuance to both beginners and veterans
Strong flexibility allows many tactic changes throughout the match
Build details:
Moveset (primary): Solar Beam, Light Screen
Recommended Lane: Any
Battle Item: X Attack
Held Items: Wise Glasses, Choice Specs, Shell Bell
Emblems: Green, Black
1. Single Target Lockdown Pikachu
 This build makes Pikachu do Pikachu things as a simple yet effective spellcaster.
Choice Specs help Pikachu deal more damage with its moves, while Wise Glasses grant an overall power boost. Buddy Barrier provides extra survivability when Pikachu activates Thunderstorm in the middle of a heated battle, a powerful Ultimate Move that drops thunderbolts in the surrounding area. X Attack grants a significant power boost when fully committing to team fights. The boost emblems increase Pikachu’s damage and cooldown reduction.
This build is great because it is easy to pull off and delivers results. Identify your target. Click the electro ball, then Volt Tackle.Repeat this process until your opponents are defeated. If you need an extra power boost, start the fight with Thunderstorm.The low cooldown of Pikachu’s Ultimate Move means that opponents are in for a frequent and painful shock.
What Single Target Lockdown Pikachu excels in:
Moveset is super simple and deadly
Electro Ball is a solid highly effective damage option
Volt Tackle is a great single-target lockdown option
Literally anyone can play Pikachu and easily dominate opponents
Tried and true combos keep Pikachu a walking threat throughout the match
Build details:
Moveset: Electro Ball, Volt Tackle
Recommended Lane: Top or Bottom Lane
Battle Item: X Attack
Held Items: Choice Specs, Wise Glasses, Buddy Barrier
Emblems: Green, Black

