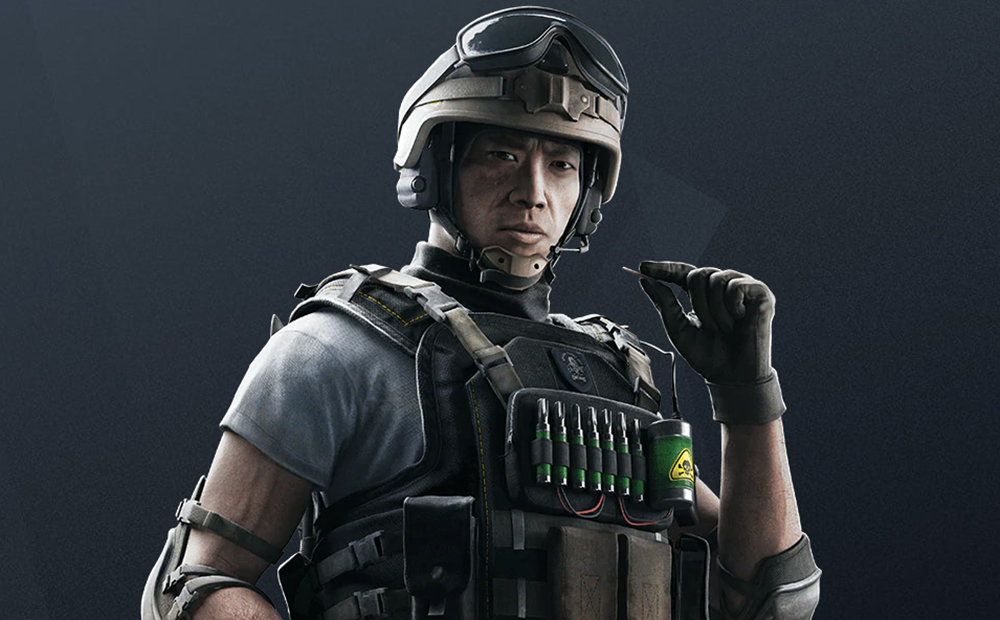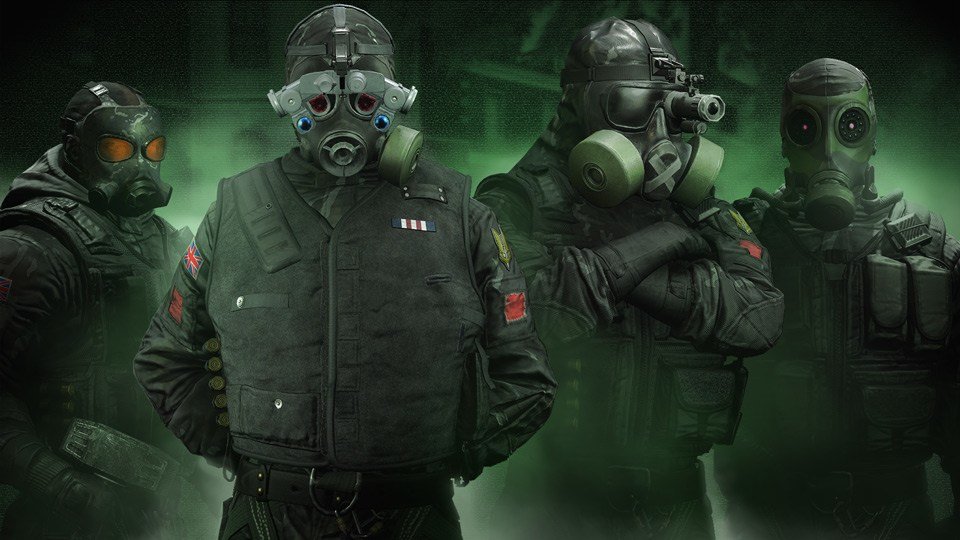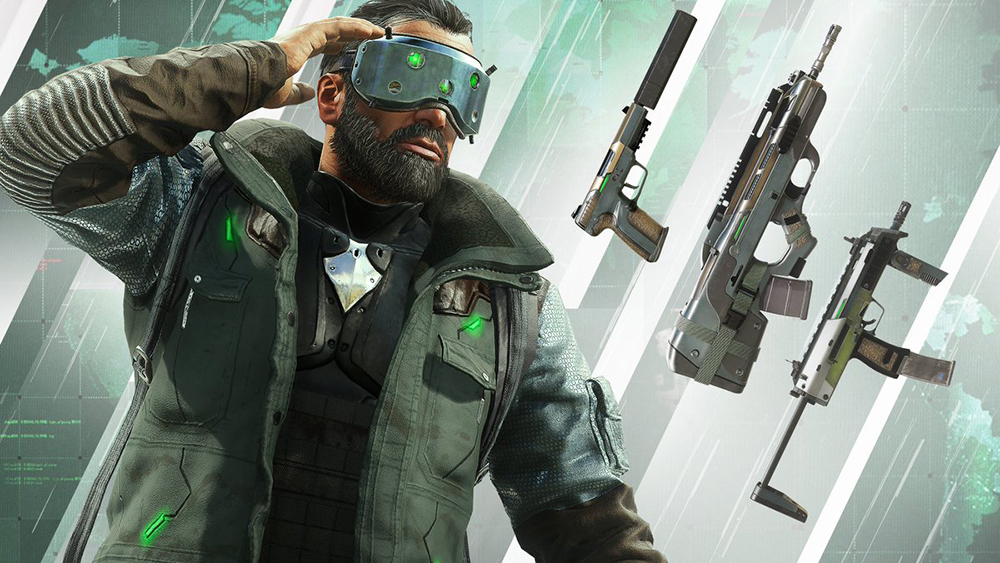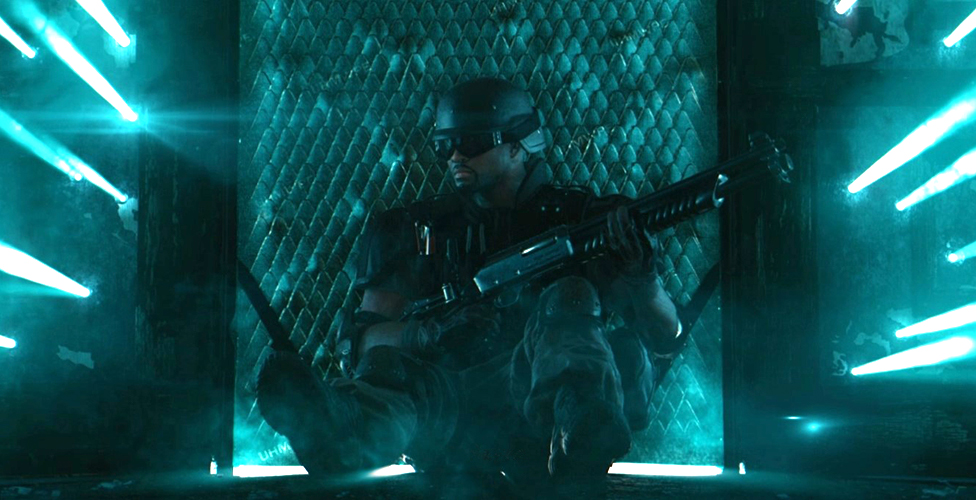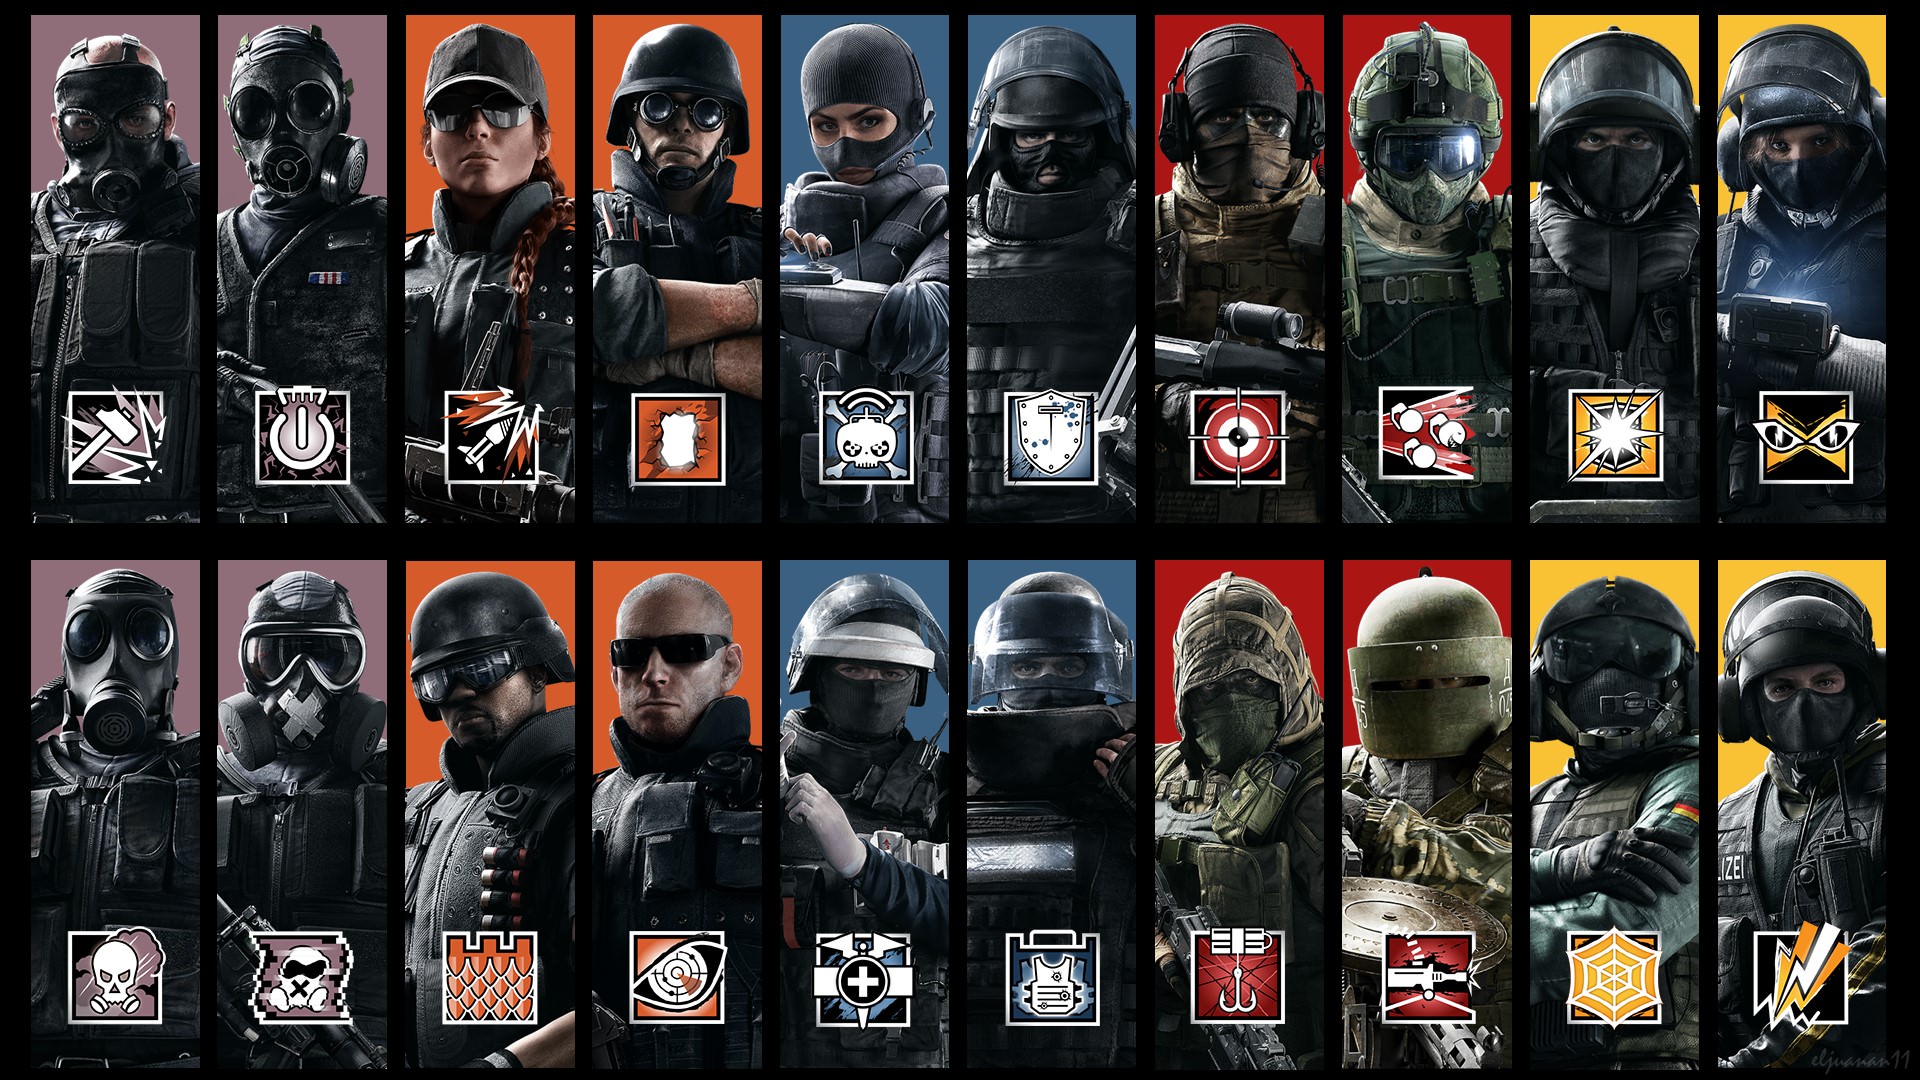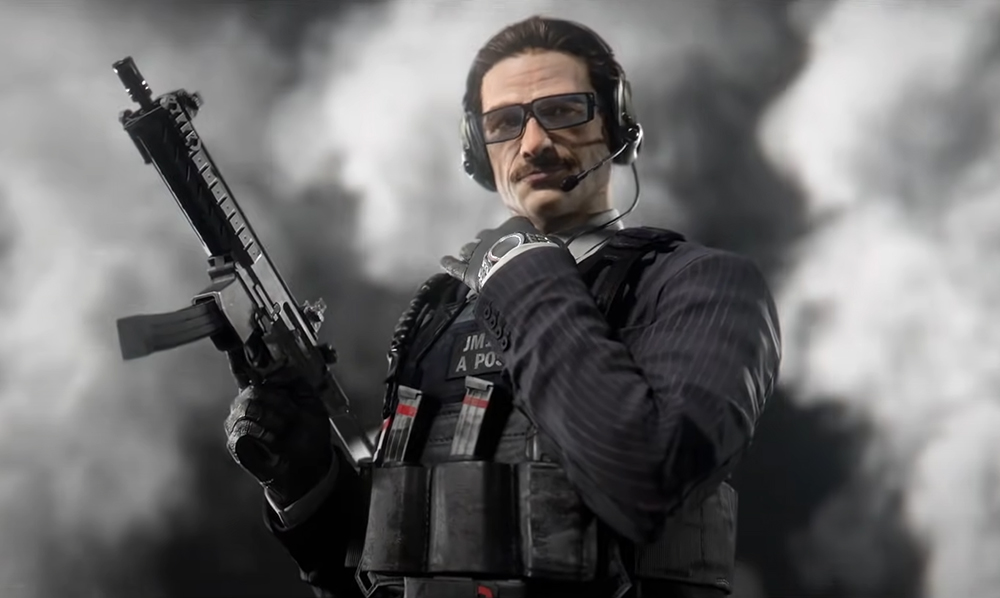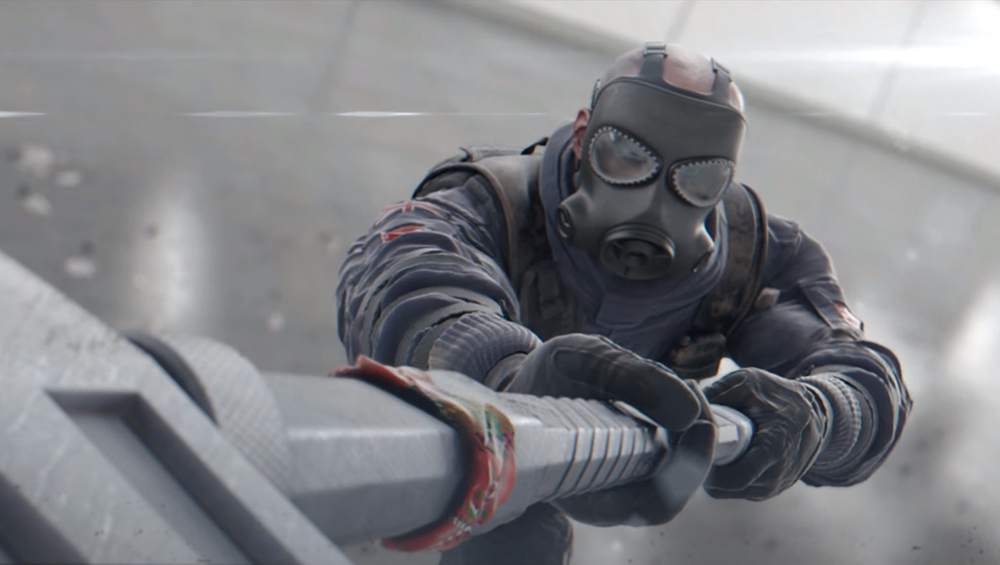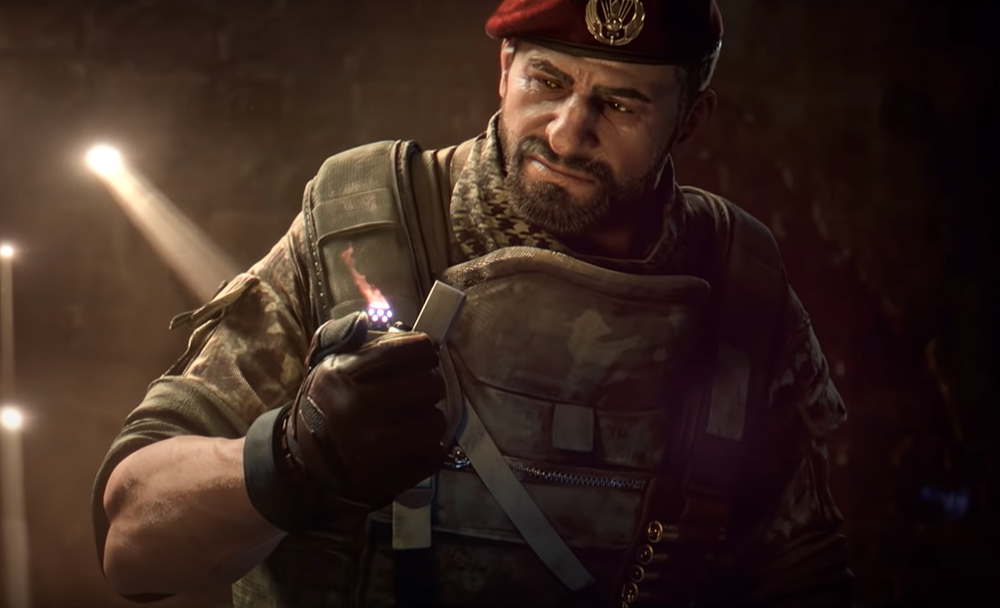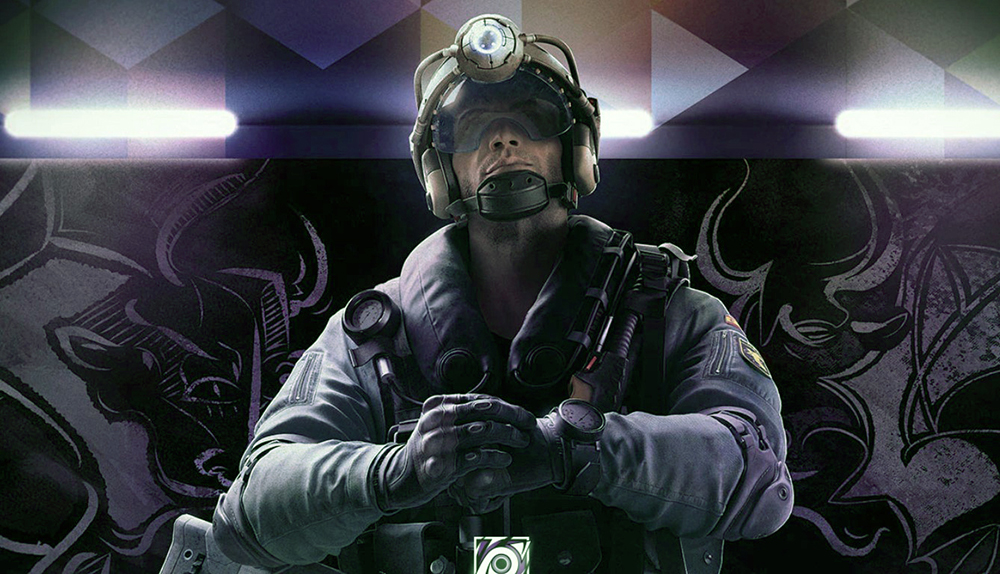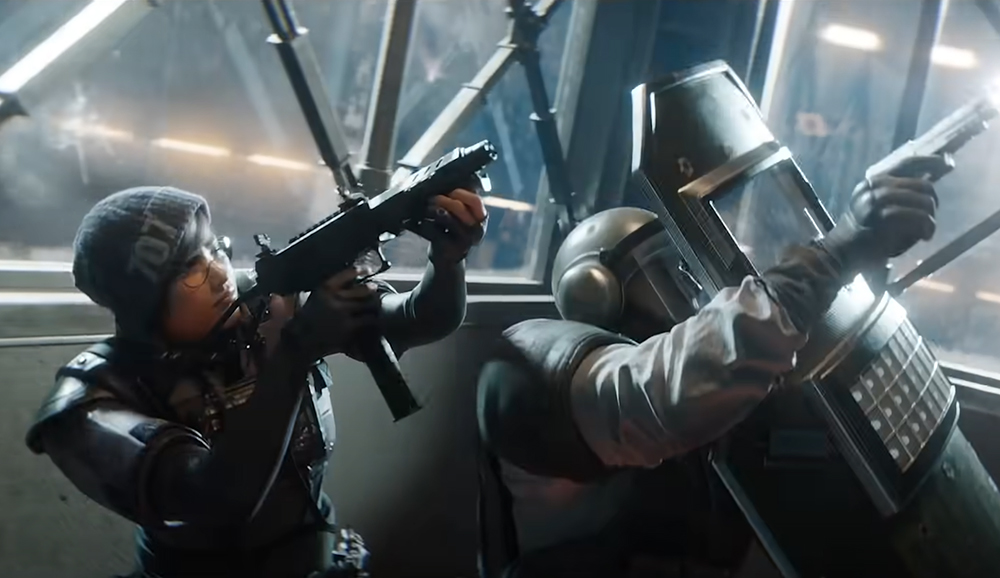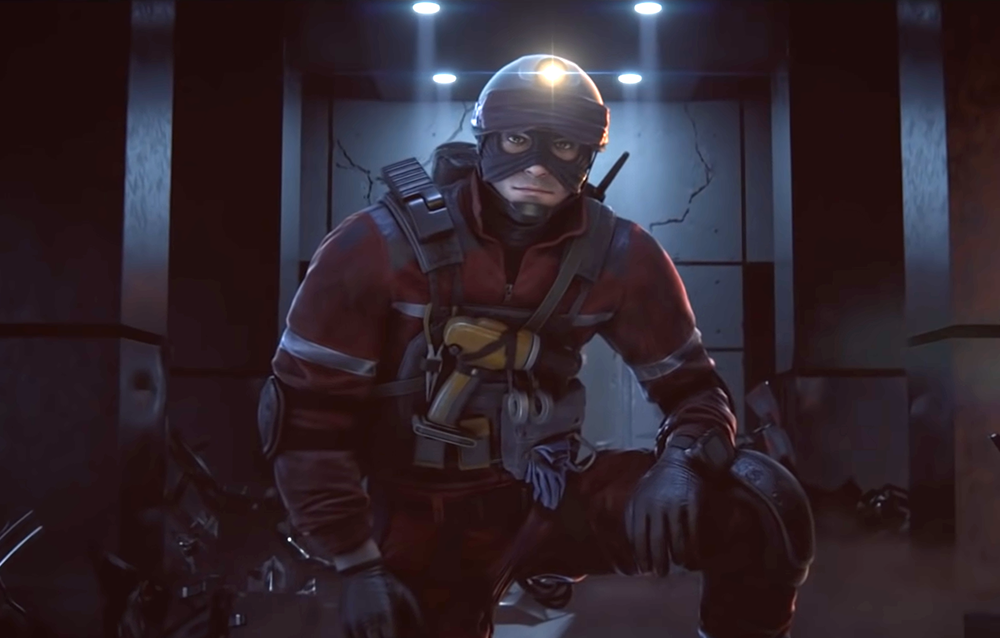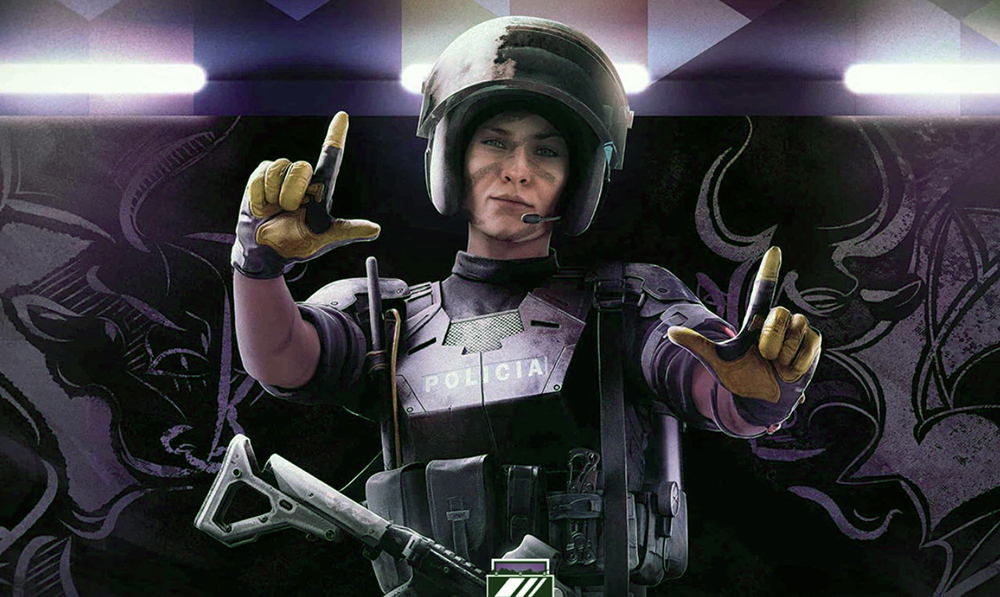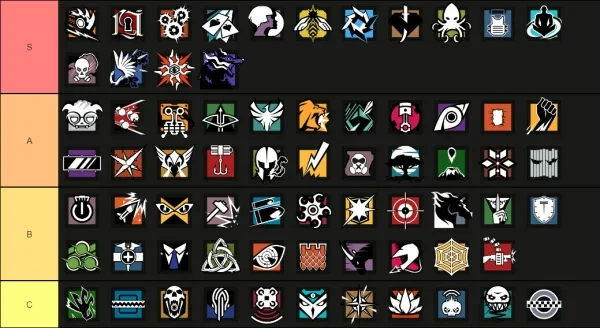
S Tier – Operators in this tier are the best of the best. These are the operators that usually have the highest impact in the match. That’s because their special gadgets cause so much trouble for enemies or give their whole team a big edge. They’re pretty much borderline OP on the things that they can do, but it’s not only that. There are a few operators in this class that aren’t really that flashy but their utilities are almost essential in most Siege rounds. They may not have the strongest weapons or most troublesome special gadgets, but their usefulness to their team is paramount, and a lot of times, their absence can even mean their team’s loss.
Ram: 98/100
Flores: 97/100
Ying: 99/100
Ace: 96/100
Iana: 94/100
Grim: 92/100
Brava: 97/100
Kaid: 94/100
Alibi: 99/100
Rook: 98/100
Wamai: 94/100
Smoke: 92/100
Azami: 95/100
Solis: 96/100
Fenrir: 98/100
A Tier – Make no mistake, operators in this tier are great operators. The only reason why they’re not on S-Tier is that they’re not as borderline OP as the operators who are in that class. Operators in A-tier are great operators that are more balanced, and their roles or utilities aren’t really that essential in most rounds. With that said, the contribution that they can bring to their team is very solid and these are high win rate operators. They’re not easy to stop and while there are alternatives to their individual roles and utilities, whenever they’re present in a round, their presence can be truly felt.
Dokkaebi: 86/100
Fuze: 85/100
Osa: 86/100
Capitao: 88/100
Zofia: 88/100
Lion: 89/100
Sens: 88/100
Gridlock: 87/100
Jackal: 89/100
Thermite: 86/100
Finka: 89/100
Mira: 86/100
Lesion: 87/100
Valkyrie: 89/100
Kapkan: 88/100
Maestro: 86/100
Bandit: 86/100
Mute: 87/100
Melusi: 88/100
Goyo: 86/100
Thunderbird: 89/100
Vigil: 88/100
B Tier – The operators in this tier are also powerful in their own right, but they’re below S and A tier because they are more situational. It’s also easier to counter B tier operators compared to the ones that belong to S and A. With that said, however, these operators are not to be underestimated because when played during situations or map spots where they excel, they can really give the enemy team a lot of trouble. Users of these operators can also negate most of the weaknesses of these operators when they’re playing in an organized team, because when being played in a stack with good teamwork, these operators can really shine.
Thatcher: 85/100
Ash: 84/100
IQ: 85/100
Sledge: 82/100
Buck: 85/100
Hibana: 84/100
Blitz: 83/100
Glaz: 82/100
Maverick: 84/100
Caveira: 82/100
Montagne: 83/100
Zero: 83/100
Doc: 84/100
Warden: 84/100
Thorn: 83/100
Pulse: 85/100
Castle: 85100
Oryx: 85/100
Mozie: 84/100
Jager: 83/100
Tachanka: 84/100
C Tier – If the operators in B tier are situational, the ones in this class are even more so. Don’t get me wrong, they’re really powerful operators too, but their gameplay and utilities are very seldomly essential in a match. They can also be quite risky to use, even though when using them works out, it can be really rewarding. So using them is kind of high-risk high-reward. A lot of them suffered some big buffs as well, so understandably, for many of the operators in this tier, their pick rate is quite low. That doesn’t mean, however, that they’re trash. Far from it actually, because the game is pretty balanced, so most operators are viable.
Amaru: 76/100
Frost: 75/100
Blackbeard: 77/100
Nokk: 76/100
Echo: 75/100
Kali: 76/100
Nomad: 78/100
Aruni: 79/100
Twitch: 79/100
Ela: 78/100
Clash: 77/100
Ram (S Tier Breach)
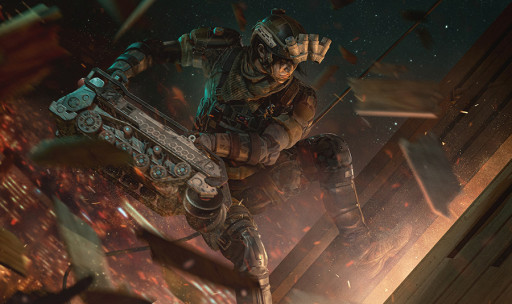
Ram is the newest operator in Siege. She’s only been out for a few weeks but she’s already taken the game by storm. As mentioned before, S-tier operators are pretty much OP at what they do, and Ram is definitely that when it comes to vertical plays. That's because of her special gadget, the Bu-Gi Auto Breacher. She has four Bu-Gis and they’re basically like small tanks. Any breakable objects or surfaces that they ram onto will get destroyed like deployable shields or unreinforced walls. That’s why Ram is also great as an entry operator and not just a vertical attack one. Though it’s really when it comes to vertical plays that Ram becomes such a menace to defenders.
Her Bu-Gis would also destroy breakable surfaces under them like unreinforced hatches and wooden floors. And since she has four Bu-Gis that she can deploy simultaneously, she can cause so much destruction to the wooden floor above the objective spot. That will expose the defenders below and will allow the attackers to frag them from above. Even if they get into cover, it will severely limit the places that they can move to in the objective spot, and that’s why the best way to counter Ram is to flank and kill her, but that could be hard to do when she’s being supported by her teammates.
Ram’s Stats:
- Speed: 1
- Health: 3
Best Weapon loadout:
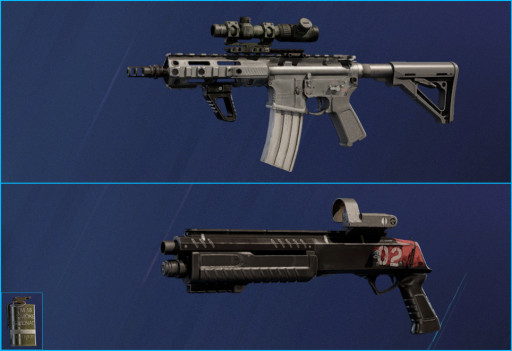
- Primary weapon - R4-C with Scope 2.0x, Muzzle Brake, and Angled Grip
- Secondary weapon - ITA12S with Reflex B and Laser
- Generic gadget - Smoke Grenade
Ram’s Strengths:
- She can destroy anti-entry utilities like deployable shields and barbed wires with her Bu-Gis
- She can also use her Bu-Gis for destroying soft hatches and wooden floors above the objective spot
- Her Bu-Gis produces so much noise when they’re operating, causing a lot of distraction to the enemies
Ram’s Weaknesses:
- She has 3-health rating which makes her tough but also quite slow and that can can make it easy for enemies to outmaneuver her
- The noise that her Bu-Gis produce can also make it harder for her and her teammates to hear incoming enemies
- If she’s not being supported by teammates, she can be very vulnerable while deploying her Bu-Gis
Best Loadouts for Ram:
https://www.gamersdecide.com/articles/rainbow-6-siege-best-ram-loadouts
Flores (S Tier Anti-Gadget & Intel)

Flores belongs to the S tier class because like Ram above, he can cause so much trouble to his enemies and it’s pretty hard to stop him from doing so. Unless your team has a Mute that can jam attacker gadgets’ signals or an Azami who can block drone holes, Flores can unleash a lot of destruction to the defending team even while he’s still safely outside the mission building. That’s because of his special gadget, the RCE-Ratero Charge, which is basically an exploding drone. What’s scary is that its explosion power is similar to that of a nitro cell’s.
The RCE-Ratero Charge goes into its explosion counter automatically after being out for ten seconds, but Flores can activate it manually whenever he wants within those ten seconds. When it enters its three second detonation countdown, it sets itself in place and becomes bulletproof. That means that defenders will have to shoot them before they enter their bulletproof state if they don’t want them to cause any damage or force them to move from their spot, but that can be difficult as the RCE-Ratero Charge can jump like regular drones and Flores can just activate its detonation countdown when he sees that it’s about to get shot.
Flores’ Stats:
- Speed: 2
- Health: 2
Best Weapon loadout:
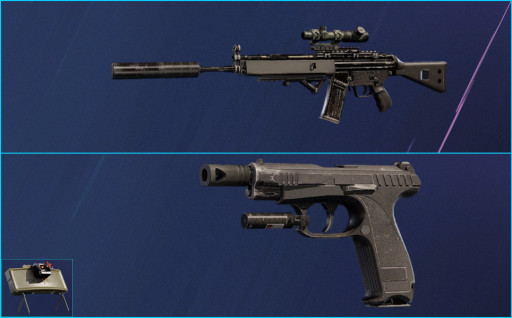
- Primary weapon - AR33 with Scope 2.0x, Suppressor, and Angled Grip
- Secondary weapon - GSH-18 with Muzzle Brake and Laser
- Generic gadget - Claymore
Flores’ Strengths:
- His RCE-Ratero Charge is an exploding drone, and he has a lot of control on when and where he wants them to explode
- He has four RCE-Ratero Charges and each of them has an explosion power similar to a nitro cell’s, so they can cause a lot of destruction
- Flores has great guns for dealing with enemies himself and his claymores are great protection for him when he’s controlling his RCE-Ratero Charges
Flores’ Weaknesses:
- It can be very hard for him to operate his RCE-Ratero Charges when there’s Mute or Azami on the defending team
- His gameplay involves spending a lot of time on the observation tool controlling his RCE-Ratero Charges, and that can leave him vulnerable
- If enemies are able to detect and disable his claymores, he can be very vulnerable against run outs when controlling his RCE-Ratero Charges
Best Loadouts for Flores:
https://www.gamersdecide.com/articles/rainbow-6-siege-best-flores-loadouts
Ying (S Tier Front Line & Map Control)
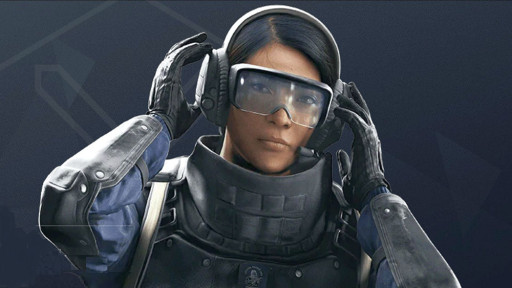
Ying is another operator that is very hard to stop from performing her role and that’s why she belongs to the S tier class. His special gadget, the Candela Device, is a throwable, like the grenades in the game, but even with a Wamai or Jager in the defending team, it can be very hard for them to stop Ying from taking advantage of the effects of her Candela Device. That’s because she has four of them, as well as other throwables like smoke grenades which she can use to offset the timing of Jager’s special gadget, or to use up Wamai’s Mag-NETs before she throws in her Candelas.
Once thrown in a room with enemies, it’ll be very hard for them to avoid being blinded. That’s because the Candela Device releases several flash charges and each of them has a wide range. That’s why it’s very hard to avoid being blinded by a Candela even if you turn your back from it or get behind cover. On top of her Candelas, Ying also possesses a beast of a weapon in the T-95 LSW which is a light machine gun but is as light as an assault rifle. That’s because despite its massive magazine size, it can be reloaded fast due to its detachable magazine, and its recoil is very manageable.
Ying’s Stats:
- Speed: 2
- Health: 2
Best Weapon loadout:
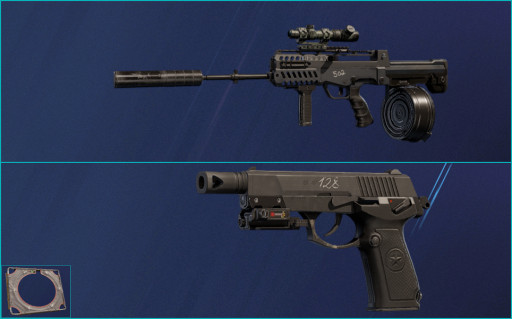
- Primary weapon - T-95 LSW with Scope 2.0x, Suppressor, and Vertical Grip
- Secondary weapon - Q-929 with Muzzle Brake and Laser
- Generic gadget - Hard Breach Charge
Ying’s Strengths:
- It’s hard for enemies to avoid being blinded by her Candelas because it releases several flash charges which has a wide blinding effect range
- Ying has four Candelas and two smoke grenades, so even if Jager or Wamai is present, it can be hard for them to stop her from using those, especially during early game
- Her T-95 LSW is one of the best weapons in the game due to its huge magazine capacity, high damage, low recoil, and quick reload
Ying’s Weaknesses:
- A lot of times, it’s better for her to be alone or be on the front lines because she has a high chance of blinding her own teammates
- If it’s late in the round and Wamai have managed to deploy a lot of his Mag-NETs, then it can be hard for Ying to be effective with her Candelas
Best Loadouts for Ying:
https://www.gamersdecide.com/articles/rainbow-6-siege-best-ying-loadouts
Ace (S Tier Breach & Anti-Gadget)
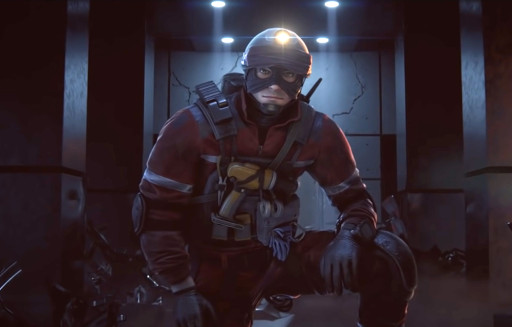
While Ram in one of the above entries specializes in soft breaching, Ace is the S tier hard breacher and that’s because he’s a step above the other hard breachers in the game. Yes, the breaches that he makes may not be as huge as what Thermite can do, but unlike thermite, he has three hard breach charges and he can deploy them from a distance. Unlike Hibana’s, Ace’s hard breach device isn’t as versatile, but each of them make bigger holes. So with that said, Ace kind of combines the good qualities of Hibana and Thermite and that’s why his pick rate is so high.
His pick rate is so high because in most of the rounds in Siege, your attacking team would need a hard breacher, and for most situations, Ace would be the best pick because he’s more well-rounded than both Thermite and Hibana. Another great thing about Ace is his weapons and utilities. He can bring two claymores per round and that definitely helps in protecting him and his teammates from flankers and run outs while hard breaching. As for fragging enemies, Ace’s AK-12 may have a pretty rough recoil, but it’s great at close to medium to range due to its high damage and fast rate of fire.
Ace’s Stats:
- Speed: 2
- Health: 2
Best Weapon loadout:
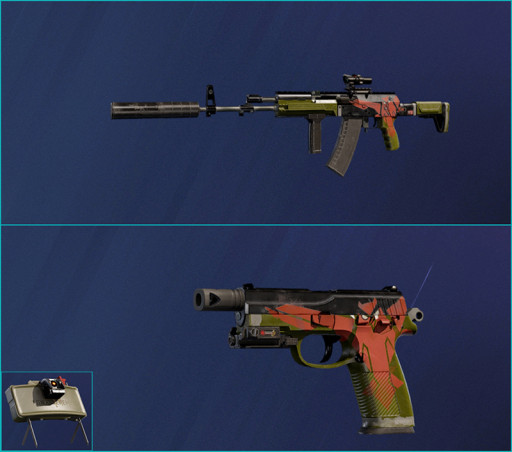
- Primary weapon - AK-12 with Scope 1.5x, Suppressor, and Vertical Grip
- Secondary weapon - P9 with Muzzle Brake and Laser
- Generic gadget - Claymore
Ace’s Strengths:
- He has three hard breach devices and each of them can open holes on reinforced walls that are big enough for entry
- He has access to two claymores per round and that’s a great help for him and his teammates in countering run outs and roamers while they’re hard breaching
- Since has three hard breach devices, he can use two for breaching a wall and reserve the remaining one for destroying a hatch above the objective spot
Ace’s Weaknesses:
- The drawback with his hard breach devices is that their breaching action is quite slow, so it’s easier to disable them while they’re performing a hard breach
- Ace’s AK-12 assault rifle is a powerful weapon, but it can be quite hard to control at times due to its high horizontal recoil
Best Loadouts for Ace:
https://www.gamersdecide.com/articles/rainbow-6-siege-best-ace-loadouts
Iana (S Tier Front Line & Intel)
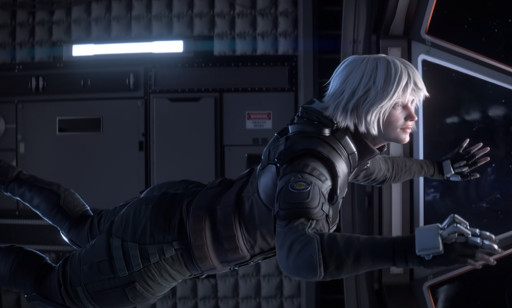
For many seasons now, Iana has been the highest pick rate operator on attack, and that’s because people just know that she’s an S tier operator. She’s very versatile and can do intel, entry, and secondary entry roles. That’s because her special gadget, weapons, and utilities, are all solid for those roles. First off, she has the Gemini Replicator special gadget which produces a holographic copy of her. Iana can control that holographic copy and see through its feed. And it can mimic all of Iana’s movements except for shooting weapons, throwing projectiles, and rappelling.
As one could imagine, since it’s an exact copy of Iana and she’s able to basically use it as a drone, enemies kind of have no choice but to shoot it as soon as they see it. The holographic clone being shot will put the Gemini Replicator on a longer cooldown than normal, but if the enemy who shot it wasn’t using a suppressor, chances are, he’d have compromised his location to Iana and the other attackers just with the sound of his gunshot. On top of that, Iana would have most likely been able to gather intel through the holographic clone before it got shot.
Iana’s Stats:
- Speed: 2
- Health: 2
Best Weapon loadout:
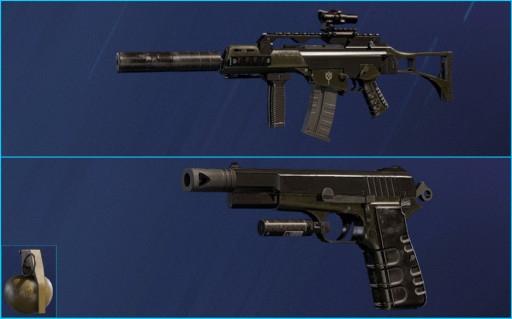
- Primary weapon - G36C with Scope 1.5x, Suppressor, and Vertical Grip
- Secondary weapon - MK1 9mm with Muzzle Brake and Laser
- Generic gadget - Frag Grenade
Iana’s Strengths:
- She’s able to scout ahead and gather intel while she’s safely behind cover through the use of the holographic clone from her Gemini Replicator
- Iana’s G36C is a very solid weapon for her especially since she can equip it with a scope 1.5x which is perfect for close to medium range
- Iana is one of the few operators that has access to frag grenades and they’re very deadly utilities when combined with her Gemini Replicator’s intel gathering capabilities
Iana’s Weaknesses:
- Iana doesn’t have access to claymores so she can be vulnerable to run outs while she’s controlling her Gemini Replicator clone
- Mute is one of the best counters for her as she won’t be able to operate her Gemini Replicator clone on a spot that is being jammed by Mute’s Signal Jammer
Best Loadouts for Iana:
https://www.gamersdecide.com/articles/rainbow-6-siege-best-iana-loadouts
Grim (S Tier Font Line & Map Control)
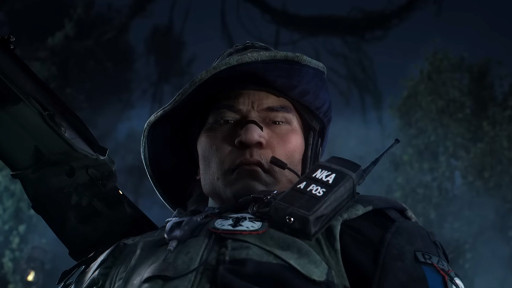
Grim went from being one of the most unpopular operators in Siege to one of its most powerful, and because of that, his pick rate has seen a dramatic increase. That’s because of all the buffs he has received since the time he joined Team Rainbow. Nowadays, the area of effect of his Kawan Hives is bigger, he has two modes when it comes to deploying them; sticky and bouncy, and he’s received a lot of improvements to his loadouts. That’s why it is now enough to consider him as an operator who belongs to the S tier.
His special gadget is called the Kawan Hive Launcher which launches the aforementioned Kawan Hives. Grim can deploy five Kawan Hives per round and each of them can cover a large area because they have a wide area of effect now. Enemies who enter their area of effect will get pinged for several seconds and of course they know that so they will do their best to avoid areas affected by the Kawan Hives. The thing is, by avoiding those areas, Grim is basically denying them large areas in the game, and that’s why when it comes to crowd control and intel gathering, Grim is definitely S-tier.
Grim’s Stats:
- Speed: 3
- Health: 1
Best Weapon loadout:
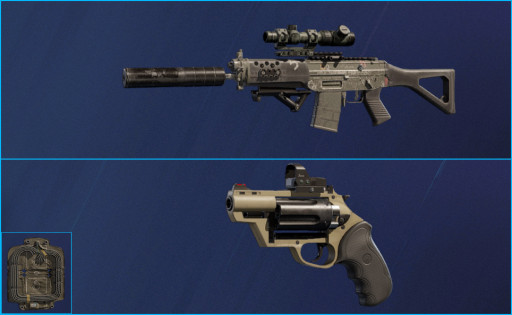
- Primary weapon - 552 Commando with Scope 2.0x, Suppressor, and Angled Grip
- Secondary weapon - Bailiff 410 with Laser
- Generic gadget - Breach Charge
Grim’s Strengths:
- Each of his five Kawan Hives has a large radius and enemies who enter that radius will get pinged for several seconds and that ping can be seen by the whole attacking team
- He’s now more versatile when it comes to deploying his Kawan Hives. He can fire them now in sticky mode or in a bouncy state
- His 552 Commando can now be equipped with a scope 2.0x and he also can now equip the bailiff 410 revolver shotgun as his secondary weapon which will allow him to rework the map
Grim’s Weaknesses:
- He can be quite vulnerable from flankers or roamers while he’s deploying his Kawan Hives, so it’s best if he’s backed up by his teammates when he’s doing that
- He has 1-health 3-speed rating and while that gives him a lot of speed, at close quarters combat, he can really only take a few shots before going down
Best Loadouts for Grim:
https://www.gamersdecide.com/articles/rainbow-6-siege-best-grim-loadouts
Brava (S Tier Intel & Anti-Gadget)
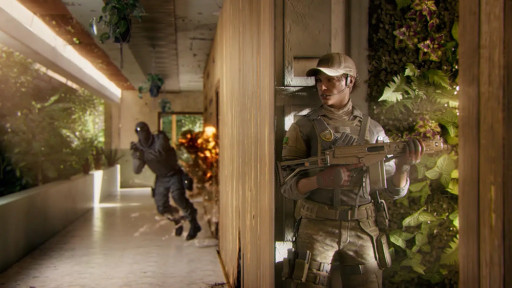
When it comes to being an anti-gadget operator, Brava is definitely S tier. That’s because unlike most anti-gadget operators, she doesn’t just disable enemy gadgets. With her special gadget, the Kludge Drone, she can also convert the allegiance of many enemy electronic gadgets like Kapkan’s EDDs, Maestro’s Evil Eyes, and a lot more. On top of that, the defender electronic gadgets that she can’t convert with her Kludge Drone will be disabled instead. Either way, the defenders will lose their electronic gadgets, and that can negatively affect them in a big way.
That’s because gadgets play a major role in Siege gameplay. In a lot of cases, gadgets are what determines the outcome of the match, even more so than the gunfights. Brava has two Kludge Drones and each of them can disable or convert three gadgets, so in total, Brava can disable or convert six enemy electronic gadgets. But Brava isn’t an S tier operator only because of her Kludge Drones. Her weapons and utilities are also great, as the Para-308 is an excellent primary weapon due to its high damage and low recoil while the Super Shorty shotgun is a great secondary weapon for her as it’ll allow her to rework the map to her advantage.
Brava’s Stats:
- Speed: 3
- Health: 1
Best Weapon loadout:
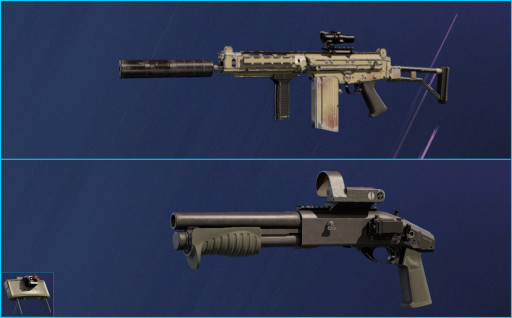
- Primary weapon - Para-308 with Scope 1.5x, Suppressor, and Vertical Grip
- Secondary weapon - Super Shorty with Reflex B and Laser
- Generic gadget - Claymore
Brava’s Strengths:
- Through her Kludge Drones, she can convert enemy electronic gadgets into attacker gadgets instead and use them to damage or kill the defenders
- The defender electronic gadgets that she can’t convert will instead be disabled, so either way, the defenders will lose important electronic gadgets
- Brava’s weapons and utilities are also great, from her Para-308 assault rifle primary weapon, Super Shorty shotgun secondary weapon, to the claymore as her generic gadget
Brava’s Weaknesses:
- She can leave herself vulnerable when she’s controlling her Kludge Drones so the claymores are important for her
- Mute and Mozie are great counters for her as Mute can jam the signal of her Kludge Drones while Mozie can convert her Kludge Drones instead
Best Loadouts for Brava:
https://www.gamersdecide.com/articles/rainbow-6-siege-best-brava-loadouts
Kaid (S Tier Anti-Entry & Anti-Gadget)
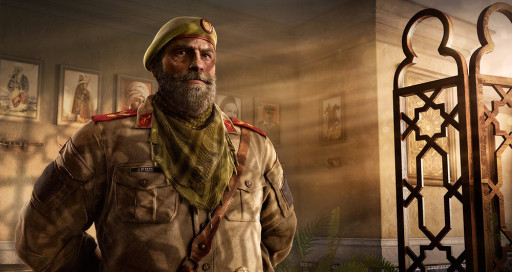
Kaid is in the S tier class because it’s very important to have him in the team when you’re defending a bomb site that has a wall that connects to the outside. Because if that wall is breached by the attackers, it can be much harder to defend the objective spot. A breached wall on the objective spot means more paths of attack for the attacking team and it could be much harder for the defending team to defend against the attackers that are pushing from the breach as well as the enemies that are flanking. With Kaid, however, the defending team has a good chance of preventing that from happening.
That’s because Kaid’s special gadget, the Electroclaw, is the best gadget in the game right now when it comes to preventing attackers from hard breaching. Kaid has two Electroclaws and they have a reach of 1.4 meters. That range allows the Electroclaw to electrocute a wall from a distance, therefore, avoiding many of the utilities that attackers usually deploy for disabling defender gadgets that can prevent hard breaching. Kaid is also still the only defender that can realistically prevent a reinforced hatch from being breached because he can attach his Electroclaws to almost any kind of surface.
Kaid’s Stats:
- Speed: 3
- Health: 1
Best Weapon loadout:
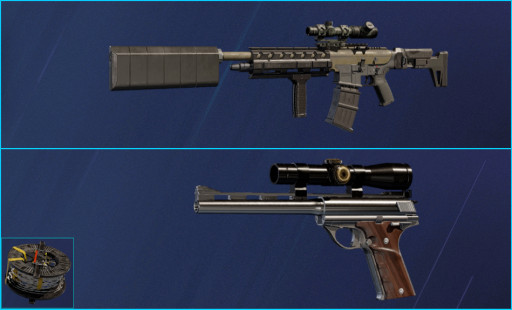
- Primary weapon - TCSG12 with Scope 2.0x, Suppressor, and Vertical Grip
- Secondary weapon - .44 Mag Semi-Auto
- Generic gadget - Barbed Wire
Kaid’s Strengths:
- With his Electroclaws, he’s very effective in preventing attackers from performing hard breaching on reinforced walls or hatches
- He has access to the TCSG12 which is a slug shotgun and is basically like a sniper rifle due to it being able to hit targets from long range
- His Electroclaws can be used to electrocute other utilities like the deployable shield and barbed wires which can be used to prevent entry to enemies
Kaid’s Weaknesses:
- Kaid is a heavy armored operator so he’s quite slow. Because of that, he’s not that effective when it comes to roaming and he’d mostly have to anchor.
- When Thatcher is present in the attacking team, even the range of Kaid’s Electroclaw wouldn’t be enough, as they’ll still be reached by Thatcher’s EMP Grenades
Best Loadouts for Kaid:
https://www.gamersdecide.com/articles/rainbow-6-siege-best-kaid-loadouts
Alibi (S Tier Intel & Trapper)
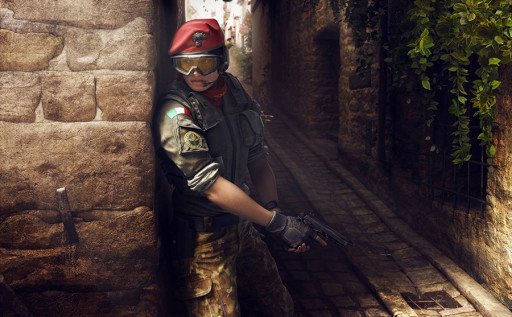
Alibi is easily one of the most versatile defending operators and that’s why she belongs in the S tier class. With Alibi, the player can do a lot of things. She can be an anchor, or she can be a roamer. She’s also great at gathering intel as well as denying entry to enemies. All that is because of her special gadget, the Prisma. The Prisma produces a static holographic clone of Alibi and she has three of them. Anything coming from an enemy, be it their own body, bullets, or utilities, that passes through the Prisma holographic clone will activate a tracker that will ping that attacker for several seconds.
And since the holographic clone looks exactly like Alibi’s default skin, enemies usually shoot them and the tracker forces them to stop their advance, take cover, and wait until the ping’s timer runs out. That’s why it’s very troublesome for attackers when Alibi deploys her Prisma holographic clones right behind windows, because they know that they can’t just vault in through those windows as they will get pinged. It’s also going to be quite hard to disable a Prisma deployed behind a window as its base will be difficult to shoot. On top of all that, Alibi also possesses incredible weaponry and utilities that only serve to make her one of the game’s most powerful operators.
Alibi’s Stats:
- Speed: 3
- Health: 1
Best Weapon loadout:
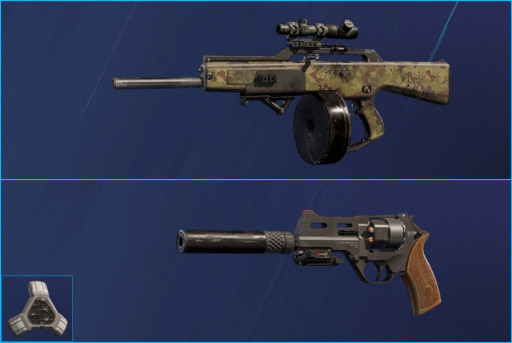
- Primary weapon - ACS12 with Scope 2.0x and Angled Grip
- Secondary weapon - Keratos .357 with Suppressor and Laser
- Generic gadget - Proximity Alarm
Alibi’s Strengths:
- Alibi can be an anchor operator and she can also be used effectively for roaming as her special gadget, weapons, and utilities work for both roles
- With her Prisma holographic clones, she can be a very effective intel gather and she can also deny entry to enemies by deploying them right behind windows
- She has access to the very powerful ACS12 shotgun which has high damage, very low recoil, and has high destruction rate per shot which makes it a great utility for reworking the map
Alibi’s Weaknesses:
- She’s a 3-speed operator and while that allows her to move quickly, it also means that she can be taken down with just a few shots
- They recently nerfed her a bit by removing her impact grenades, so she can’t make a rotation hole quickly anymore and it’ll be harder for her to counter Osa
Best Loadouts for Alibi:
https://www.gamersdecide.com/articles/rainbow-6-siege-best-alibi-loadouts
Rook (S Tier Support)
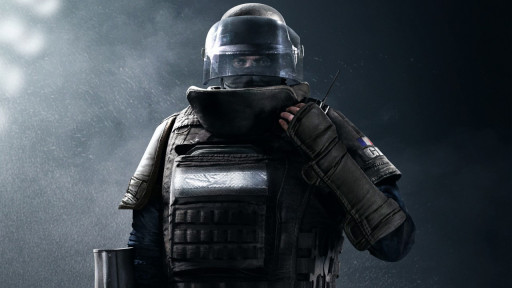
Used to be one of the most mid operators around. He’s always been solid but there was really nothing special about him. Just a heavy armored operator that can make his teammates tougher. But that changed a few seasons ago when the rework on Rook’s Armor Plates dropped. Now, his Armor Plates don't only add more health points to operators who wear them. They also add the ability to self-revive from a down-but-not-out state. Because of that rework, Rook jumped from being a mid operator to one that belongs to the highest tier.
Team play is very important in Siege, so to be able to make your whole team tougher makes Rook a very valuable operator. But with the rework on his Armor Plates, when Rook is present in the defending team, all members of it will also have the ability to get up from a down-but-not-out state. That can really be troublesome to attackers, especially now that there’s no more indicator when you put an enemy in a dbno state. Now, all of the defending team members will have a second chance from being downed, and that really impacts the dynamics of the game.
Rook’s Stats:
- Speed: 1
- Health: 3
Best Weapon loadout:
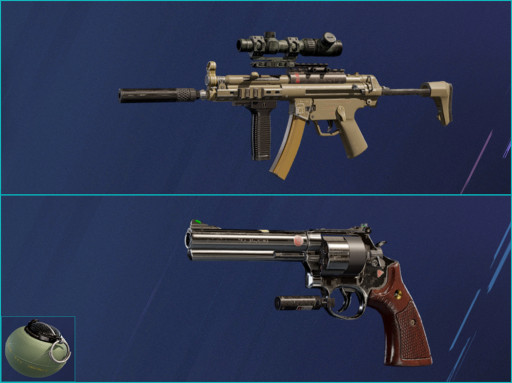
- Primary weapon - MP5 with Scope 2.0x, Suppressor, and Vertical Grip
- Secondary weapon - LFP586 with Laser
- Generic gadget - Impact Grenade
Rook’s Strengths:
- His Armor Plates add more health points to operators who’s wearing them, allowing them to last longer in gunfights against non-headshot shots
- With the rework on his Armor Plates, they now also add the ability to self-revive from a down-but-not-out state
- Rook is one of the very few defenders who has access to the scope 2.0x for their guns and that provides him with a lot of accuracy
Rook’s Weaknesses:
- He’s a heavy armored operator and while that makes him tougher, it makes him one of the slowest moving operators around
- His weapons, while compatible with high level scopes, have low damage, so it can take longer for them to finish an enemy with shots to the torso
Best Loadouts for Rook:
https://www.gamersdecide.com/articles/rainbow-6-siege-best-rook-loadouts
Wamai (S Tier Anti-Gadget & Trapper)

Like Wamai in one of the entries above, Wamai is an almost essential operator to have in defense, especially in competitive games. That’s because attacker grenades can do a lot of damage to defenders. Attacker frag grenades can score easy kills for attackers, and flash and smoke grenades can make it very easy for them to push the objective spot. That is why anti-projectile operators like Wamai and Jager are always needed in defense. However, Wamai is on the S tier because he’s more well-rounded than Jager and can do a lot more things.
With his special gadget, the Mag-NET, Wamai can intercept many attacker grenades and have them detonate in a place that they didn’t intend to. So when it comes to protection from grenades, Wamai has the defending team covered. Wamai also has access to two defender grenades per round and he can use them to rework the map to the defending team’s advantage with rotation holes that makes it much easier for defenders to respond and flank attackers. Wamai’s weapons are also incredibly powerful as he can equip the scope 1.5x to his MP5K and his Keratos .357 has high stopping power and destruction rate that it can also be used for reworking the map.
Wamai’s Stats:
- Speed: 2
- Health: 2
Best Weapon loadout:
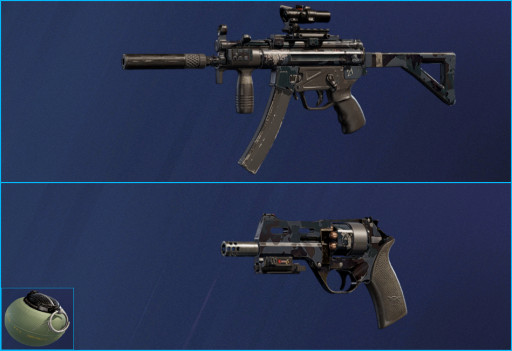
- Primary weapon - MP5K with Scope 1.5x and Suppressor
- Secondary weapon - Keratos .357 with Muzzle Brake and Laser
- Generic gadget - Impact Grenade
Wamai’s Strengths:
- With his Mag-NETs, Wamai can neutralize attacker projectiles, so defenders won’t get easily killed by frag grenades, and attackers won’t be able to push easily with their smoke and stun grenades
- Wamai can bring two impact grenades per round and he can use them to create rotation holes which are important for defending the bomb sites
- Wamai’s MP5K is an excellent primary weapon because of its scope 1.5x and the Keratos .357 is a great secondary because of its heavy stopping power and high destruction rate
Wamai’s Weaknesses:
- He starts with one Mag-NET and gains another every forty seconds, so his full potential is only achieved later into the round
- IQ and Thatcher are the best counters to Wamai as they can disable his Mag-NETS very easily, and without them, attackers can take advantage of their projectiles and throwables
Best Loadouts for Wamai:
https://www.gamersdecide.com/articles/rainbow-6-siege-best-wamai-loadouts
Smoke (S Tier Anti-Entry & Trapper)
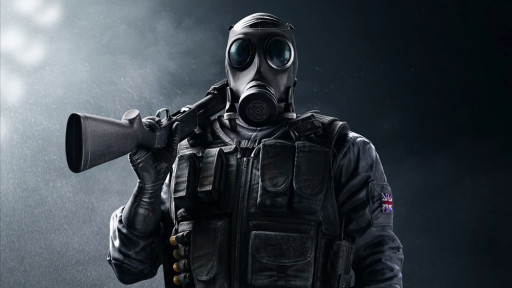
There’s no denying that Smoke is still an S tier operator after all these years because he plays an integral role when it comes to area denial, especially in competitive games. There’s only one mode in ranked games and that’s the bomb mode where another way for attackers to win aside from wiping out the whole defending team is to plant the defuser and have it successfully defuse the bombs. That is why area-denial is very important in competitive matches, because a good area-denial operator can prevent attackers from pushing and defusing the bombs.
And when it comes to area-denial, Smoke is one of the best. His area-denial device, the Remote Gas Grenade, is unique in that it doesn’t damage its owner, Smoke. He has three Gas Grenades, and each of them covers a large area in chemical gas. That chemical gas lasts for ten seconds and that may not sound like a lot, but in Siege where competitive matches only lasts for a little over two minutes, that’s a long time, especially since Smoke has three Gas Grenades so that’s a total of thirty seconds. The chemical gas damages enemies really quickly and even if the enemy has 3-health rating, they can be downed in just three seconds under the effects of a Gas Grenade.
Smoke’s Stats:
- Speed: 2
- Health: 2
Best Weapon loadout:
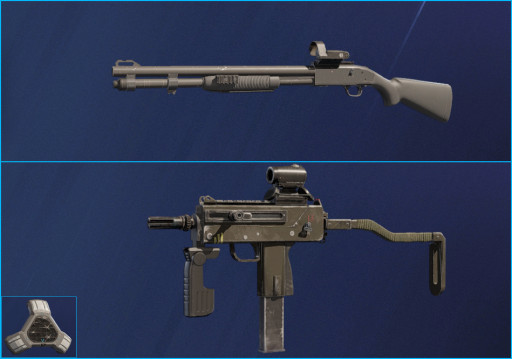
- Primary weapon - M590A1 with Reflex B and Laser
- Secondary weapon - SMG-11 with Red Dot A and Flash Hider
- Generic gadget - Proximity Alarm
Smoke’s Strengths:
- He’s a great area-denial operator because of his Remote Gas Grenade that covers a large area in chemical gas for ten seconds and quickly damages enemies within its radius
- Smoke is great at close quarters combat due to his M590A1 shotgun primary weapon while also excelling at medium range due to his SMG-11 machine pistol
- He can enter the effects of his Gas Grenades without being harmed by them so he can use this to easily take back control of an area and outmaneuver enemies
Smoke’s Weaknesses:
- If he deploys his Gas Grenade early, it can easily be disabled by IQ using her Electronics Detector or by Thatcher’s EMP grenades
- He mostly has to stay in the objective spot because his special gadgets would be wasted if he’s not in the area when the enemy is pushing
Best Loadouts for Smoke:
https://www.gamersdecide.com/articles/rainbow-6-siege-best-smoke-loadouts
Azami (S Tier Anti-Entry & Support)

Azami is one of the best defenders that one can play and that qualifies her to be in the S Tier. Azami’s versatility is insane because with her special gadget, the Kiba Barrier, she can do so many things that benefit her team. Most of the time, Azami’s Kiba Barriers are used to provide more cover in order for defenders to have more protection, but they can also be used for denying intel to enemies, entry-denial, as well as performing quick repairs on breaches. That’s because Azami’s Kiba Barriers, as the name implies, are bullet proof barriers that can be applied to most surfaces.
For intel-denial, Azami can simply use her Kiba Barriers to block the drone holes near the objective spot. That’ll prevent attackers from using those holes for gathering intel. For breach repair, Azami can quickly deploy her Kiba Barriers on destroyed hatches, destroy portions of the wooden floor above the objective spot, or for applying a quick repair on the breaches that Ace or Hibana made. And during crutch time, Azami can use them to quickly prevent entry to enemies on doorways or windows. On top of all that, Azami has access to powerful weapons like the ACS12 shotgun and the D-50 handgun.
Azami’s Stats:
- Speed: 2
- Health: 2
Best Weapon loadout:
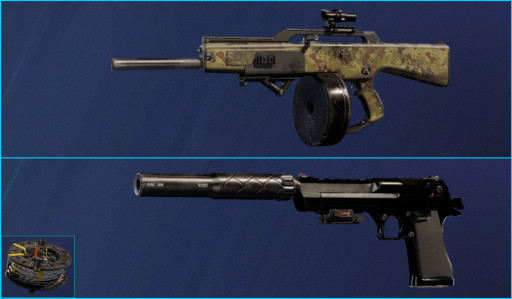
- Primary weapon - ACS12 with Scope 1.5x and Angled Grip
- Secondary weapon - D-50 with Suppressor and Laser
- Generic gadget - Barbed Wire
Azami’s Strengths:
- With her Kiba Barriers, she can provide more cover for her and her teammates in order to protect themselves better inside the objective spot
- Azami can also make it hard for enemies to gather intel by using her Kiba Barriers to block drone holes near the objective spot
- Azami has access to the very powerful ACS12 shotgun which has very low recoil, high damage, fully automatic, and can be used to rework the map due to its destruction rate per shot
Azami’s Weaknesses:
- Sledge is the best counter to Azami because just one hit from his Tactical Breaching Hammer can destroy a Kiba Barrier
- Azami will most of the time have to stay and anchor the objective spot as her full potential through her Kiba Barriers can be achieved by doing that
Best Loadouts for Azami:
https://www.gamersdecide.com/articles/rainbow-6-siege-best-azami-loadouts
Solis (S Tier Intel & Support)
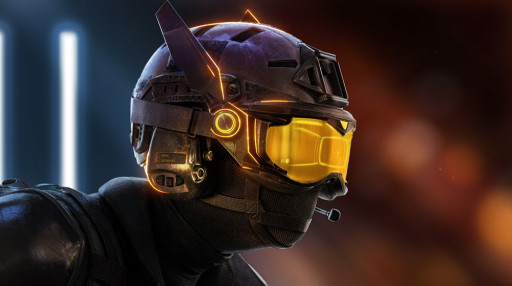
When it comes to intel gathering and disabling enemy gadgets, there’s no question that Solis is S tier. That’s because of her special gadget, the SPEC-IO Electro Sensor. Her special gadget allows her to detect enemy electronic gadgets in real time, and that of course will make it easy for her to find and disable them. That’s why when Solis is around, it’ll be very difficult for attackers to leave their drones near the objective spot for surveillance, as Solis will surely be able to detect them. The presence of their gadgets can also give Solis, and in turn her team, a good idea of where the attackers are coming from.
As if that’s not great enough, the devs also gave her the capability to perform Cluster Scans which will tag enemy electronics she’s detected and cast them to the whole attacking team’s view. This intel sharing capability is so great and is definitely one of the most useful in Siege. Because of this, Solis is one of the best when it comes to performing run outs as she’ll be able to scan first if there are claymores lying in wait behind windows or doors. So with her SPEC-IO Electro Sensor, Solis can perform run outs and cause a lot of grief to the attackers while being able to protect herself well.
Solis’ Stats:
- Speed: 2
- Health: 2
Best Weapon loadout:
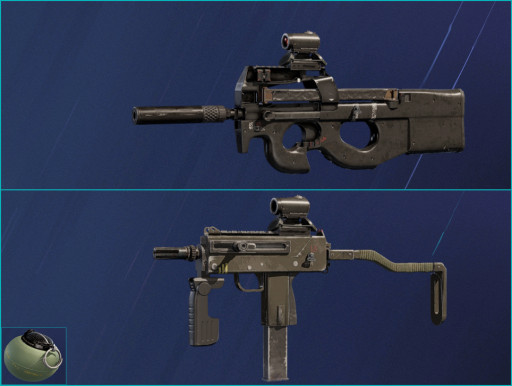
- Primary weapon - P90 with Red Dot A and Suppressor
- Secondary weapon - SMG-11 with Red Dot A, Flash Hider, and Vertical Grip
- Generic gadget - Impact Grenade
Solis’ Strengths:
- With her SPEC-IO Electro Sensor, she can detect enemy electronic gadgets in real time, which will make it easy for her to find and disable them
- Her cluster scans from her SPEC-IO Electro Sensor, will tag the enemy electronic gadgets she’s detected and share them to the whole attacking team
- She’s great at performing run outs, because she can scan first whether a claymore has been deployed behind a window or door before she attempts to run out
Solis’ Weaknesses:
- She lacks a fully automatic weapon with high damage as both the P90 and SMG-11's damage leave much to be desired, though they’re still excellent killing machines
- She can’t use her weapons while she’s using her SPEC-IO Electro Sensor so that can leave her vulnerable, especially when it comes to roaming
Best Loadouts for Solis:
https://www.gamersdecide.com/articles/rainbow-6-siege-best-solis-loadouts
Fenrir (S Tier Trapper)
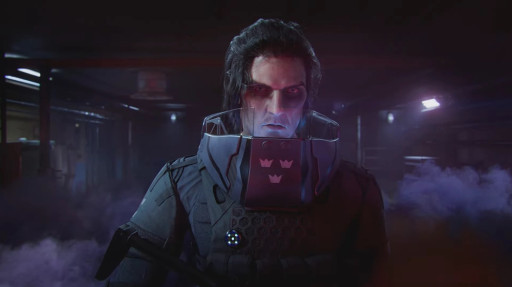
Fenrir is one of the newest operators in Siege and is definitely an S tier operator. His high ban rate is evidence of him being quite OP because a lot of players, especially when they’re starting off as the attacking team do not want to contend with his dreadful Dread Mines. Fenrir has five Dread Mines and he can keep three of them active at the same time. When a Dread Mine is active, it acts as a proximity mine, inflicting a fear effect on enemies who step into its radius. That fear effect will severely limit the vision range of that enemy and that’ll make them very susceptible to defender gunfire.
The thing is though, when a Dread Mine is active, it loses its bulletproof state. However, the Dread mines are pretty small and can be very hard to find when tucked on corners or behind objects, so in a lot of cases, just having them active is the best tactic. Fenrir players will have good control over their Dread Mines because they can activate or deactivate them even through walls. Another thing that makes Fenrir such a valuable operator is his access to the bailiff 410 handgun which will allow him to rework the map to the defending team’s advantage.
Fenrir’s Stats:
- Speed: 2
- Health: 2
Best Weapon loadout:
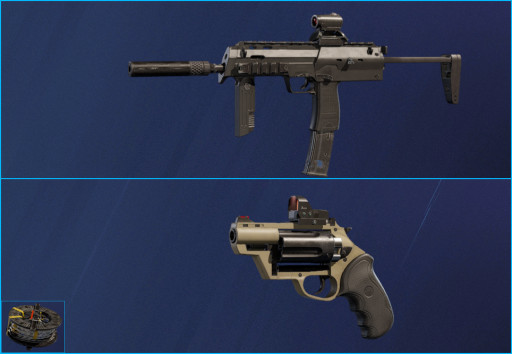
- Primary weapon - MP7 with Red Dot A and Suppressor
- Secondary weapon - Bailiff 410 with Laser
- Generic gadget - Barbed Wire
Fenrir’s Strengths:
- Fenrir has access to five Dread Mines per round and they inflict a fear effect on enemies in their radius which will severely limit their vision’s range
- Fenrir can have three activate dread Mines per round and he can remotely activate or deactivate them behind walls so he has a lot of control over them
- Fenrir’s loadouts are also great because he can equip the MP7 as his primary which is a really good weapon and the bailiff 410 shotgun as his secondary for reworking the map
Fenrir’s Weaknesses:
- IQ is one of the biggest counters to Fenrir because she can detect his Dread Mines and shoot them through soft walls or floors when they’re active
- The active Dread Mines are also susceptible to enemy grenades or other explosive gadgets like Ash’s Breaching Rounds or Fuze’s Cluster Charges
Best Loadouts for Fenrir:
https://www.gamersdecide.com/articles/rainbow-6-siege-best-fenrir-loadouts
Attention operator, please be advised. There is a new directive from Six. Read up on these related articles, and prepare for deployment:

