There Are Just Too Many Possibilities!
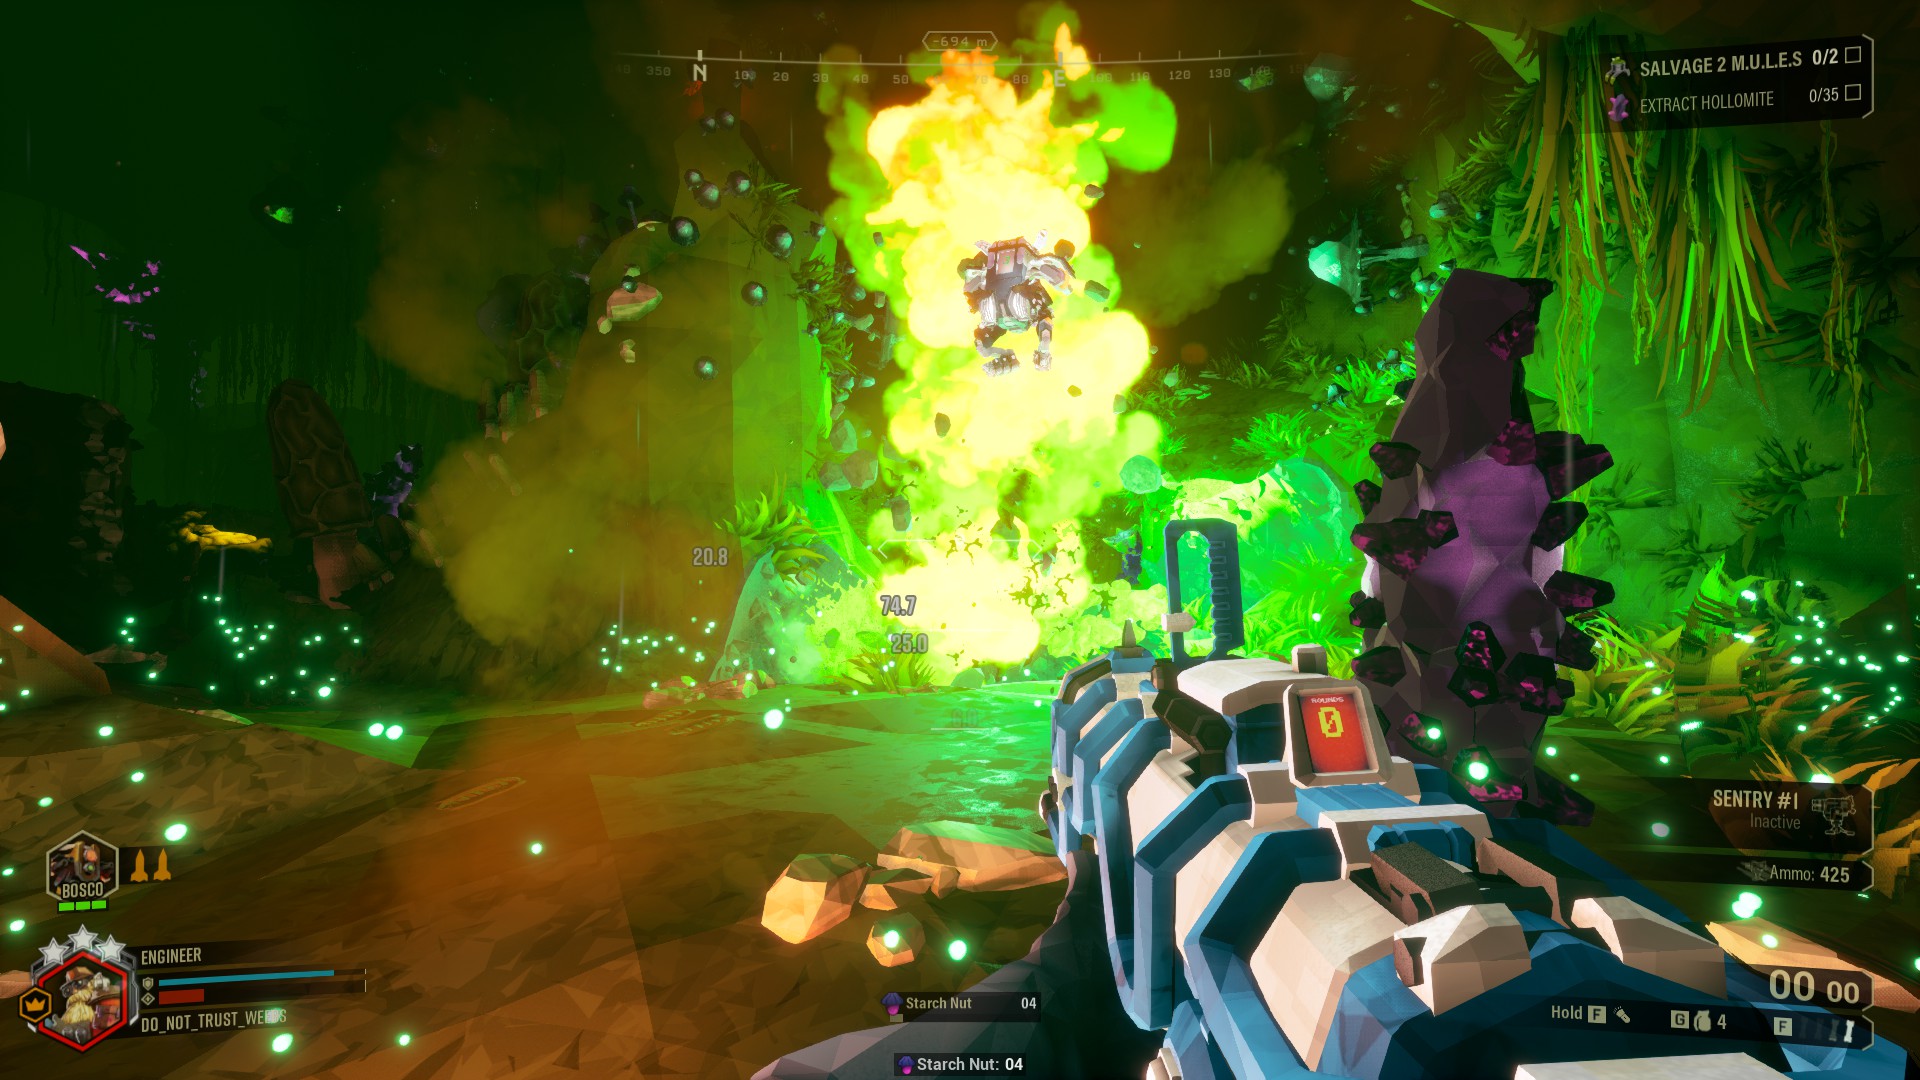
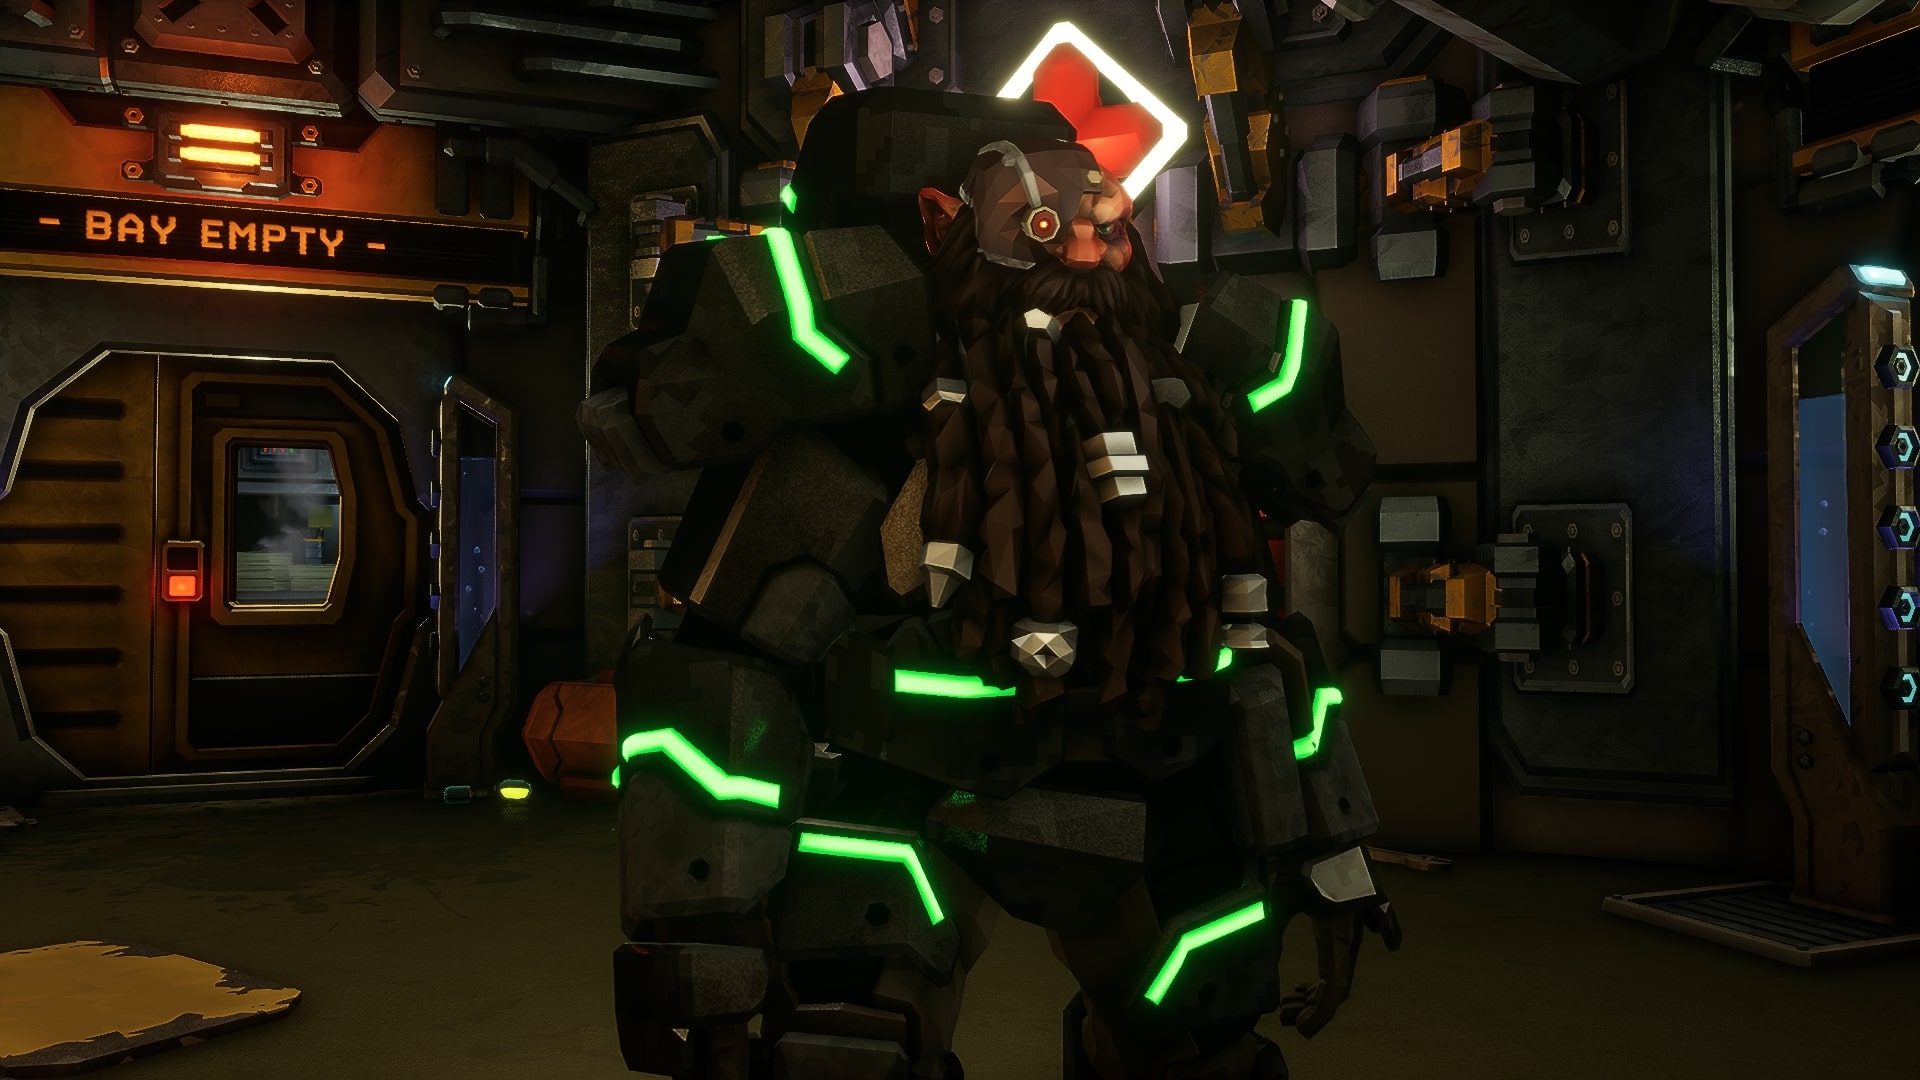
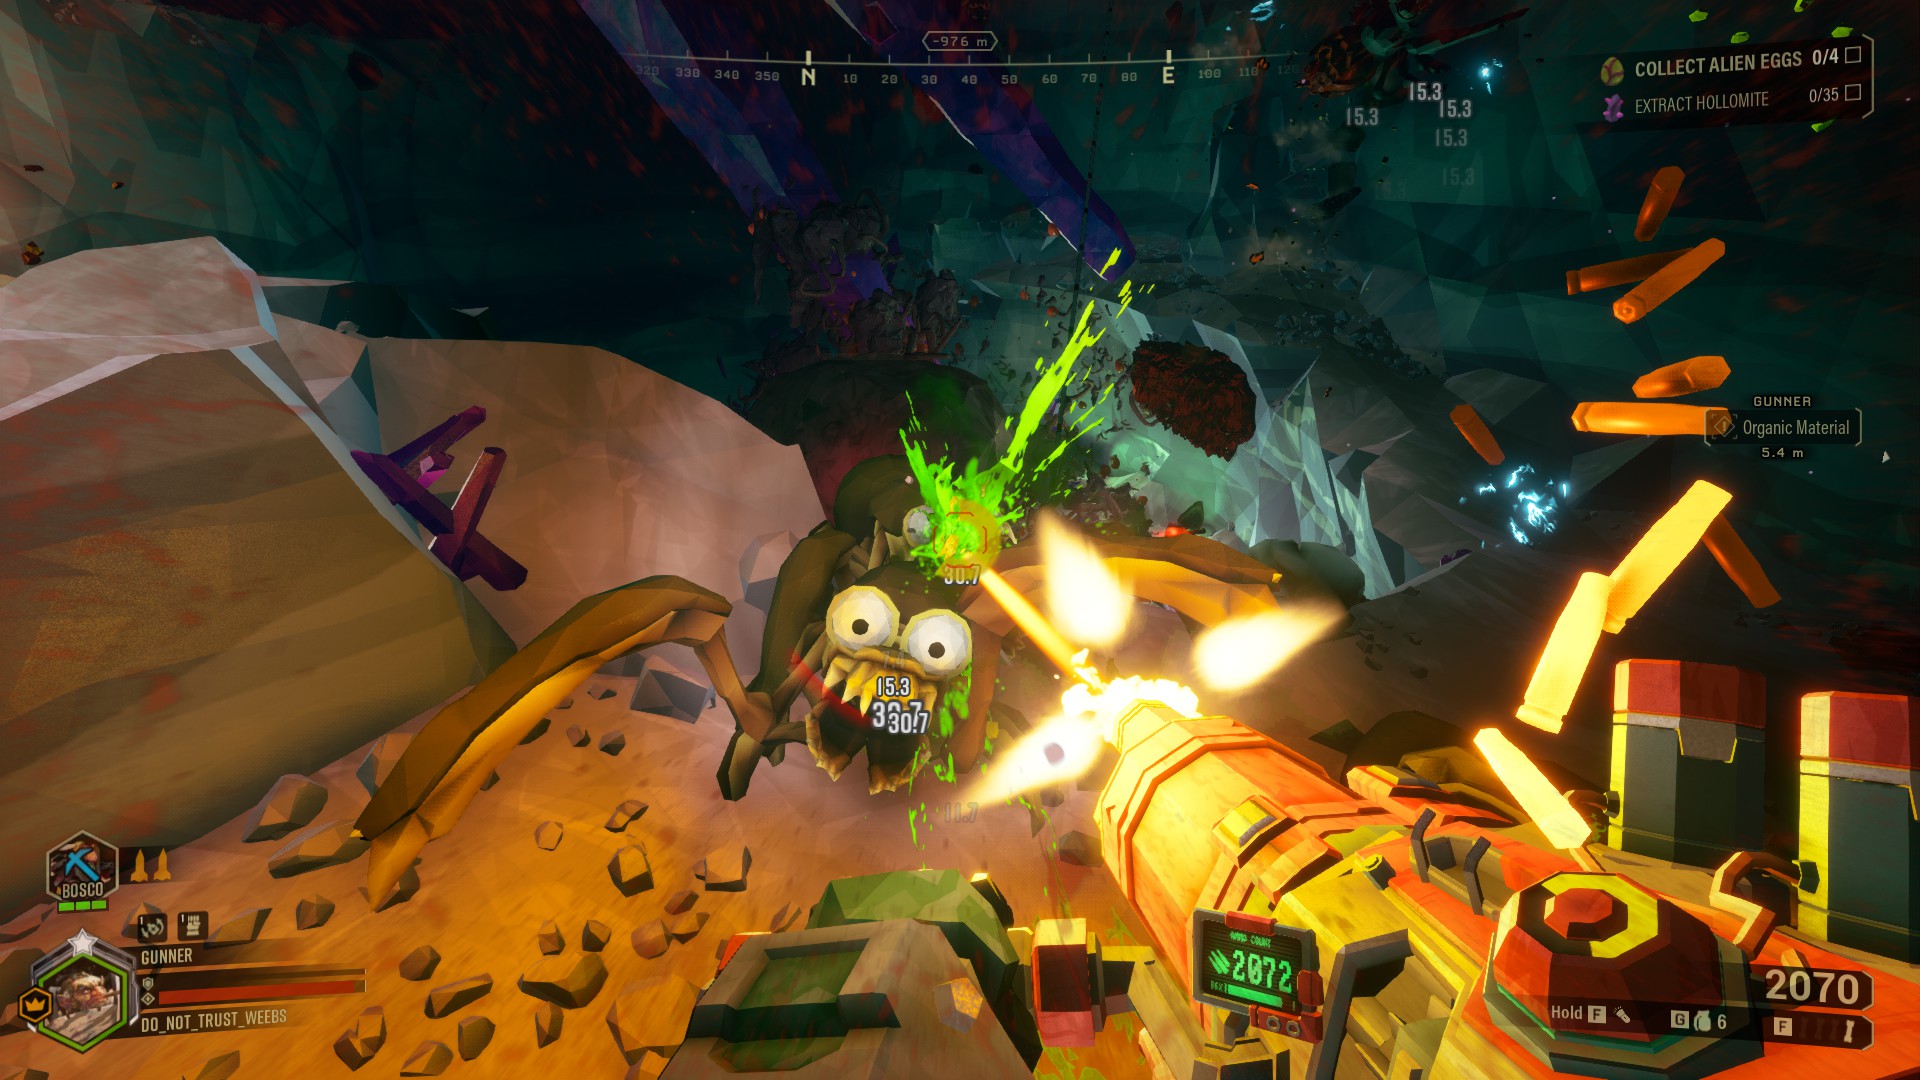
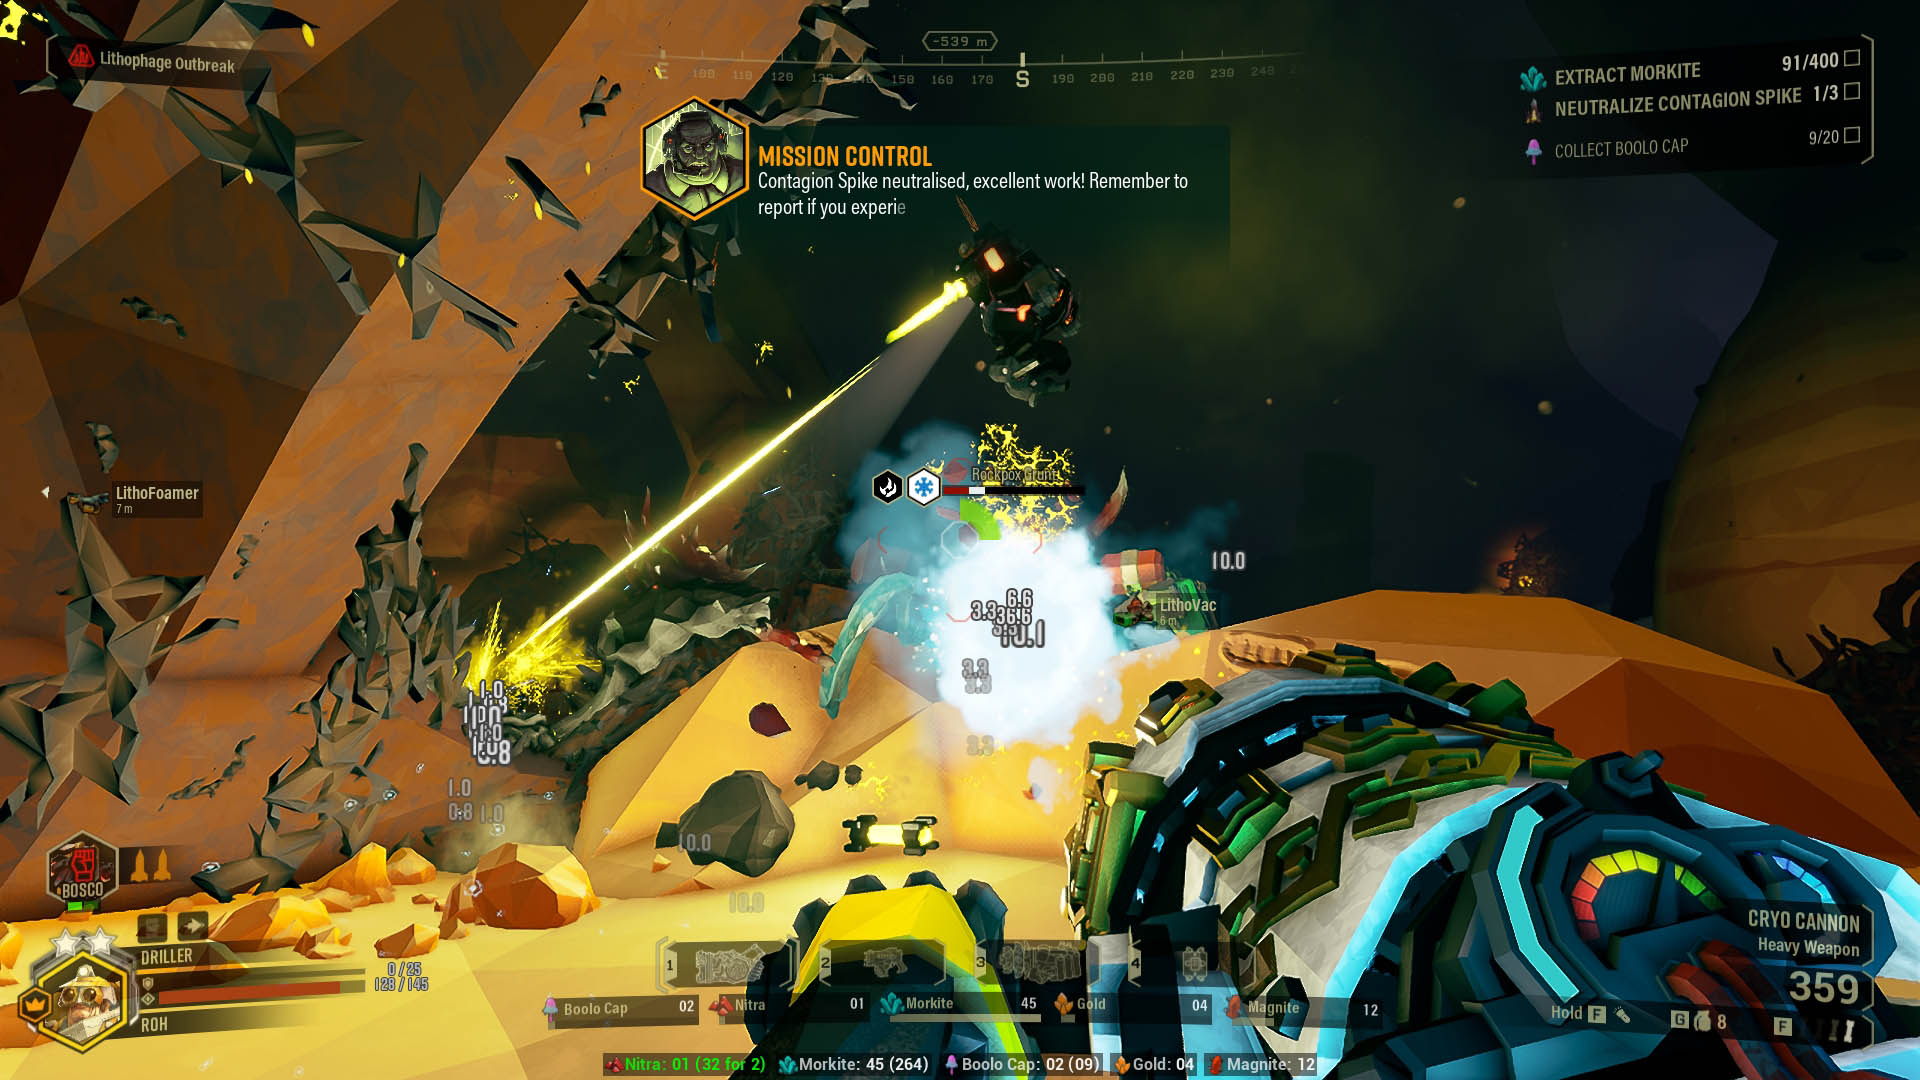
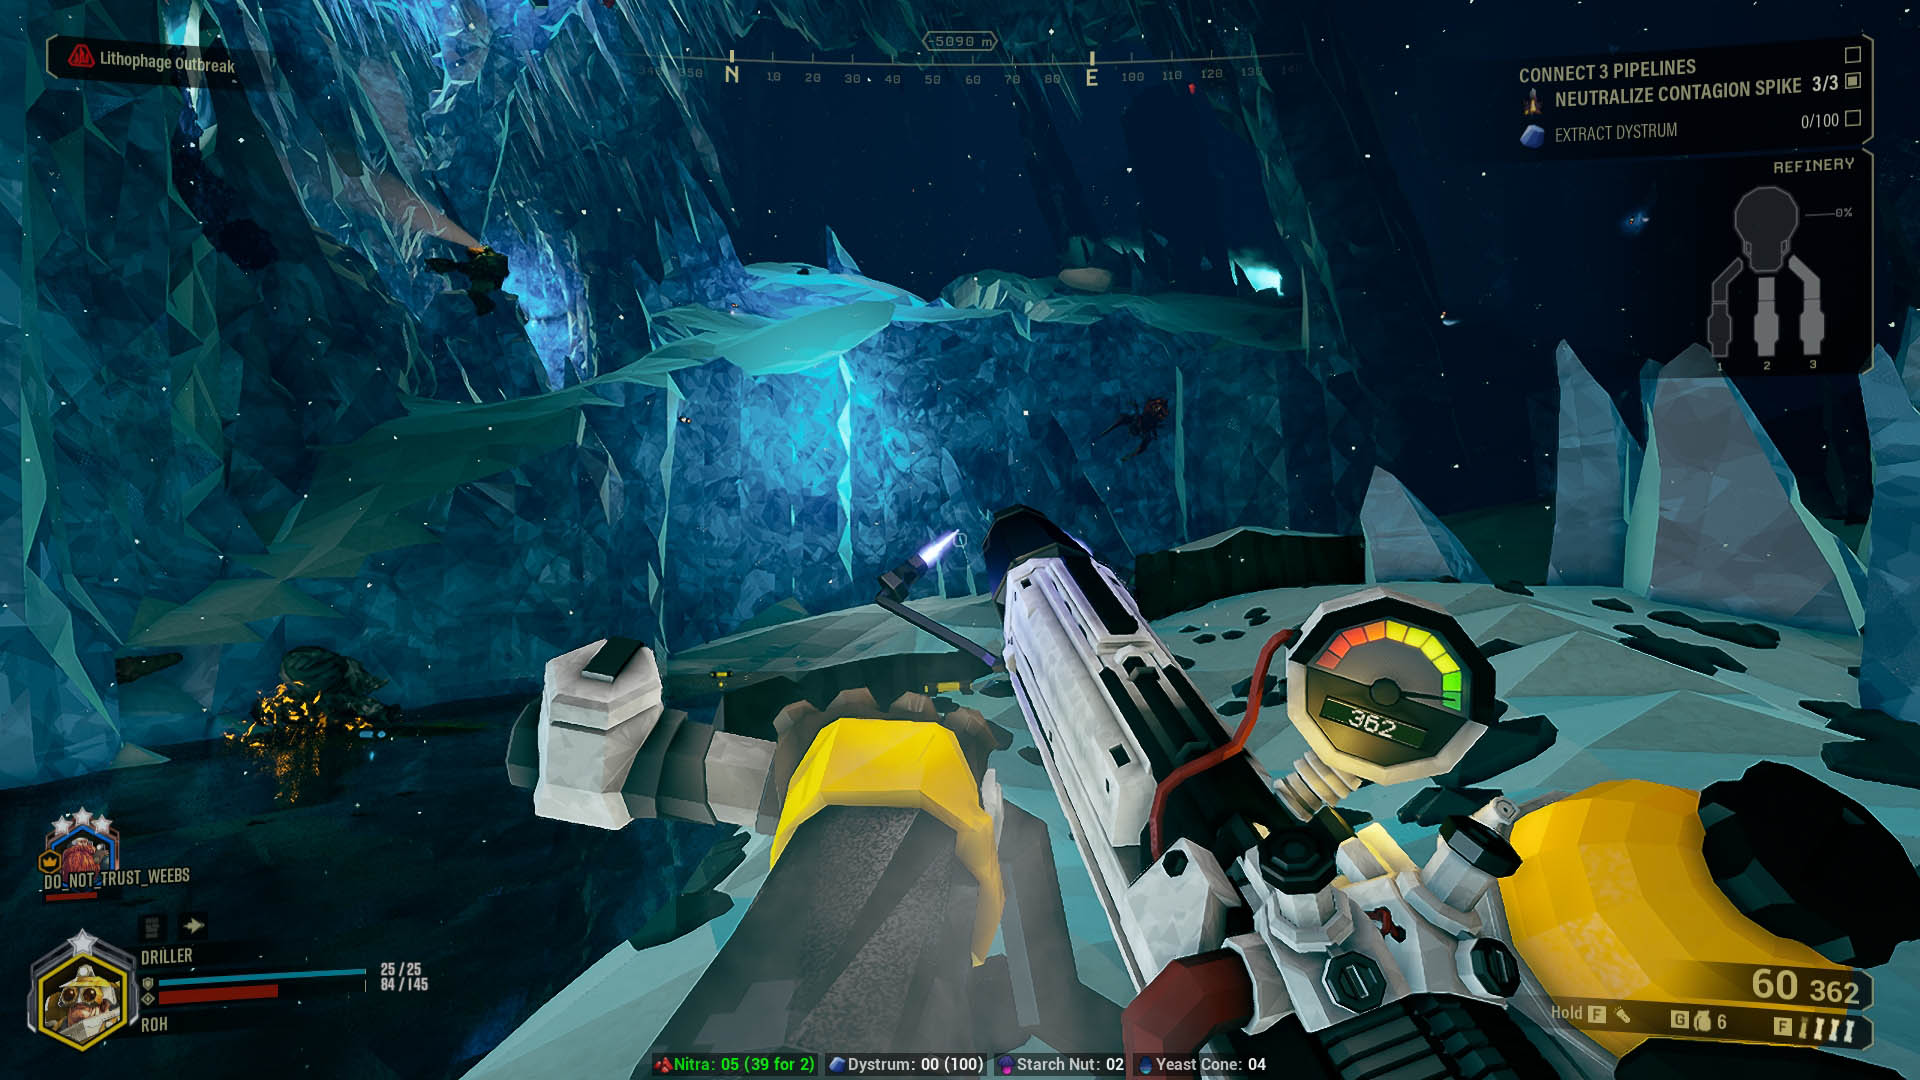
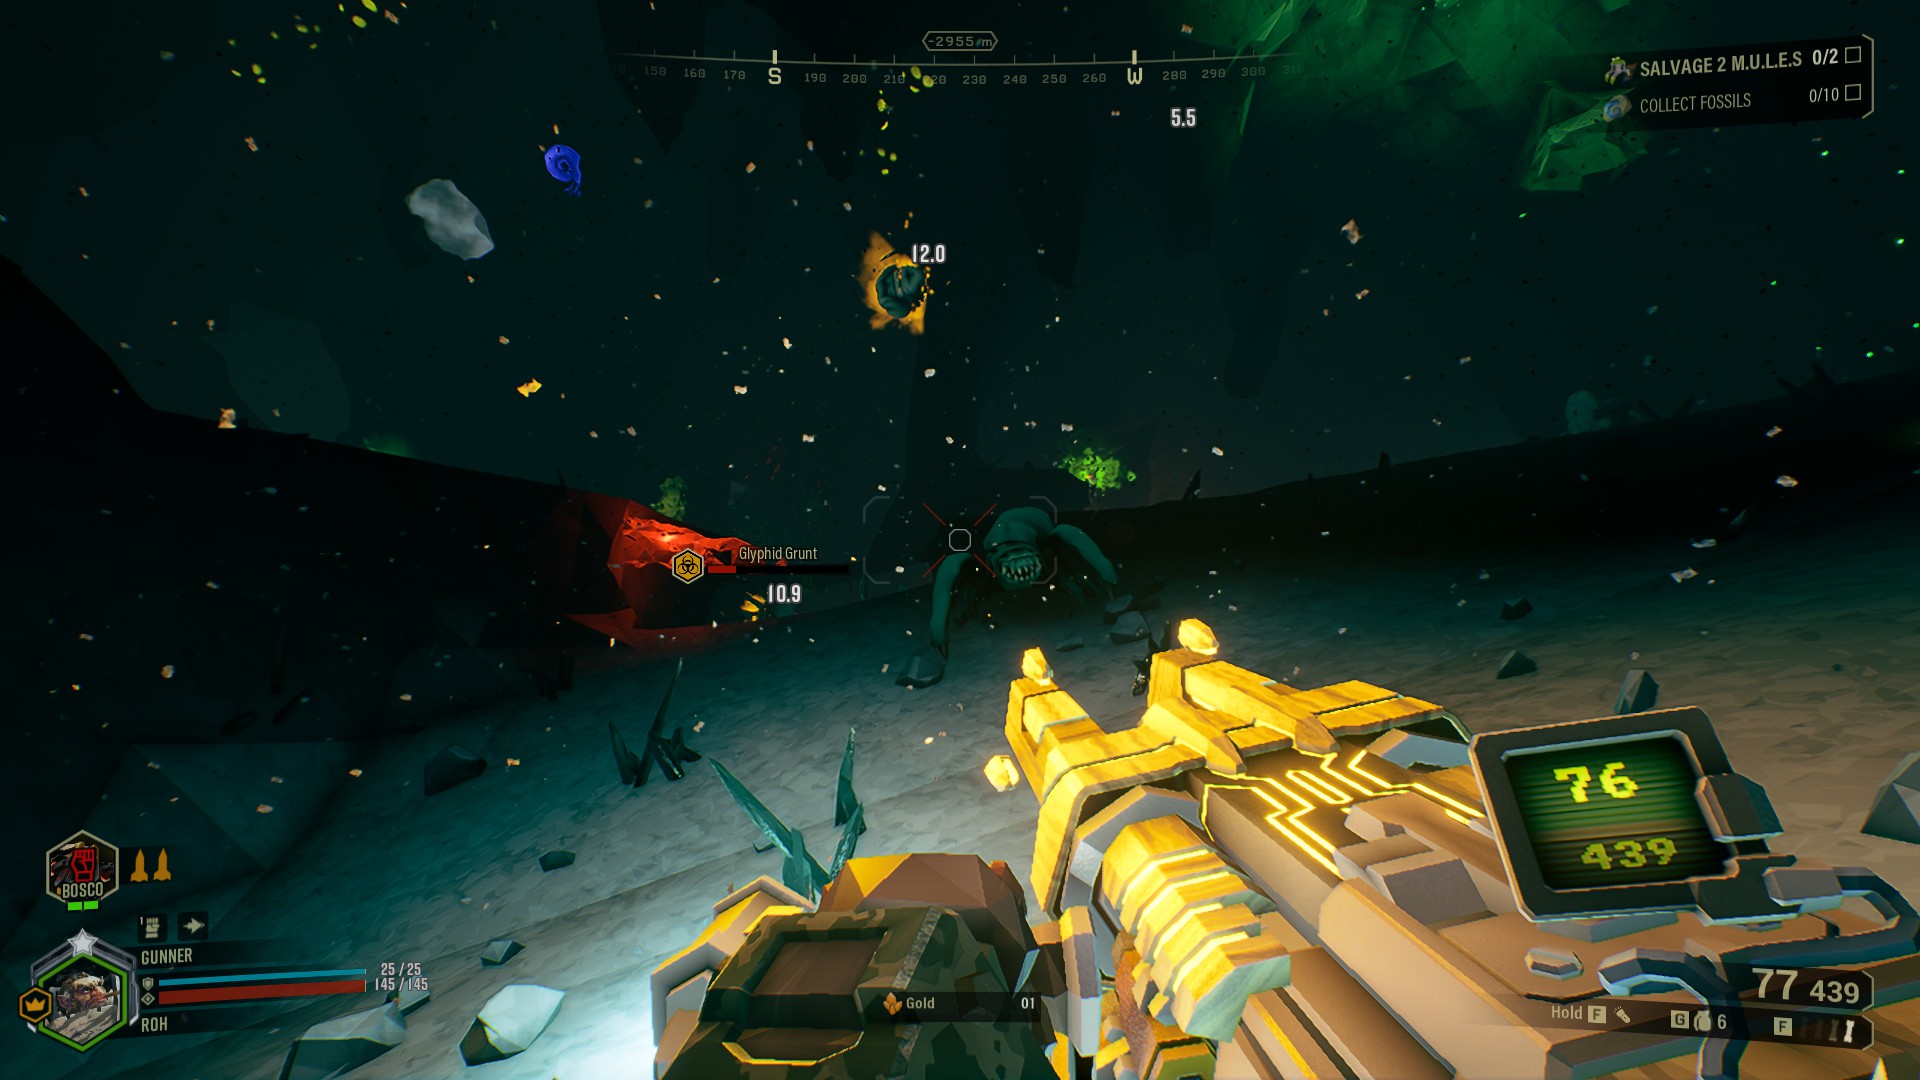
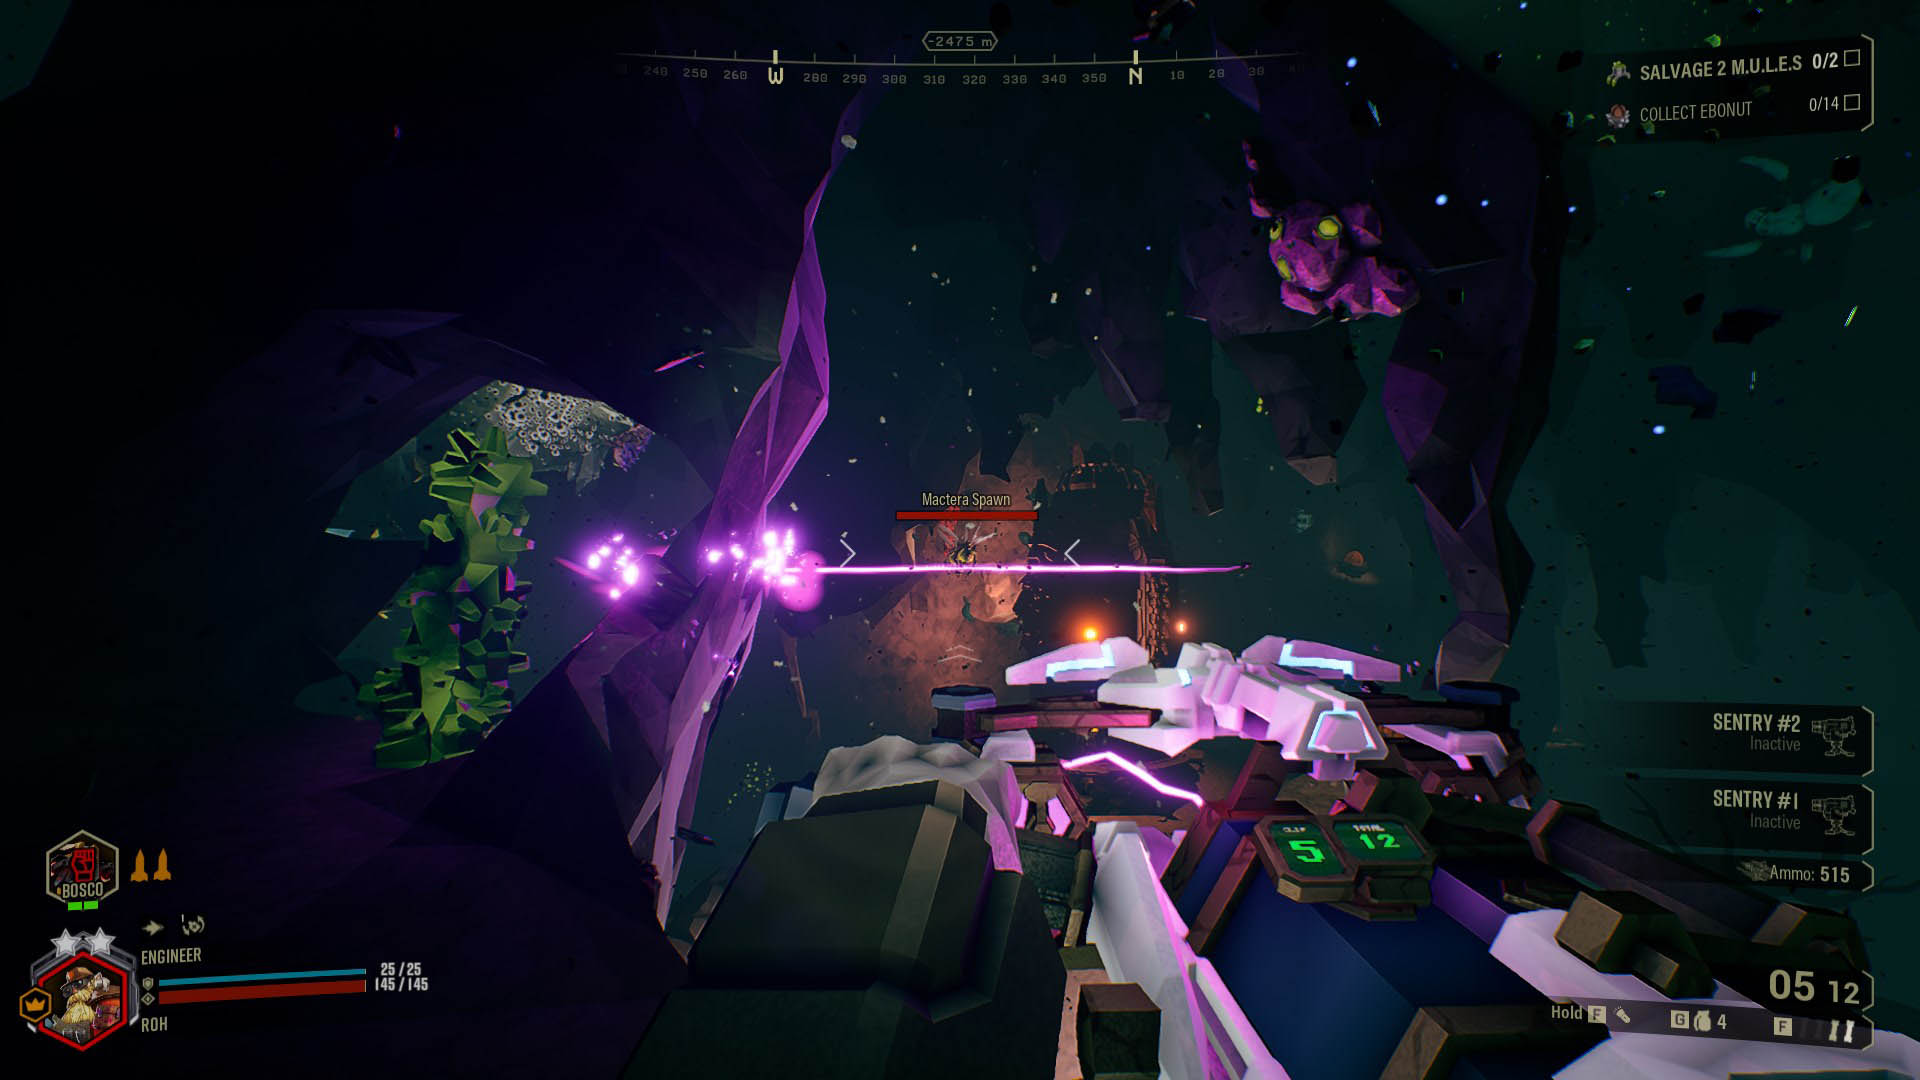
You know what they say, turrets are a man’s - er... I mean- dwarves' best friend. No one can have your back the way an automated machine gun can. This is a fact only the Engineer truly understands. If you've just picked up the co-op shooter Deep Rock Galactic, it can be intimidating to put together a build that feels both powerful and effective. Each item has so many options that there are technically over 100 Septillion combinations of modification, overclocks, and perks for the Engineer alone. Don't worry, this guide will walk you through three of the best engineer builds so you can skip the hassle and go straight to building platforms and blowing up bugs.
3. The Begineer
(Video Credit: ReapeeRon)
The first build is for the greenbeards reading this list. After all, Gamersdecide.com named the Engineer as the best class for beginners. This build has been purposely designed to use the first weapons available for the Engineer. On top of that, it doesn't use any overclocks, which need to be unlocked later through events and missions. Let's deep dive into the details.
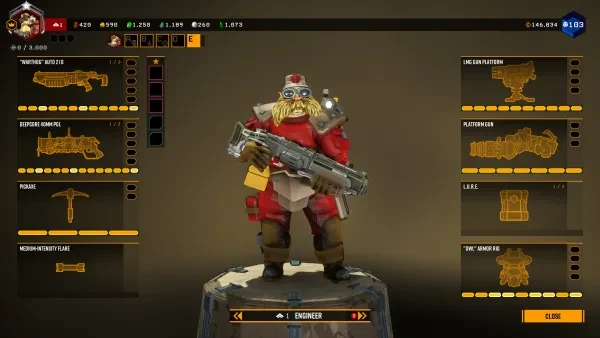
The primary weapon of this build is the "Warthog" Auto 210 shotgun. This is the very first weapon in the game for the Engineer. The Warthog, like many other weapons in the Engineer's arsenal, has an ammo problem. You'll notice that this is a consistent theme as the list continues. This configuration is put together to maximize how much ammo you carry and how effective your shots are. It expands both your magazine size and your maximum carry while doubling down on buffing the shotgun's rate of fire. When combined with the +400% armor breaking of the “Tungsten Coated Buckshot”, the Warthog becomes a superpowered, fully-automatic shotgun.
For the secondary weapon, the Deepcore 40MM PGL is a grenade launcher that excels in taking out large crowds, and that’s exactly what it’s built for here. Yet again, we take extra ammo, twice in fact, which raises our total number of grenades by four. Then the modifications “Incendiary Compound” and “Nails+Tape” are chosen to maximize the spread and damage dealt over time by the grenades. This will let you kill more enemies per shot. Finally, “Proximity Trigger” is chosen in tier 5. “Proximity Trigger” makes your projectiles wait to explode until they're near an enemy. This way, even if your aim is a little off, you’ll still hit your target. The Deepcore really shines when used in combination with the L.U.R.E. grenade, which draws nearby enemies together into one spot, making for an easy target.
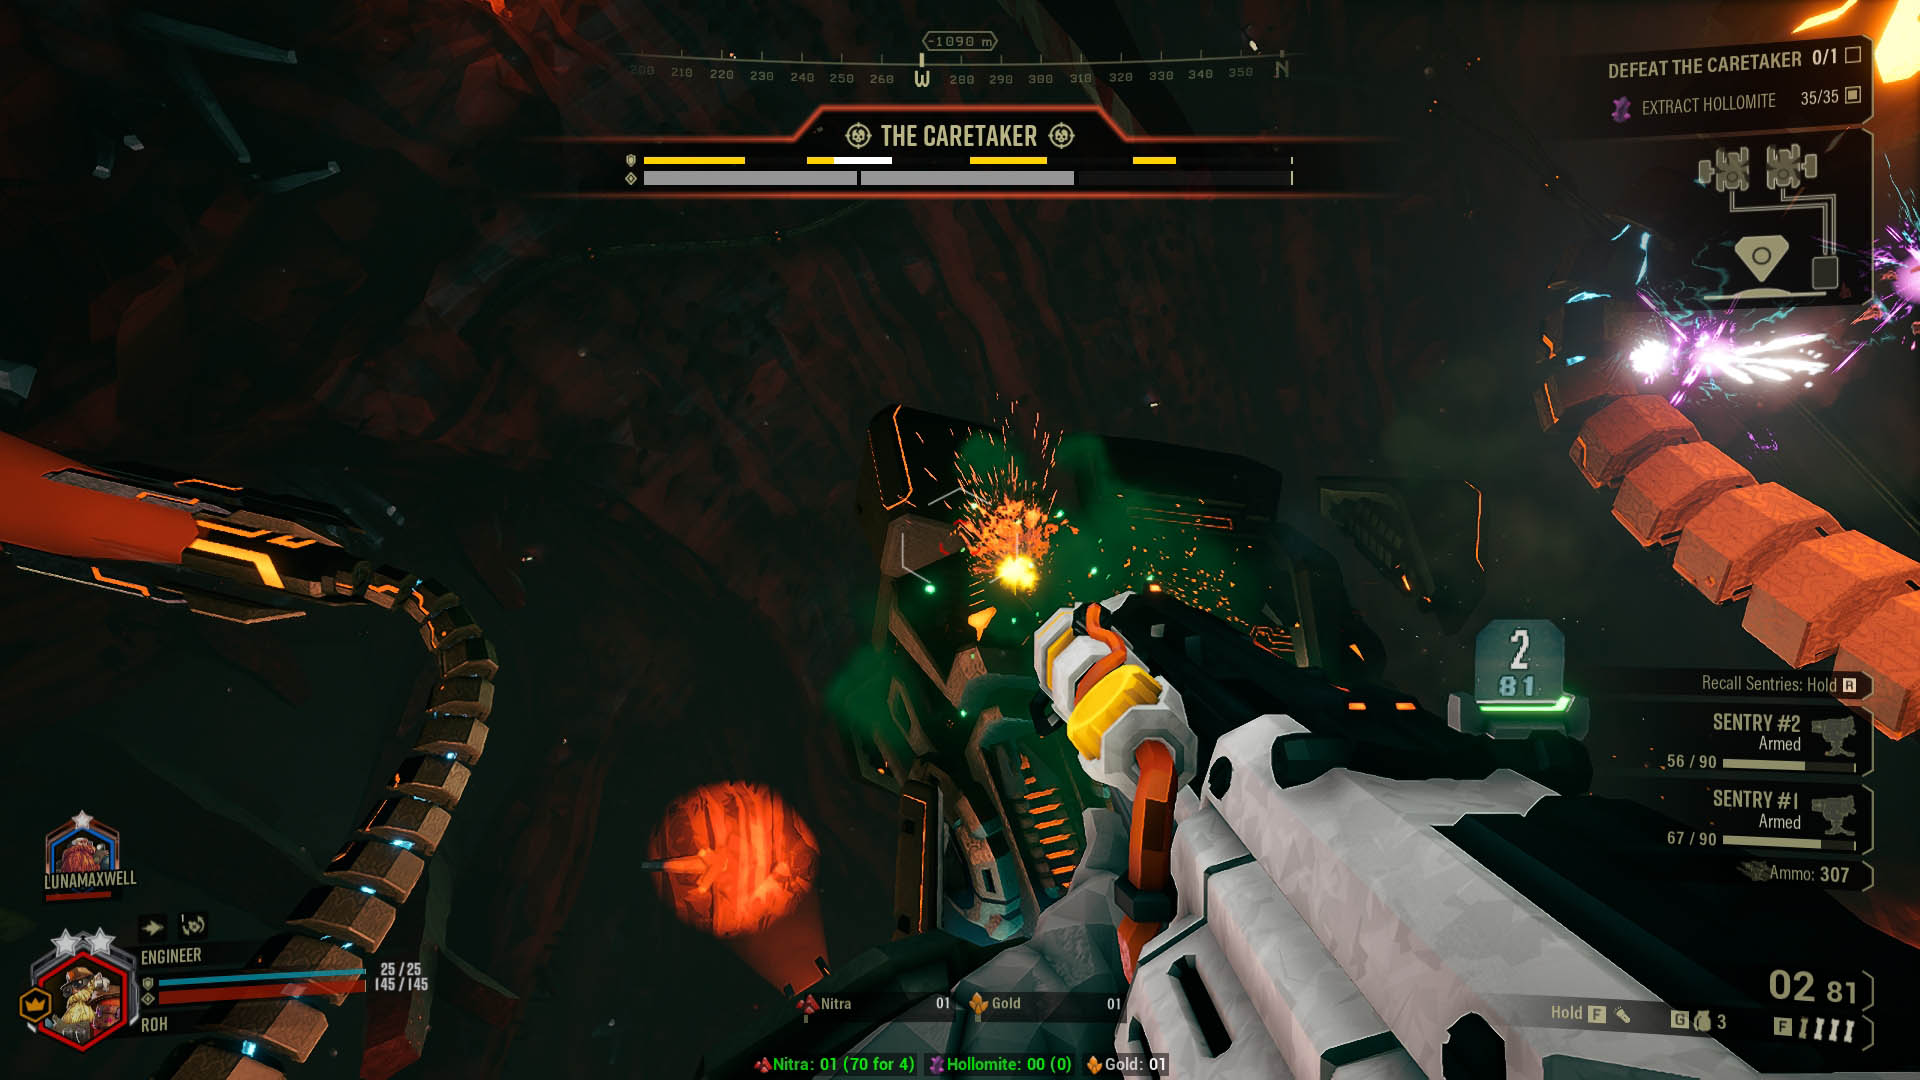
As for equipment, you will see a fairly consistent build for both the Platform Gun and the “OWL” Armor throughout this list. That's because these two have fewer options than other items when it comes to modifications, so the best combination is pretty clear (with some minor tweaks here and there). The LMG Gun Platform turrets, on the other hand, will vary due to personal preferences. Since this build is for beginners, the turrets are customized to be the easiest and most effective they can be. First, “The Gemini System” allows you to set up two turrets at once, like having two automated teammates watch your back. “Quick Deploy” allows you to set up your guns as quickly as possible and the “Defender System” will let the turrets target and kill more enemies on their own, so you don't have to worry about them.
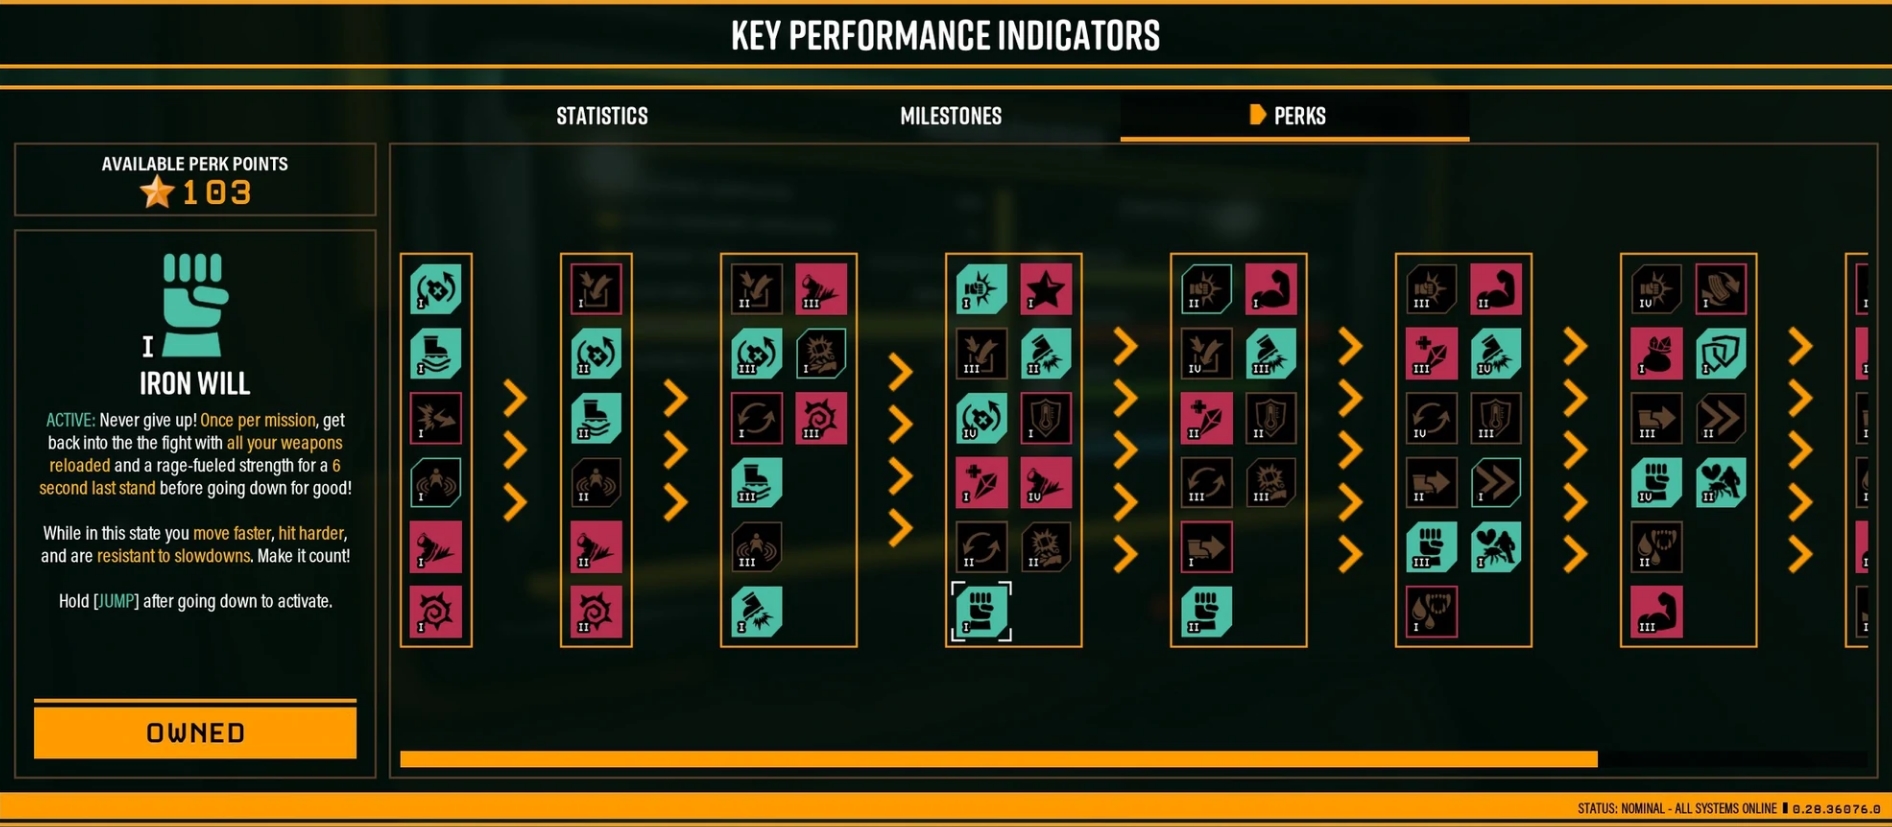
The perks for this build have been chosen to keep things easy. “Thorns” will take care of any annoying Swarmers that often give newbies so much trouble. “Born Ready” makes reloading simple by doing it for you. “Resupplier” acts as a second “Born Ready”, fully reloading your weapons when you resupply. “Dash” lets you sprint your way out of sticky situations as fast as you can. And finally, “Beast Master” allows you to tame an enemy and make a Steeve, bringing the total number of companions available to you on a solo mission up to four (Steeve, the two turrets, and Bosco). This build is perfect for beginners who do not want to grind and slog for overclocks before they can kick ass. With “The Begineer” you don’t have to.
What The Begineer Excels In:
- Early game accessibility and ease
- Maximizing starting weapons' strengths while minimizing their weaknesses
- Creating a full team of helpers on Solo missions
Build details:
- "Warthog" Auto 210, Modifications: 1,1,3,1,2 Overclock: None
- Deepcore 40MM PGL, Modifications: 2,1,1,2,1 Overclock: None
- LMG Gun Platform, Modifications: 2,2,1,2
- Platform Gun, Modifications: 2,1,2
- Grenade: L.U.R.E.
- “OWL” Armor Rig, Modifications: 3,2,1,3
- Perks: Thorns, Born Ready, Resupplier, Dash, Beast Master
2. The Burst Bomber
(Video Credit: Siirvend)
This builds is about one thing and one thing only: Explosions. There's nothing quite as satisfying as watching bug guts explode everywhere. Using the Deepcore grenade launcher (explosions), the Plasma Burster grenades (explosions), and the LOK-1 Smart Rifle overclock “Explosive Chemical Rounds”, (lots and lots of explosions) the Lonely Island couldn't be more wrong. Cool guys do look at explosions.
The primary weapon for this build is the LOK-1 Smart Rifle. Using AI, the LOK-1 targets, tracks, and shoots enemies for you. All you have to do is hold the trigger, lock onto your enemies, and let it loose. For modifications, start by taking the extra ammo, then choose “Macro Lens” and “Shutter Speed Sensor” to power up your weapon’s lock-on ability. “Electrochemical Rounds” will add status effects and damage to your weapon while “Fear Frequency” will scare away foes you've already hit once, allowing you more time to lock onto them again as well as providing you with some breathing room if they’ve gotten too close. The overclock, “Explosive Chemical Rounds” will cause your targets to explode when they've been hit with three or more lock-ons. Small bursts of fire from your rifle will turn the battlefield into a pyrotechnic show akin to a hair metal concert, except instead of fireworks, it’s bug guts.
The Deepcore build for “The Burst Bomber” is very similar to that of “The Begineer”, except we sacrifice a little bit of ammo for a wider area of effect. Instead of two turrets, for this build, we'll take the single turret, which packs twice as much punch. We will also take the “Hawkeye System”, which allows you to point out which targets your turret should focus on with your laser pointer. While the rest of this build excels in dealing with swarms, the “Hawkeye System” will help focus fire on bigger targets. As for grenades, the Plasma Bursters seem to be fitting with the theme of “things that go boom.”
As stated previously, most of these builds have very similar Platform Gun and Armor load-outs. The Platform Gun is the Engineer's traversal tool, which shoots yellow platforms to help you climb cave walls, cover up holes, and provide Scouts with a place to mine minerals. The mods for the Platform Gun are pretty straightforward. In the first tier, extra ammo is always a good choice. There's only one option for the second-tier modification, “Plastcrete MKII”, which reduces fall damage when you land on a platform. The best choice in the final tier for the Platform Gun is “Repellent Additive”, which will cause bugs to avoid your platforms.
For the “OWL” Armor, “Bigger Mineral Bags” will allow you to carry five more of any resource, an essential upgrade for any miner. As with any video game armor, extra health is the correct choice in the second tier, and in the third tier there is only one option, so take it. In the final tier, choose “Breathing Room”. This gives you 6 seconds of invulnerability after being revived. Nobody likes to get killed right after they've been brought back, this will keep that from happening. The perks for this build will also not change much from “The Begineer.” The only difference is instead of “Beast Master”, take “Field Medic”. With all these explosions, you're bound to down a teammate on accident. You might as well be able to revive them quickly as, an apology.
What The Burst Bomber Excels In:
- Clearing crowds
- Quick execution of larger enemies.
- EXPLOSIONS!!!!!!!!!!!!!!!!!!
Build details:
- LOK-1 Smart Rifle, Modifications: 2,1,1,1,3 Overclock: Explosive Chemical Rounds
- Deepcore 40MM PGL, Modifications: 1,1,1,2,1 Overclock: None
- LMG Gun Platform, Modifications: 2,2,2,1
- Platform Gun, Modifications: 2,1,2
- Grenade: Plasma Burster
- “OWL” Armor Rig, Modifications: 3,2,1,3
- Perks: Thorns, Born Ready, Resupplier, Dash, Field Medic
1.The Electrical Engineer
(Video Credit: Siirvend)
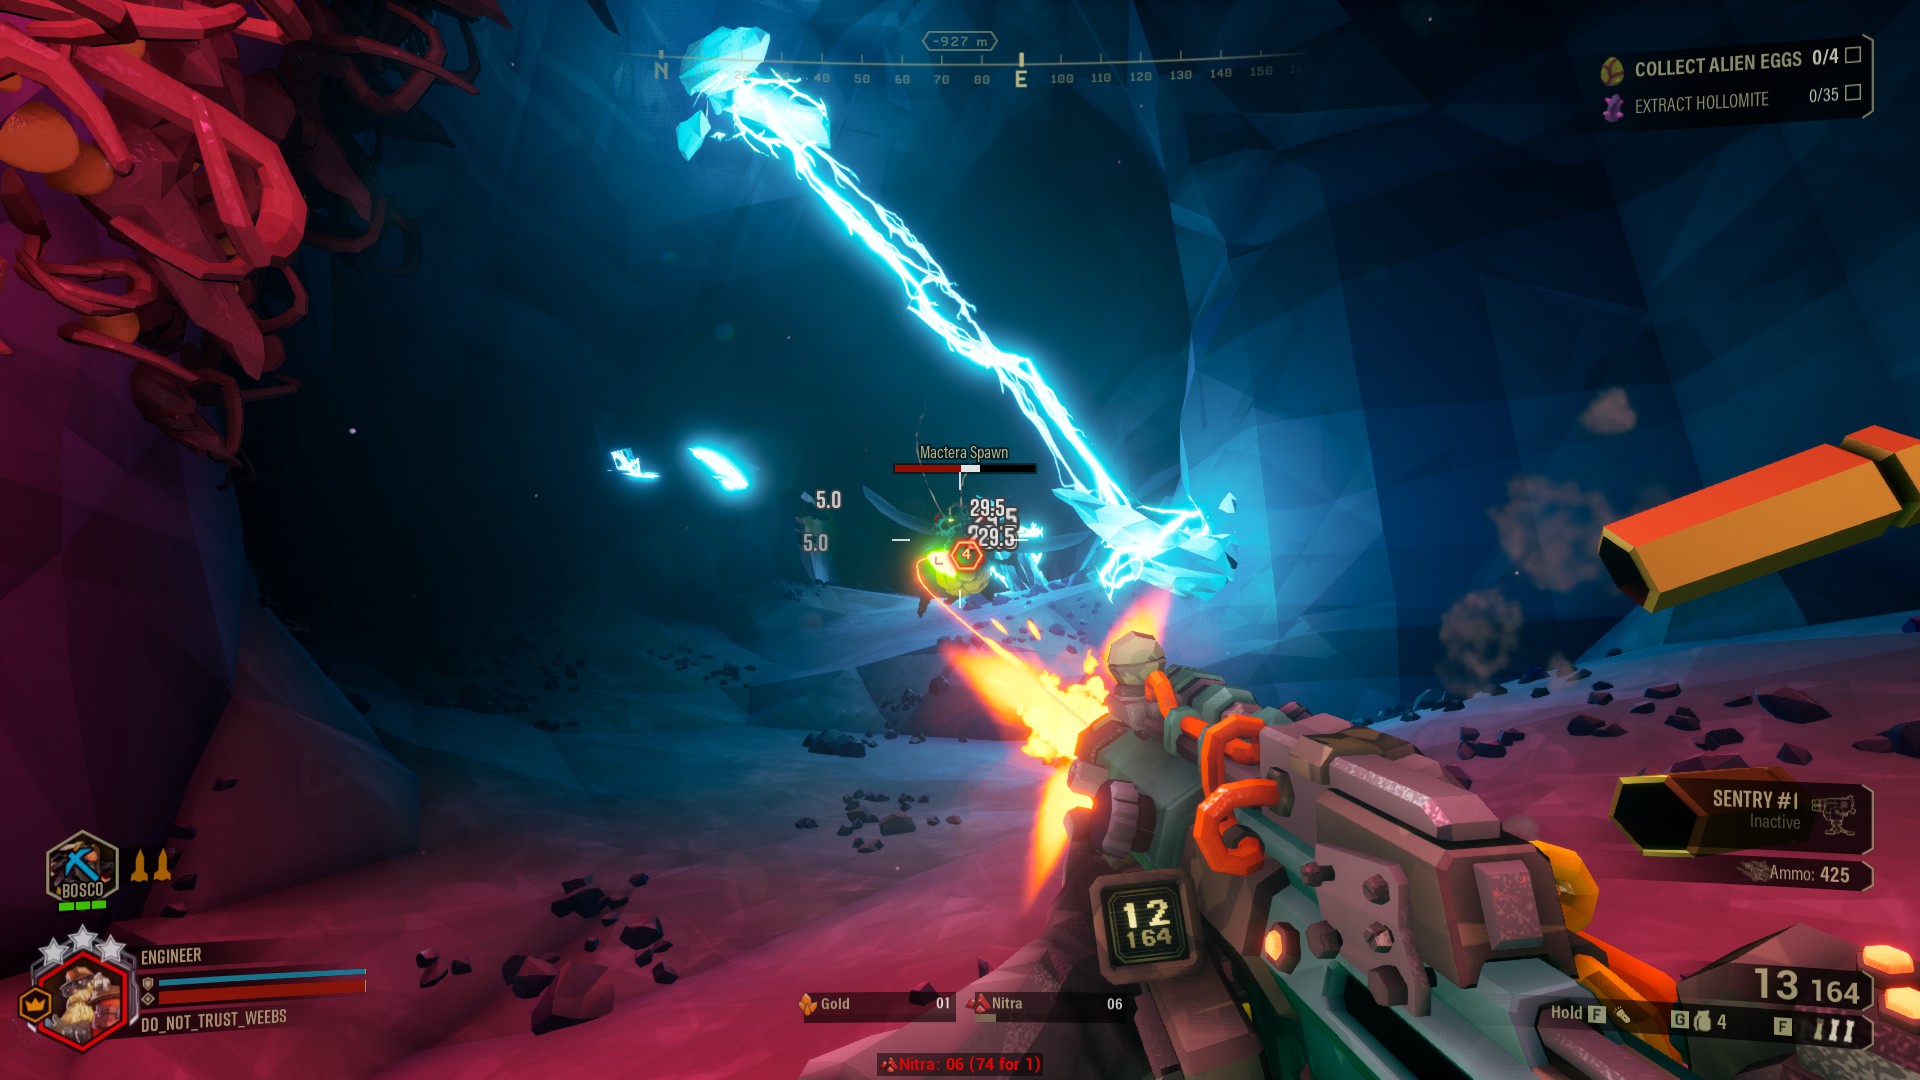
This build is all about maximizing the Engineer's main elemental power, electricity. In Deep Rock Galactic, electricity provides damage over time while slowing down enemies affected by it. It’s no surprise to anybody that a slower enemy makes for an easier target. The idea here is to slow down opponents with the "Stubby" Voltaic SMG and then deliver a powerhouse blow with the Breach Cutter. This one-two punch is deadly both to groups of small enemies and to larger enemies like Dreadnaughts and Bulk Detonators. Just don't get too close to the Detonators. When they die, they do exactly as their name suggests.
The "Stubby" Voltaic SMG is the primary source of electricity in this build. The tier-1 modification “Upgraded Capacitors” adds a 30% chance to electrocute targets. Then, “Conductive Bullets” adds 30% direct damage to your already electrocuted foes. Finally, “Electric Arc” adds a 25% chance to electrocute nearby enemies when you are reapplying electricity to any given enemy. With these three modifications, the strategy is to use small bursts from the Stubby to apply electrical damage, then reapply the electrical damage, electrocuting anyone around them, repeating this pattern to do extra damage to any already electrocuted foes. Then, you add on the “EM Refire Booster” overclock, which adds two more electric damage per bullet and increases the rate of fire, thus increasing the speed at which you electrocute targets. The synergy of this build is off the charts.
Again, the combination of modifications and overclocks work together in perfect harmony, but this time with the Breach Cutter. The “High Voltage Crossover” overclock has a 100% chance of electrocuting enemies. The “Plasma Trail” modification leaves behind a plasma residue trail that causes fire damage to any enemy that walks through it. The “Disruptive Frequency Tuning” modification has a 100% chance of stunning enemies for three seconds. When you put all of these together, the plasma beam stuns the enemy keeping them in place, that place is within the plasma trail that burns them, and then electricity slows them down, keeping them in the plasma trail even longer. Essentially, this Breach Cutter build just melts health off of anything it touches.
For the turrets, we have the same build as in “The Begineer”, but this time take the “Stun” modification to complement the rest of this build. We're also taking the classic Platform Gun and “OWL” Armor configuration except for one small change. In the third tier of the “OWL” Armor mods, take “Static Charge”, which stuns enemies with, you guessed it, electricity every time your shield breaks. The Proximity Mine grenade complements this build best. Whenever an enemy gets within the mine’s range, it explodes. The Proximity Mines will stick to any surface. To get the most out of your mine placement, fire a platform in the center the wall of you want to booby trap and stick the mine to the side edge of the platform. This will utilize the mine's full radius to catch enemies and blow them to smithereens.
The perks for “The Electrical Engineer” are also chosen for synergistic reasons. “Elemental Insulation” will ensure you do not take damage from any electricity that you may put out onto the battlefield. “Unstoppable” will keep the electrical slow-down effect from applying to you. “Born Ready” is mainly to keep you from having to reload the Breach Cutter, which has a lengthy reload animation. As for active perks, “Heightened Senses” and “See You In Hell” both allow you to release an electrical discharge, killing nearby enemies, in two specific situations. “Heightened Senses” for when you’re grabbed by a Cave Leech, Grabber, or Nemesis, and “See You In Hell” for when you’ve been downed, clearing bugs away from your body. These two are unbelievably helpful in the right circumstance and really add to the whole Thor: God of Thunder thing this build has going on.
What The Electrical Engineer Excels In:
- Synergy
- Enemy Slowdown
- High single target damage
Build details:
- "Stubby" Voltaic SMG, Modifications: 2,2,2,2,2 Overclock: EM Refire Booster
- Breach Cutter, Modifications: 2,2,1,2,2 Overclock: High Voltage Crossover
- LMG Gun Platform, Modifications: 1,2,2,1
- Platform Gun, Modifications: 2,1,2
- Grenade: Proximity Mine
- “OWL” Armor Rig, Modifications: 3,2,1,2
- Perks: Elemental Insulation, Unstoppable, Born Ready, Heightened Senses, See You in Hell
Make it Your Own!
As you can see, the Engineer has a ton of versatility in Deep Rock Galactic. Not only can he take down powerful enemies by himself, but he's also an essential component of a successful dwarven crew. You can always use these builds as starting points customize and create you’re own unique loadout for your own unique playstyle. So, whether you're just starting out in Deep Rock, someone who just wants to watch bugs explode, or a seasoned greybeard who loves perfectly synergized builds, we hope this list helps you take your mining to the next level.
You may also be interested in:
[Top 10] Deep Rock Galactic Best Weapons That Are Powerful
Deep Rock Galactic Best Perks That Are Excellent
Deep Rock Galactic Best Class - What Should You Play?


