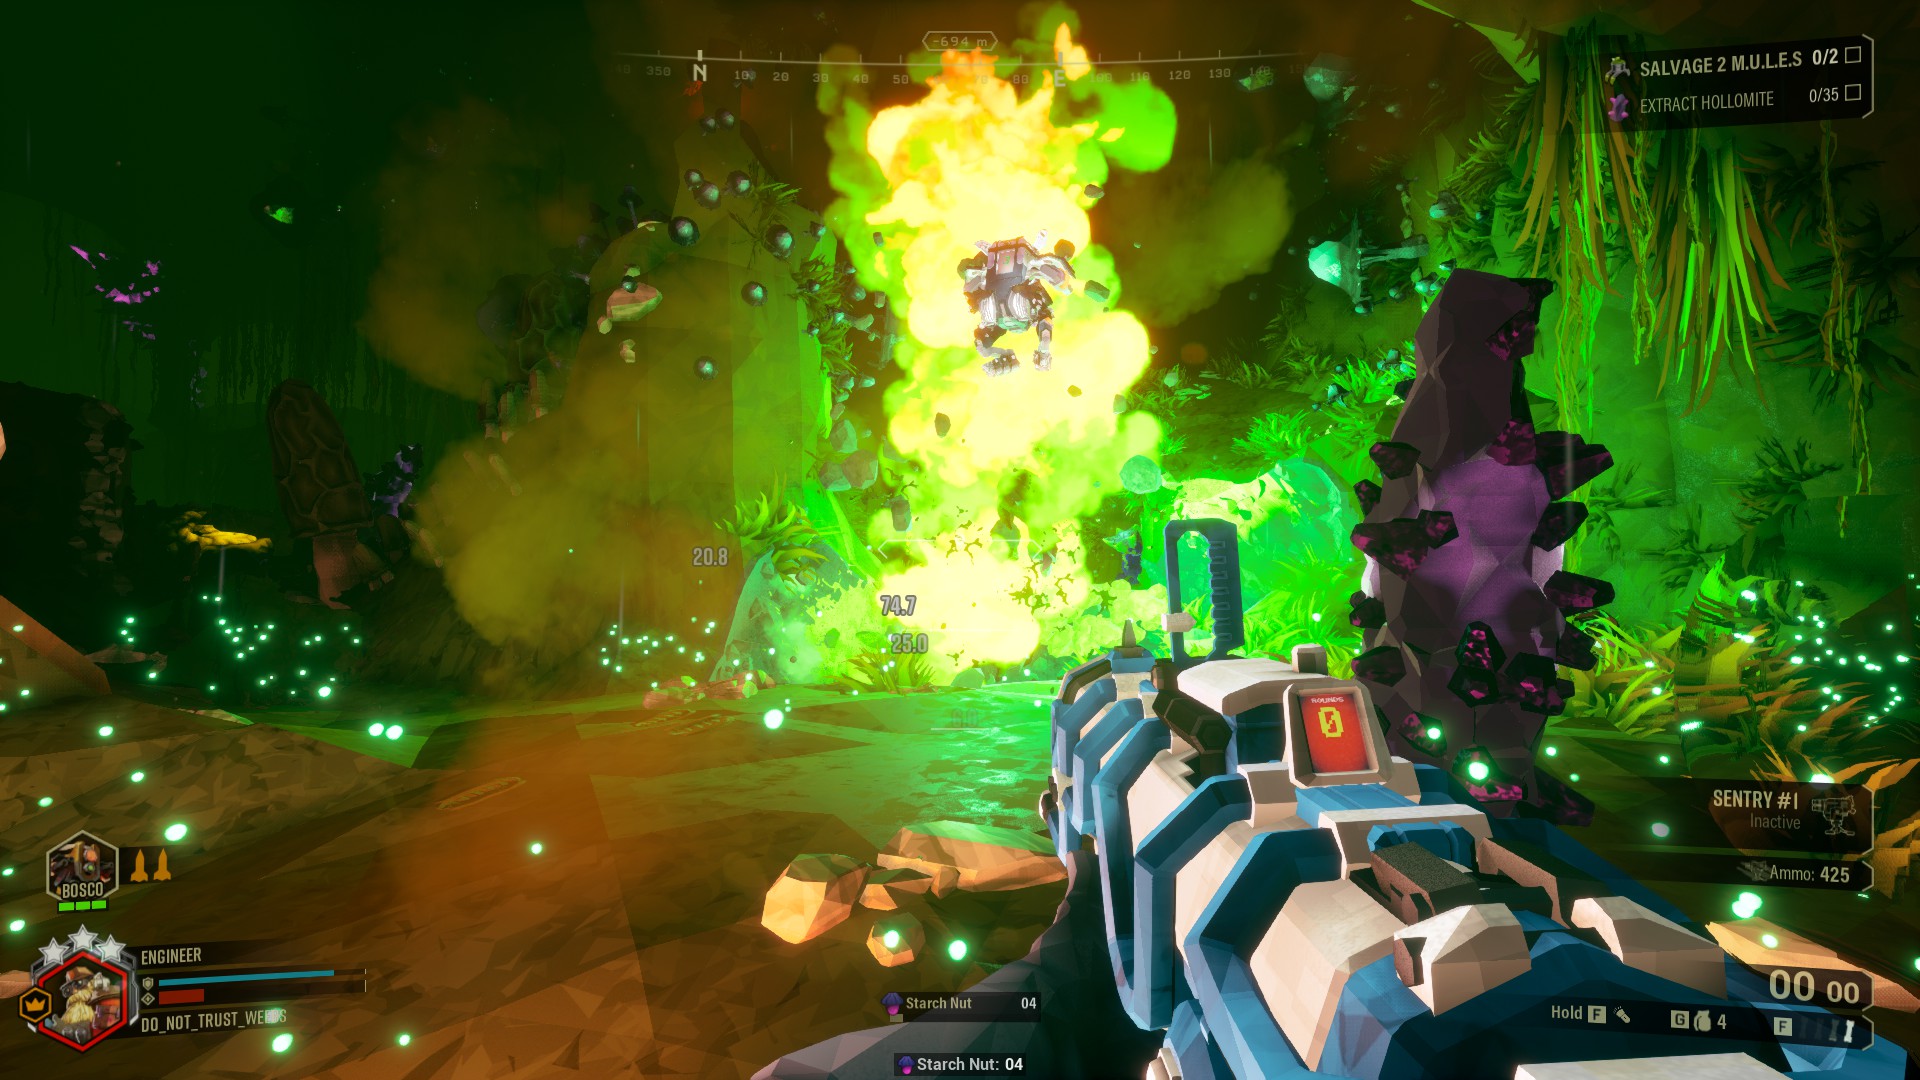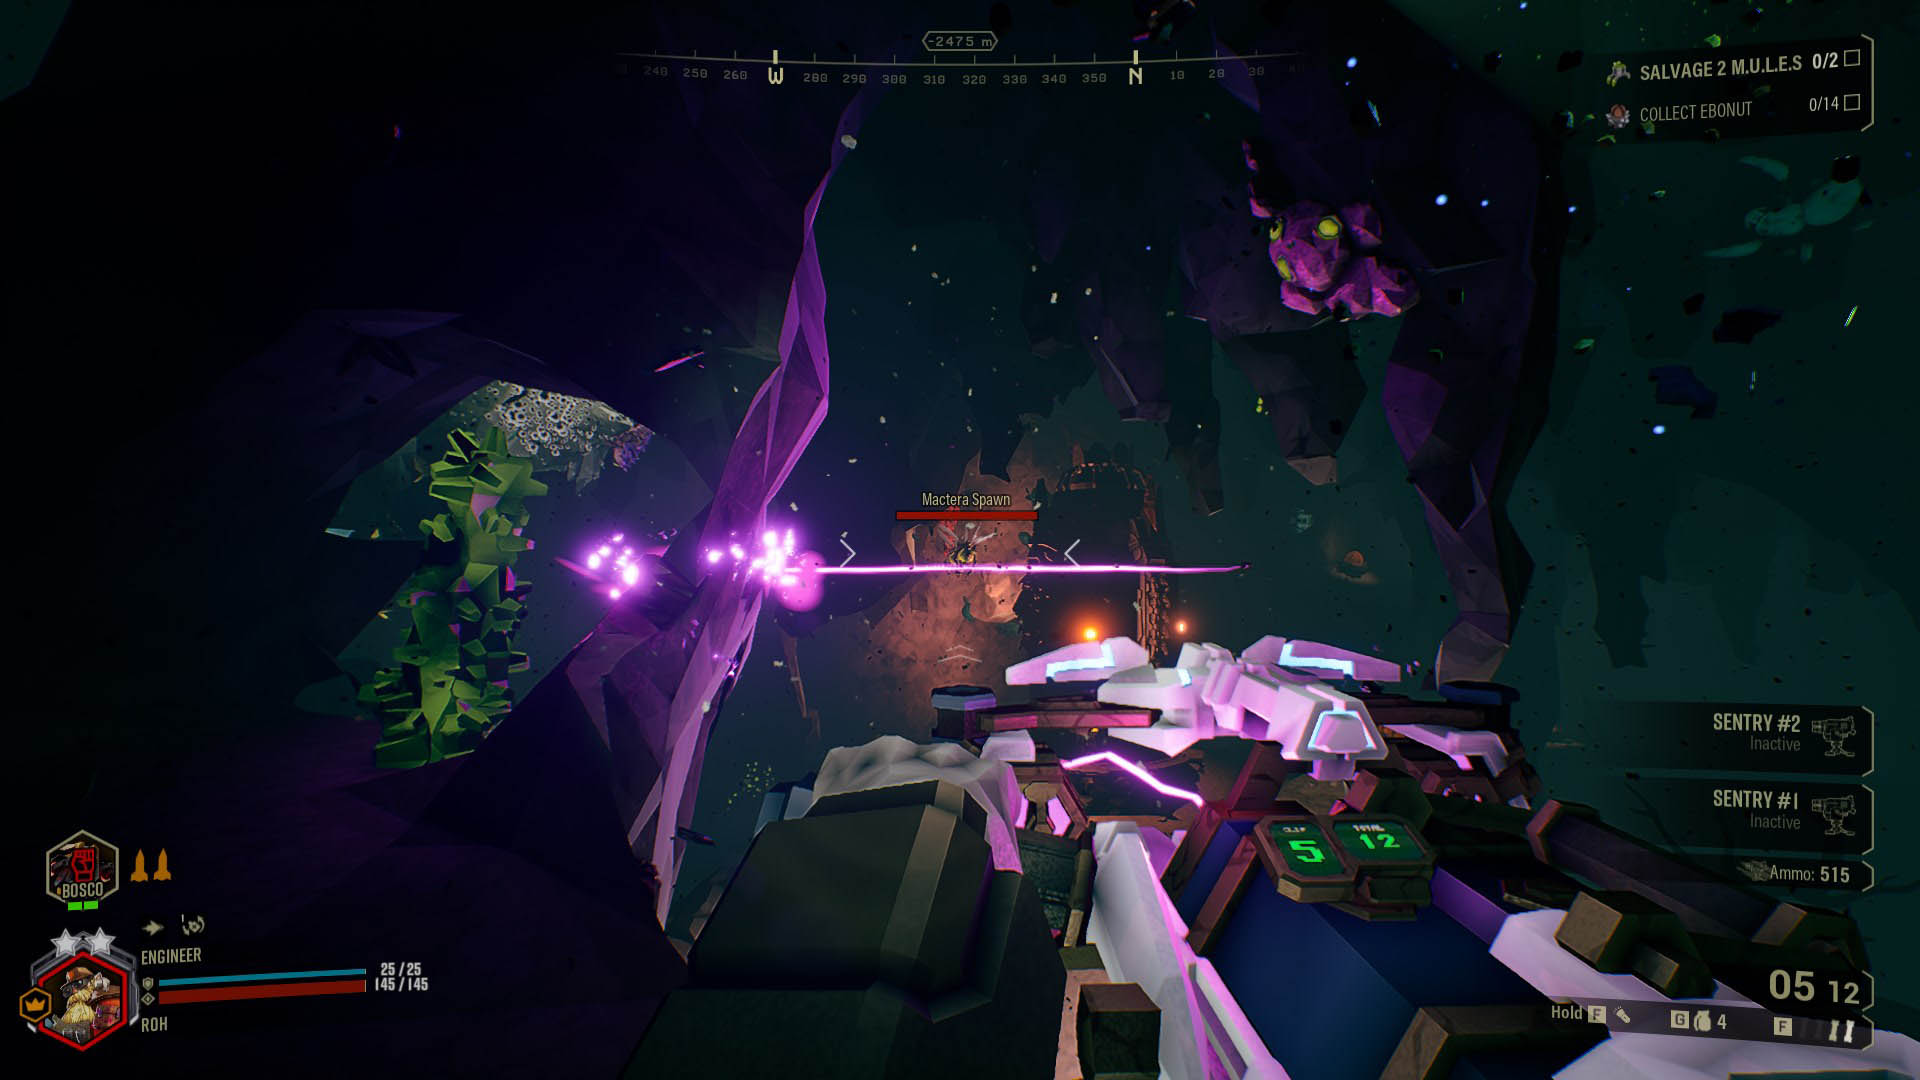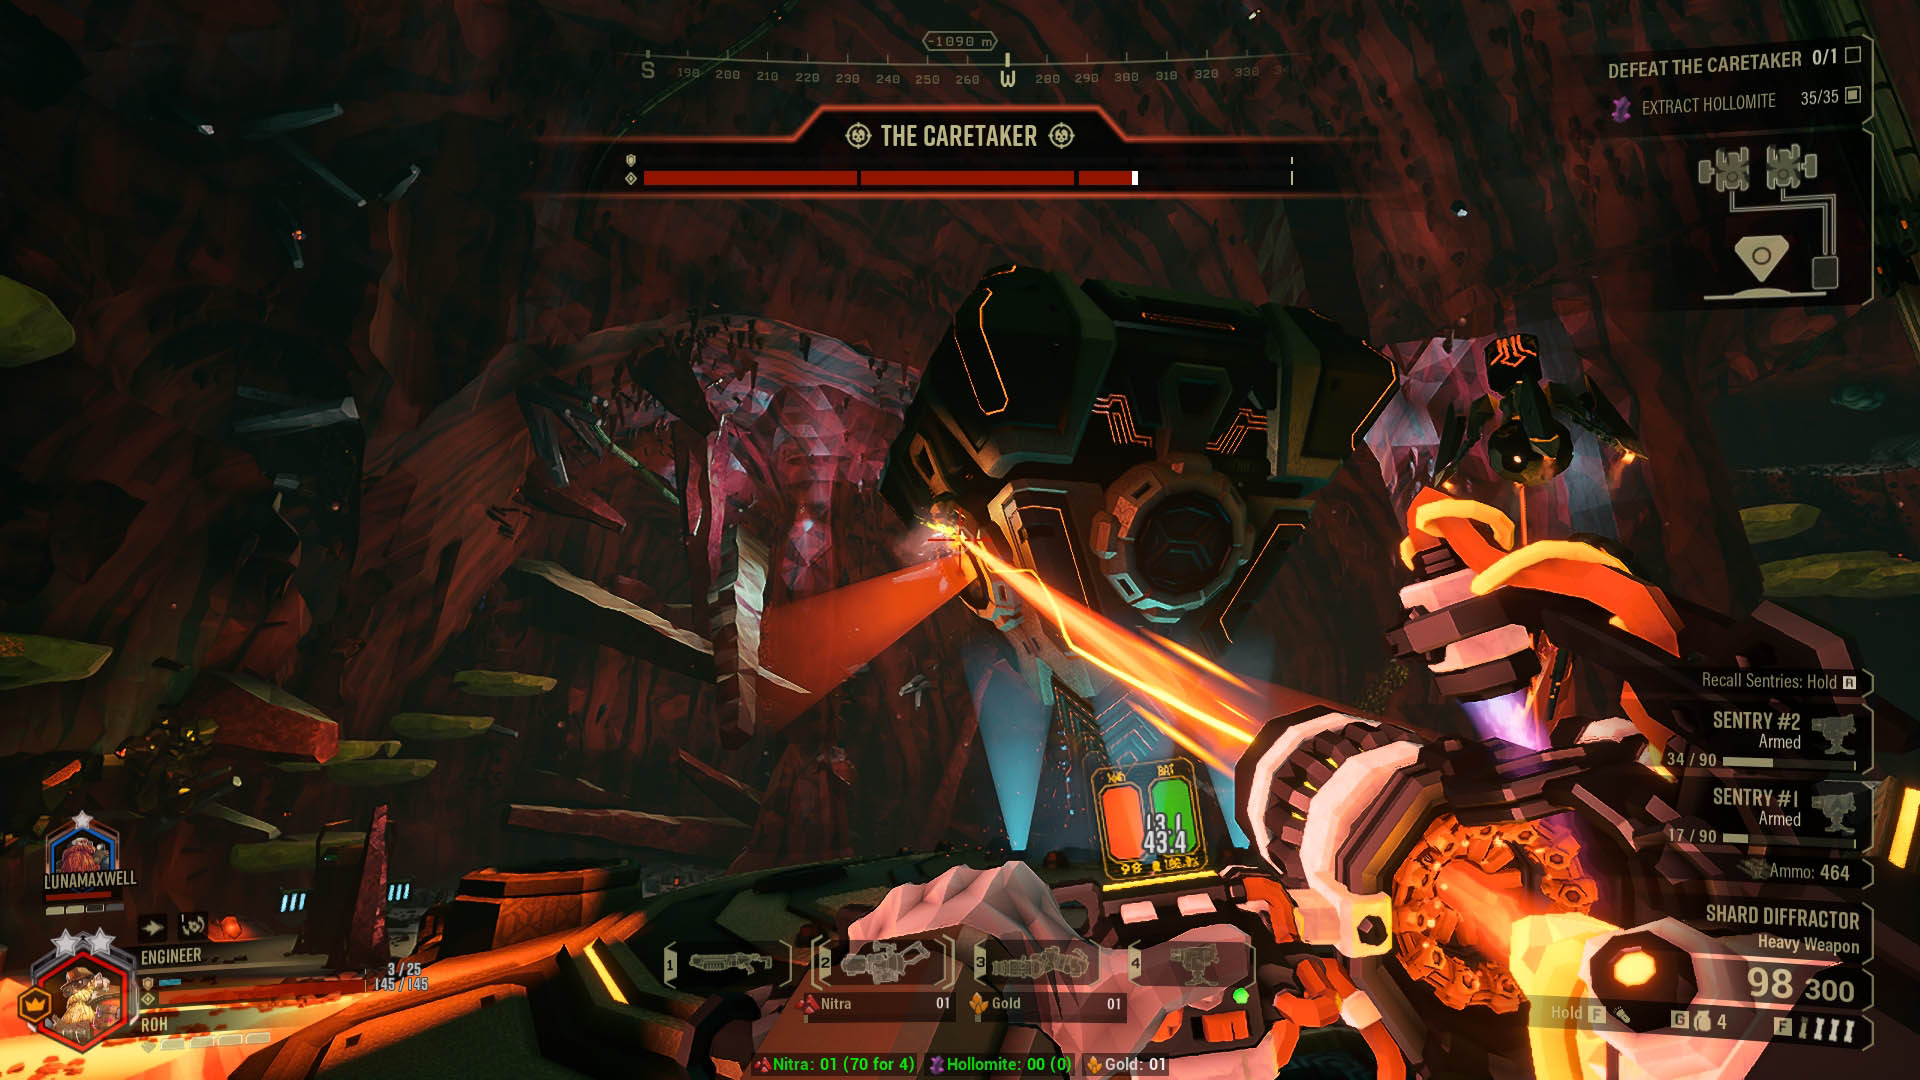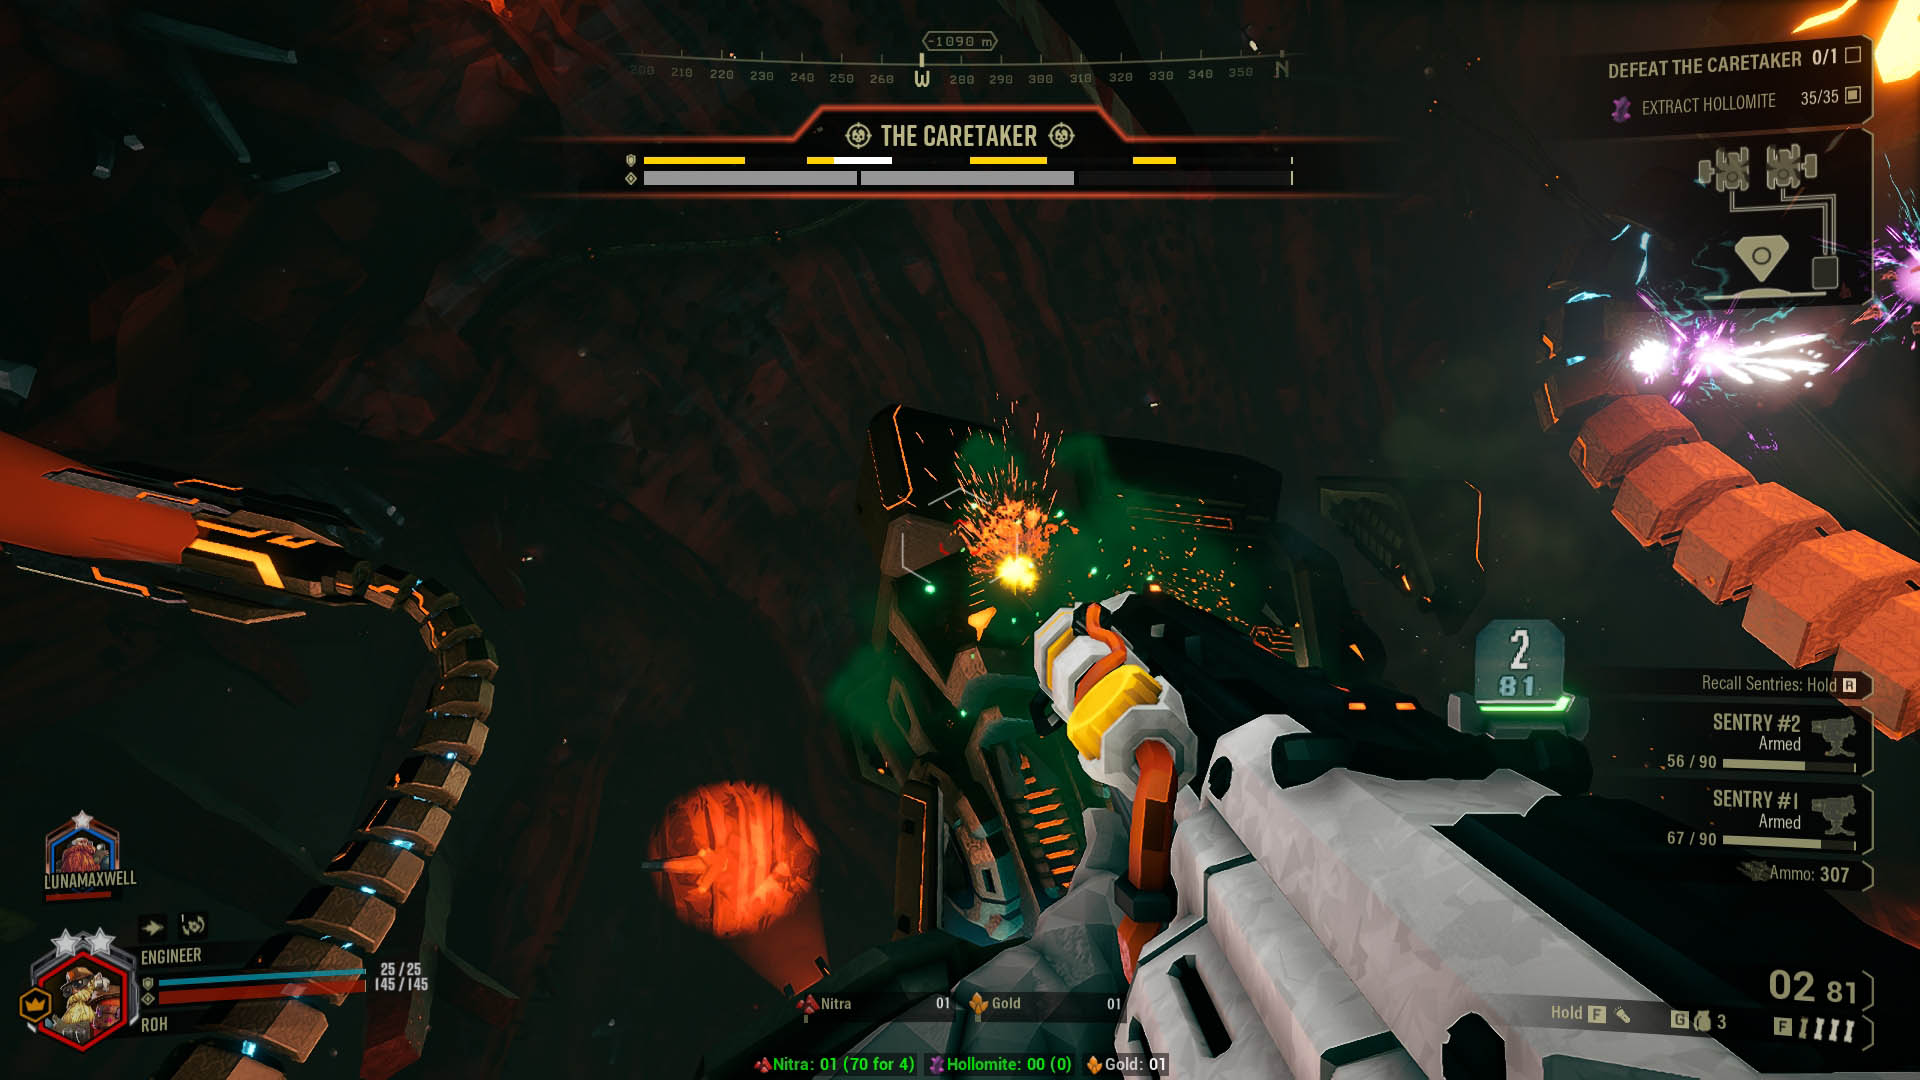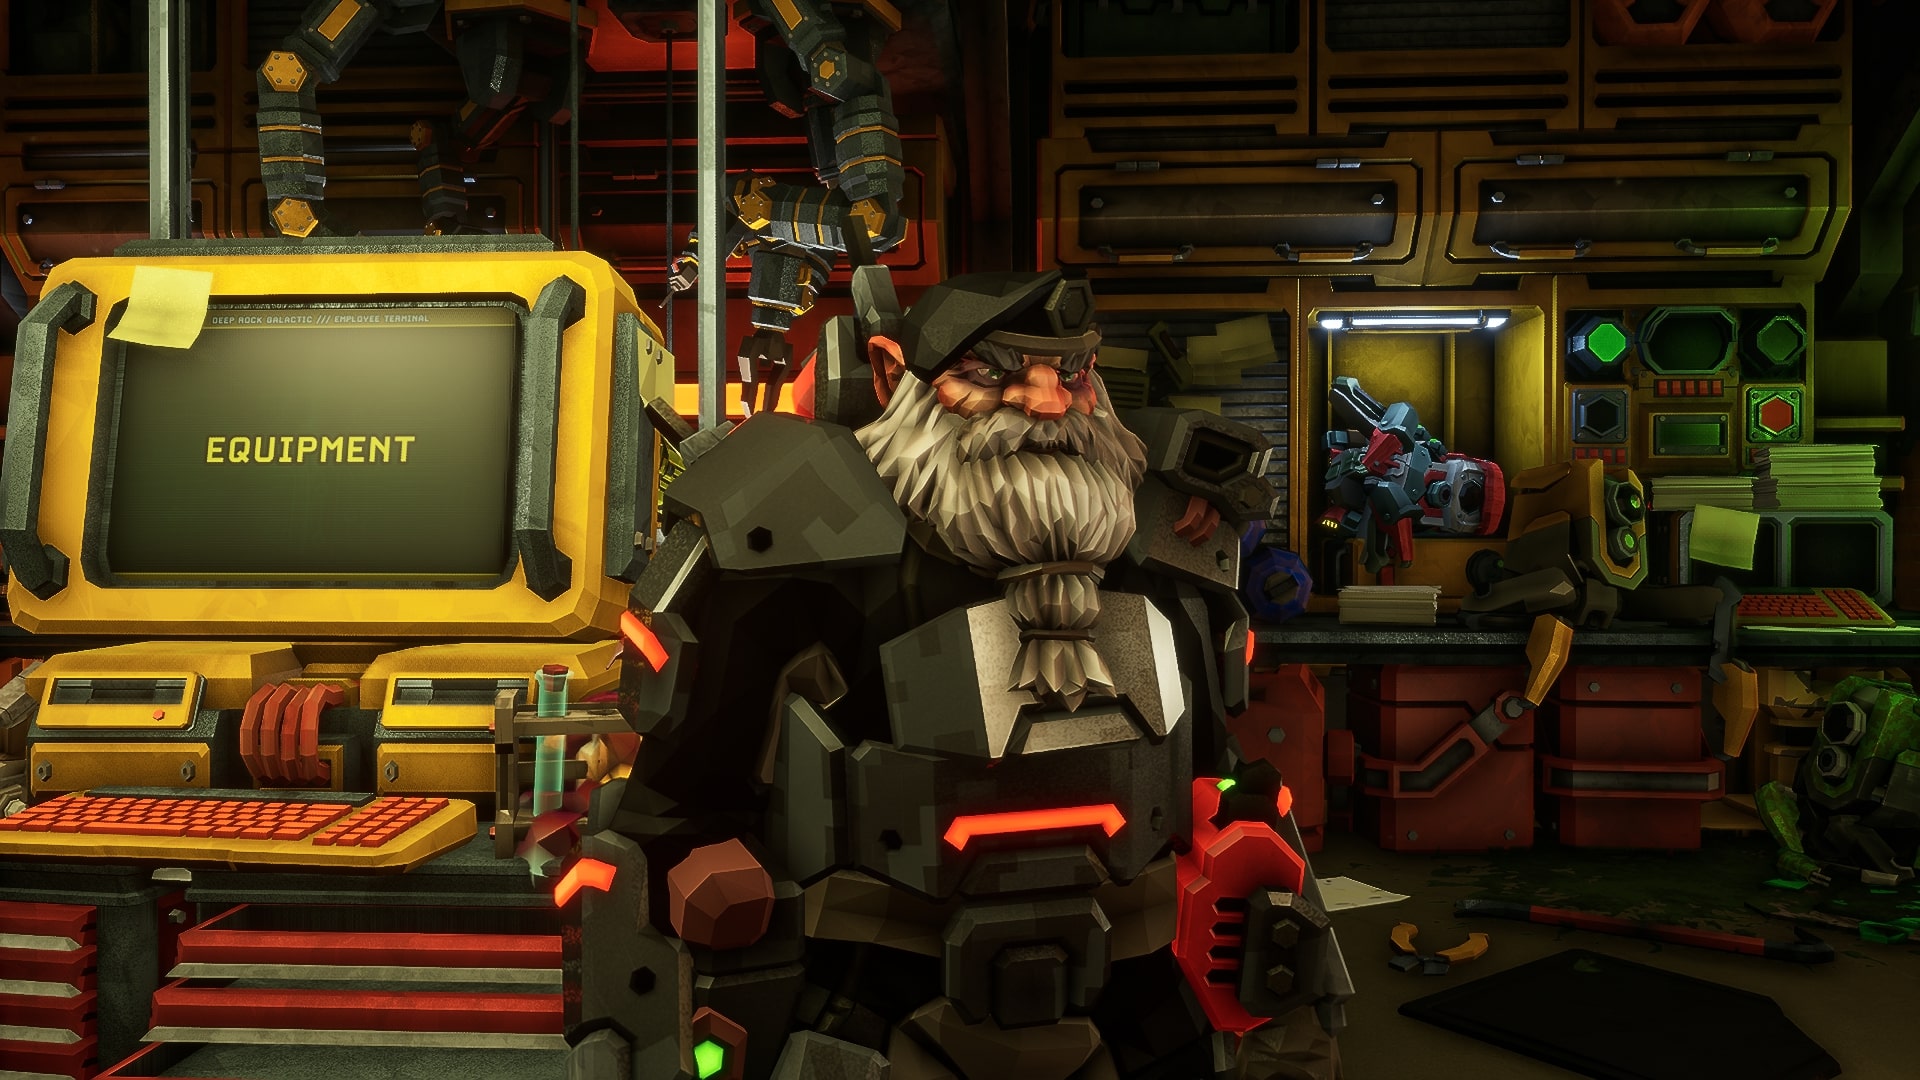
The Shard Diffractor is the ultimate overengineered laser pointer. This weapon is an unlockable secondary weapon for the Engineer. Its intricate design features an Ommoran Hearthstone in its core, from which the laser comes out. It has infinite range, dealing damage to anything it touches and around the impact point. The Shard Diffractor is a welcome addition to any Engineer’s arsenal, since it can be used to clear swarms and deal great amounts of single target damage. We’ve researched and tested some builds for this weapon, and we came up with the ones we enjoyed the most, just for you!
3. Automated Beam Controller
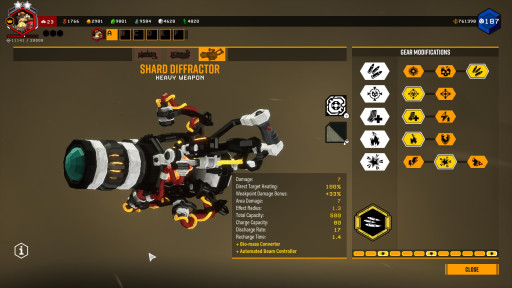
Automated Beam Controller will be the first build we’ll be featuring in this article. As explained before, the Shard Diffractor shoots out a laser that will melt through anything it touches. You can usually stop, but with this build, you won’t want to! This build increases your ammo capacity and reduces the recharge time of this weapon, letting you fire that laser more often. This build’s main drawback is that the beam will keep firing until the charge capacity is empty, but that’s no problem; you will be able to destroy anything around you with the beam, and if you’re targeting high priority targets, you’ll want to keep the beam on them anyway!
What Automated Beam Controller Excels In?
- This build has a lot of ammo, letting you laser targets much more.
- You will be able to see how much damage the Shard Diffractor can deal by using this build.
- Killing high priority targets will be a breeze with this build.
Use This Build If…
- You are aiming to kill Dreadnaughts.
- You want a lot of ammo on the Shard Diffractor.
- You don’t mind this build’s drawbacks.
Build details
Larger Battery: Even more ammo to keep firing mah lazor!
Soft tissue Disruption: Since we like to use this build against Dreadnaughts, the weak point damage bonus is a great addition to this weapon.
Aluminum Foil DIY: With more charge capacity we’ll be able to keep that laser firing for longer, until its charge capacity depletes.
High-Intensity Heating: This perk will let you heat up things faster, including bosses!
Overclock - Automated Beam Controller: This overclock will give the Shard Diffractor more ammo, increase the discharge rate and decrease the recharge time, while lowering charge capacity. The beam also keeps firing until the Charge Capacity is empty, and stopping the laser manually will consume 50% of the remaining Charge Capacity.
- +100 Ammo Capacity
- +4 Discharge Rate
- -0.2 Recharge Time
- 0.8x Charge Capacity
- Beam continues Firing until the Charge Capacity is empty
- Manually stopping the beam consumes 50% of the remaining Charge Capacity
2. Volatile Impact Reactor
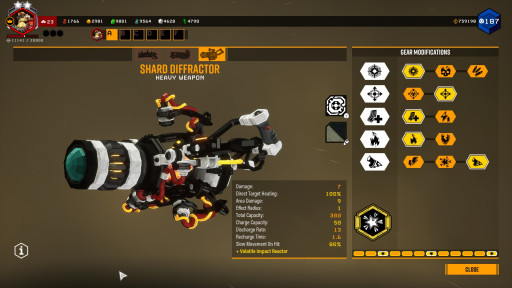
Did you ever want to melt the ground underneath your foes? Now you can! With Volatile Impact Reactor, you’ll be able to melt the terrain, transforming it into lava that will hurt the enemies that travel through it. This lava will heat up the bugs, cooking them, while slowing them down. This brings a lot of utility to the Shard Diffractor, making this build a must have in every Engineer’s arsenal. You’ll still have a lot of damage, so go ahead and cook some bugs for supper!
What Volatile Impact Reactor Excels In?
- This build features a decent amount of area of effect damage!
- With this build you’ll have some utility on your secondary, helping you and your team.
- Heat is a great damage over time effect!
Use This Build If…
- You want a different playstyle for the Shard Diffractor.
- You want utility from your secondary weapon.
- You want to cook your enemies alive.
Build Details
Impact Splash: This perk will increase the area damage this weapon deals.
Particle Spattering: Since we’re losing a bit of area of effect with the overclock, we’re taking this perk to shore that weakness.
Aluminum Foil DIY: Having more charge capacity will let you melt the terrain for longer.
High-Intensity Heating: This perk will help you heat up enemies quicker.
Dazzler Module: Dazzler Module will add a slowdown to your beam, upping this weapon’s utility.
Overclock - Volatile Impact Reactor: Whenever the beam you fire touches the ground, this overclock will turn it into hot magma, dealing damage to enemies underneath and slowing them down, at the cost of area radius and charge capacity.
- +Volatile Impact: Whenever the beam touches the ground, it will be turned into hot magma for 7 seconds in a 0.3m radius. The magma deals 5 Fire and 5 Heat damage every 0.1-0.15 seconds, equating to 40 DPS + 15 DPS from the On Fire status effect. The magma also slows any enemy in its radius by 0.7x (30%).
- 0.5x Area Radius
- 0.5x Charge Capacity
1. Overdrive Booster
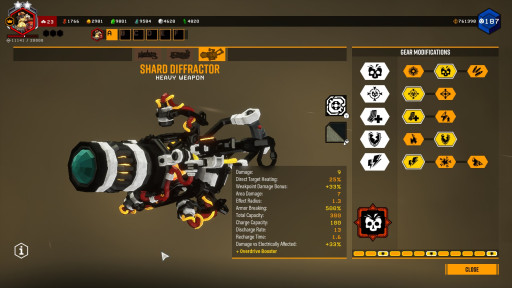
Overdrive Booster is the ultimate boss killing build. If you can keep the laser on the boss’ weak points, it will melt so quickly you won’t even have time to listen to what Mission Control has to say! This build features all the direct damage the Shard Diffractor can have, with some extras that will bring your playstyle to the next level. You won’t be able to move while shooting the laser, but it’s a fair drawback compared to the amount of power you’ll be drawing off the Ommoran Hearthstone inside the weapon!
What Overdrive Booster Excels In?
- This build is excellent at dealing with bigger targets with obvious weak points, and bosses.
- You’ll deal so much damage, that if you decide to use it against regular enemies, they will disappear almost instantly.
- Electricity will boost this weapon’s damage even further, so ask your team or bring something that is able to electrify enemies for maximum damage!
Use This Build If…
- You are planning on going into Elimination/Industrial Sabotage missions.
- You want to deal as much damage as possible with the Shard Diffractor.
- You don’t mind being immobile while firing the laser beam.
Build details
Increased Energy Density: We’ll be dealing direct damage a lot, so increasing it will only do good for us.
Soft tissue Disruption: More weak point damage is another very welcome damage bonus to this build.
Aluminum Foil DIY: Either perk on this tier is fine, but we like to have more charge capacity so we can fire the laser for longer.
Nitrogen Vaporizer: In this tier either perks are fine as well, we like Nitrogen Vaporizer to deal with armored targets from the front and sides.
Hydrogen Rupturing: This perk will make the Shard Diffractor deal more damage to electrocuted enemies! Pair it with a Scout, grenades or the SMG for maximum effect.
Overclock - Overdrive Booster: This overclock will let you increase the damage output by pressing the reload button while firing. You won’t be able to move while shooting the beam, and it’ll take longer to recharge. The beam won’t stop firing until the charge capacity is empty.
You may also be interested in:
[Top 10] Deep Rock Galactic Best Weapons That Are Powerful
Deep Rock Galactic Best Perks That Are Excellent
Deep Rock Galactic Best Class - What Should You Play?

