What are some of the most effective and fun builds in Deep Rock Galactic?
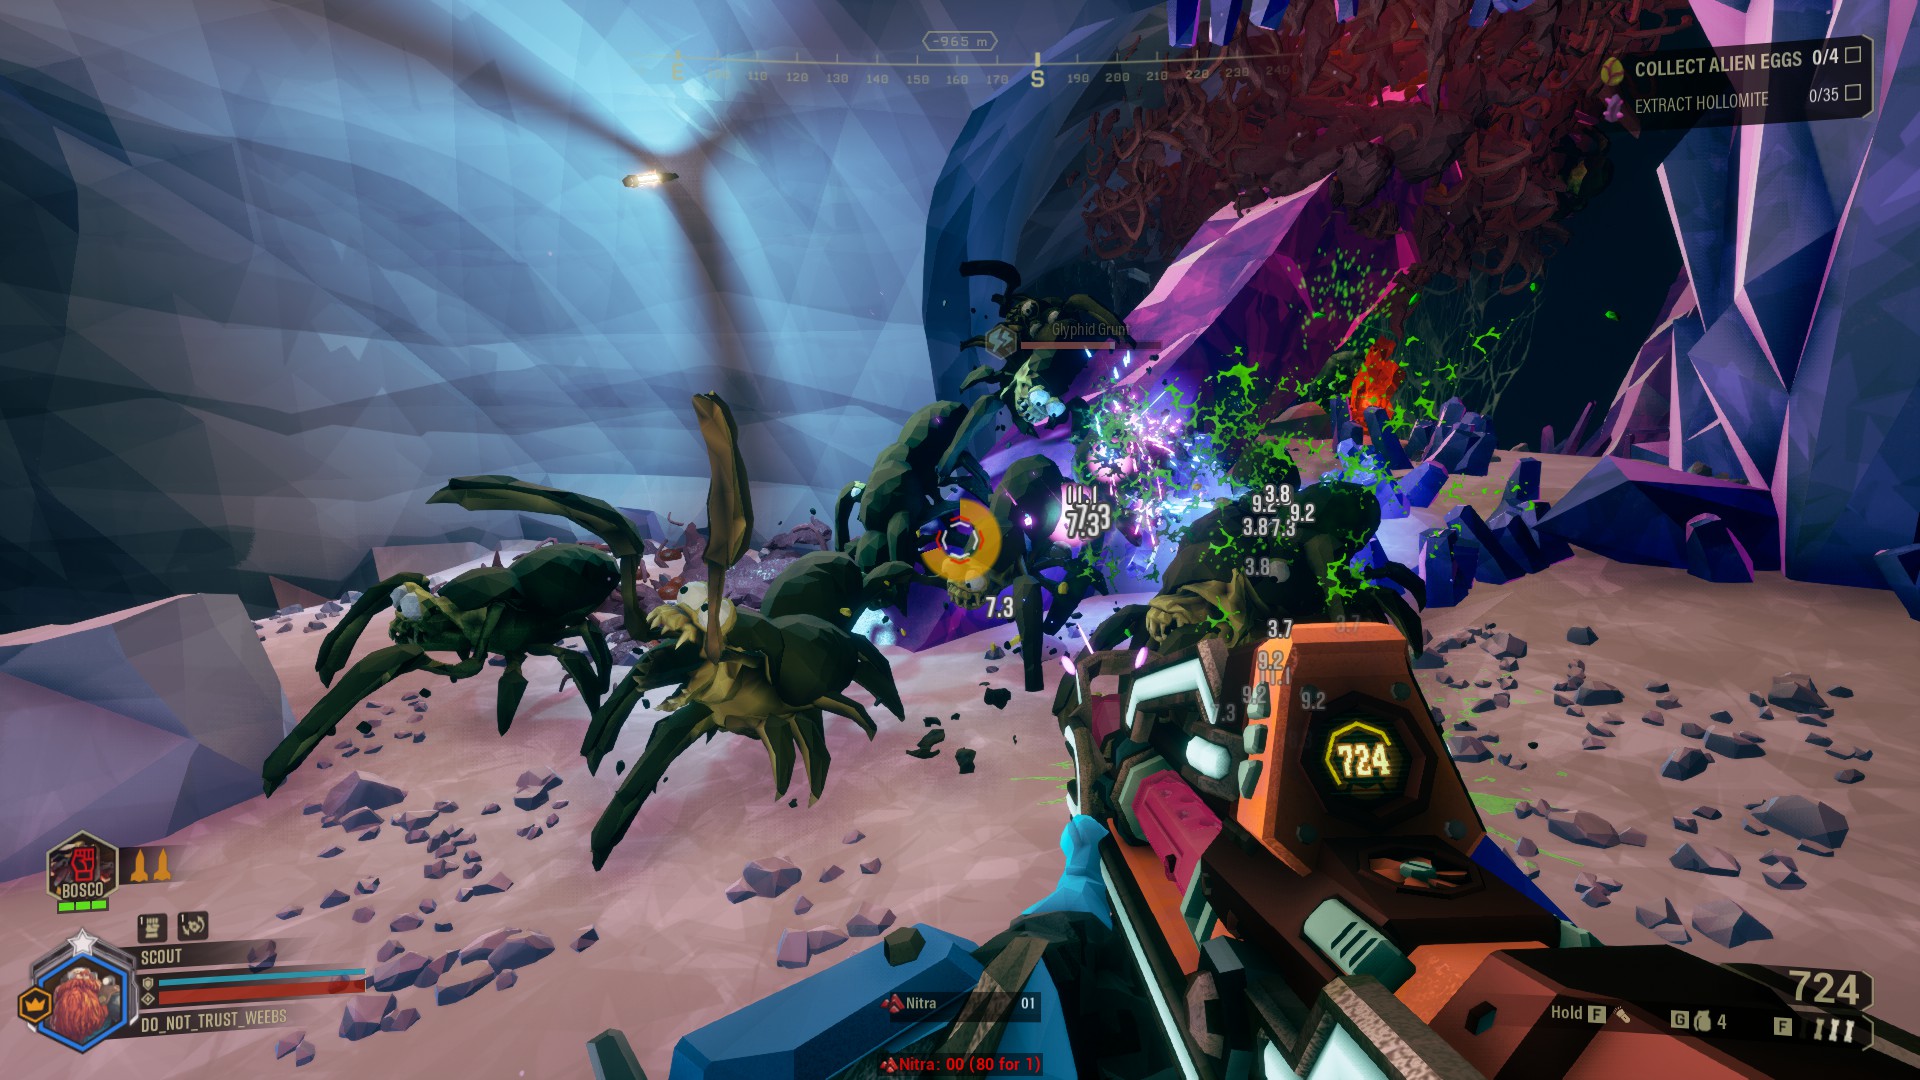
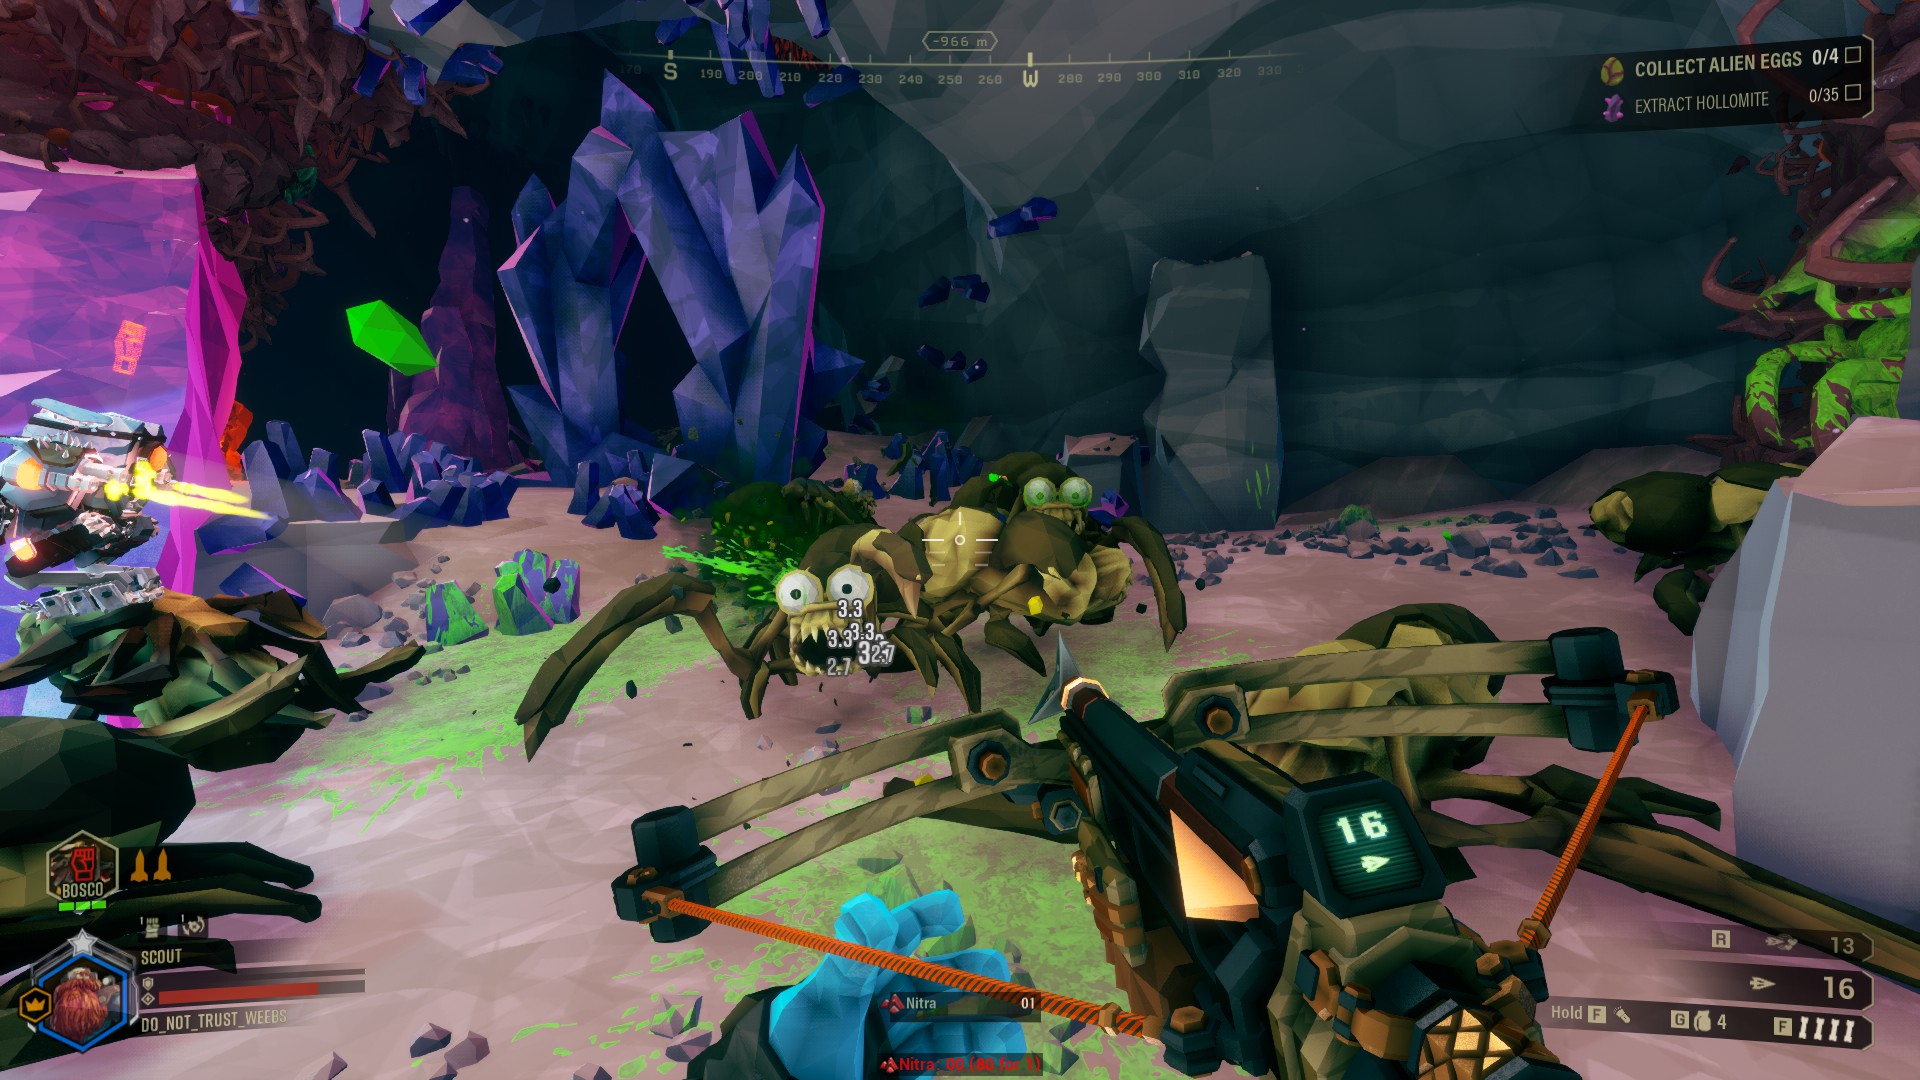
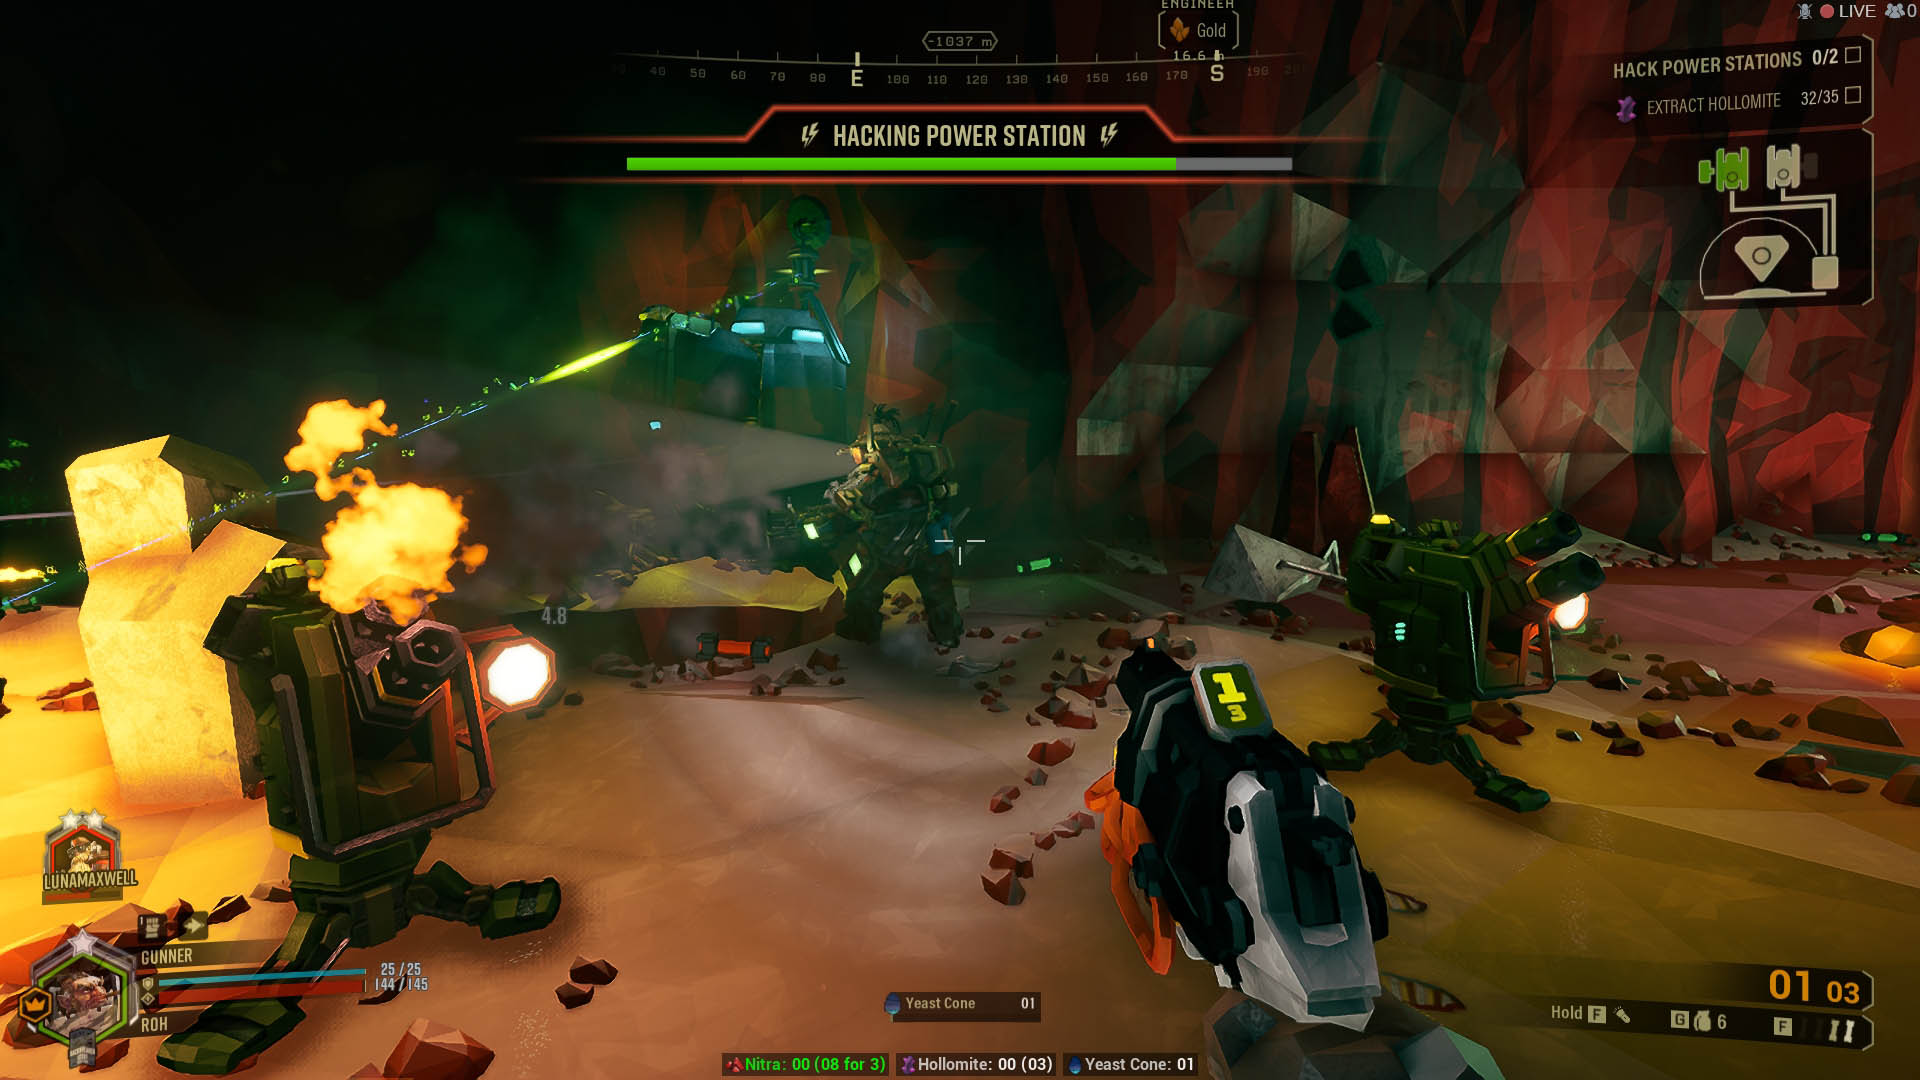
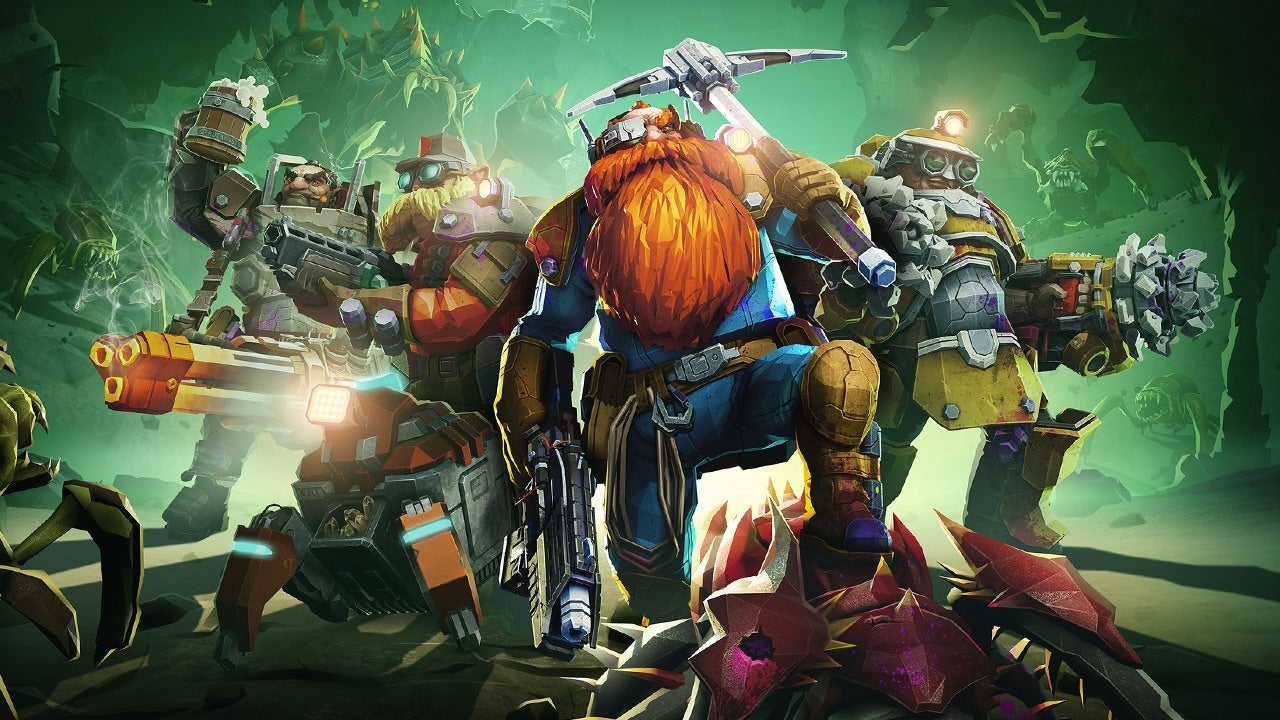
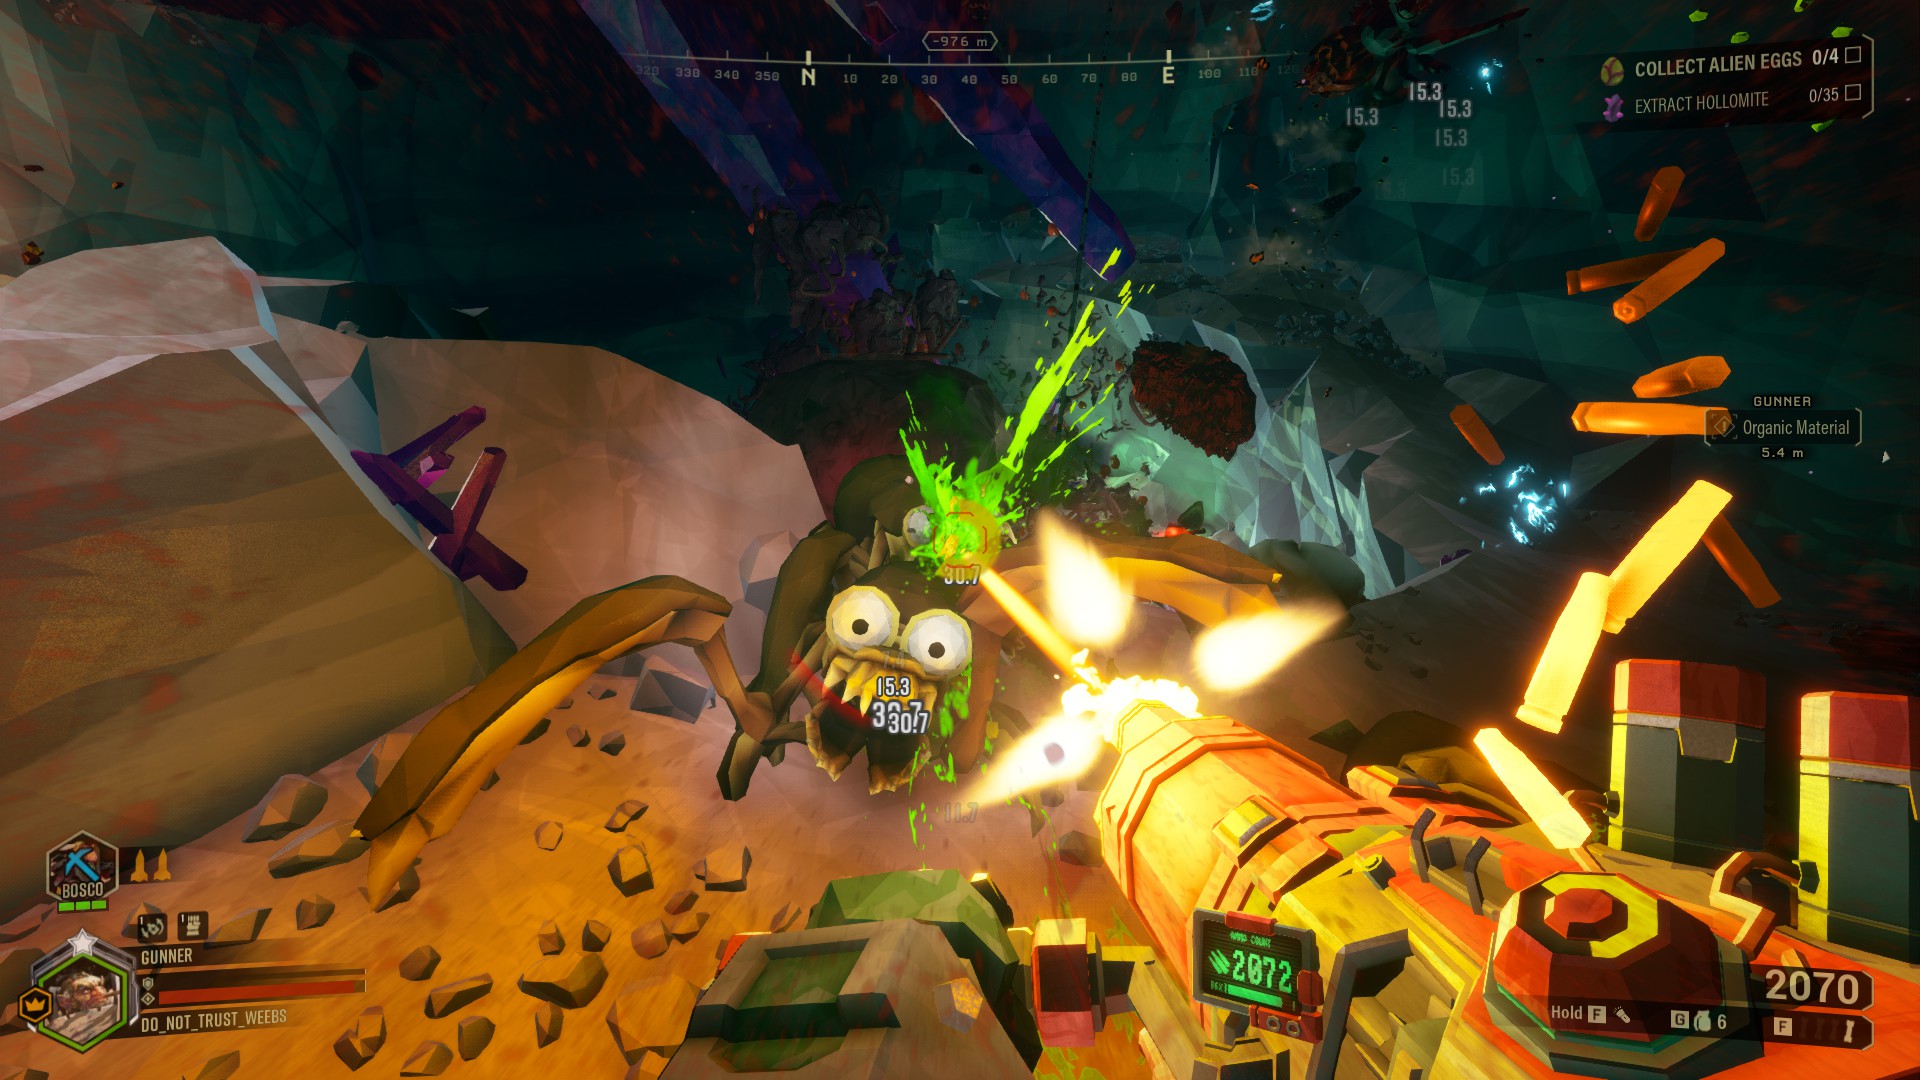
The Engineer is known for his zone control, great damage and good utility with his traversal tool. He brings a varied arsenal consisting of specialized weapons that will take care of anything and everything that is trying to take him and his team down. His signature are his turrets; he can deploy them quickly, providing good damage and dealing with the smaller bugs that are trying to make him their meal.
There is no meta in Deep Rock Galactic; all the weapons and overclocks have their uses, and if you don’t have the ones present in these builds, you can experiment with other ones. You will eventually unlock all the overclocks, as long as you keep playing. Experimenting and seeing what suits your playstyle is one of the things that makes this game great to play!
3. Magnetic Pellet Alignment + RJ250 Compound
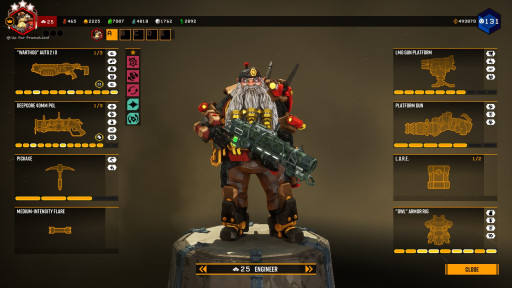
Even though this build features the default weapons for Engineer, they are powerful by themselves, and with the overclocks we chose, these guns are taken to the next level! The Warthog Shotgun will be able to deal with bigger targets quicker, and the Deepcore Grenade Launcher will be your wave clearing tool along with your turrets. But there’s more to this build. The RJ250 Compound overclock will let you rocket jump! You thought only the Scout had good mobility? With this overclock you’ll be able to run and gun waves of enemies like it’s nothing!
What Magnetic Pellet Alignment + RJ250 Compound Excels in?
- The Warthog is already great to target bigger foes, but with Magnetic Pellet Alignment you will be able to enhance that to new heights.
- The Deepcore PGL deals with smaller bugs quickly and easily, letting you focus on the bigger threats safely.
- The RJ250 Compound is a great overclock, since it lets you rocket jump. It will take a while to get used to, but mobility and positioning are a big part of this game. With this overclock you’ll be able to move around without any problems!
“Warthog” Auto 210 - A-B-C-B-B
- Supercharged Feed Mechanism: This perk will increase your rate of fire, which in turn will let you kill big enemies quicker.
- Loaded Shells: This perk will increase your damage by letting you have more pellets in each shell.
- High Capacity Magazine: More magazine size means less time reloading!
- Bigger Pellets: More damage is always nice.
- Miner Adjustments: This tier is personal preference, you can also try the Turret Whip one. We like Miner Adjustments because it makes the Warthog fire automatically, letting us unload a barrage of pellets on our foes.
- Overclock - Magnetic Pellet Alignment: This overclock reduces the spread of your pellets, increases the weak point damage but it slows down rate of fire. It makes the Warthog a fantastic weapon to deal with high priority targets.
Deepcore 40MM PGL - A-A-A-C-B
- Fragmentary Shell: This weapon excels in dealing area damage, and with this perk we’re increasing that area.
- Expanded Ammo Bags: More ammo = more explosions!
- Incendiary Compound: With this perk, half of the damage will be converted to heat. If something doesn’t die from the blast, they’ll die burning.
- Concussive Blast: Stun is a decent crowd control ability, letting you create space for you and your team. That’s why we like to take this perk.
- Spiky Grenade: This perk will increase the damage the grenade deals on direct impact. There will be many unlucky bugs on your next mission!
- Overclock - RJ250 Compound: This overclock makes the Deepcore an amazing weapon, by giving it more ammo and letting you use it to rocket jump your way around! The damage it deals is reduced, but it’s not too much of a down side for this weapon.
Pickaxe: A-C
- Power Attack: The Power Attack is a great tool to fend yourself off and deal great amounts of damage. Use it often!
- Better Weight Balance: With this perk you’ll have the cooldown of the Power Attack lowered, letting you use it more often.
LMG Gun Platform - A-B-B-A
- Gemini System: This perk is up to preference, since you can take either two regular turrets or one big one. The bigger one will pack a bigger punch, but you’ll lose the area cover that two turrets provide.
- Quick Deploy: We like to take this perk if we’re playing public games or solo, since it lets us deploy the turrets faster. If you’re playing with a coordinated team, teammates can help you deploy the turrets, so you can take Expanded Ammo Bags instead.
- Stun: Having this perk will give your turrets a chance to stun the targets, which creates more space for you and your team to deal with the threats. If there’s no armor breaking on your team, you can also bring Hardened Rounds.
- Defender System: This perk will make your turrets deal more damage and have a focused shot range. Place them towards where you want them to shoot!
Platform Gun - B-A-C
- Expanded Ammo Bags: More ammo means more platforms.
- Plastcrete MKII: This perk will let your platforms reduce fall damage.
- Disabled Inertia Inhibitor: You can take any perk from this tier with guaranteed results. We like to take Disabled Inertia Inhibitor because you can latch platforms much quicker, which can be helpful when you’re trying to escape a bad situation.
Grenade - L.U.R.E.
- The Engineer lacks mobility tools, and even with RJ250 Compound, you’ll find yourself in situations where you’re surrounded. Throwing a L.U.R.E will deploy a hologram of a dwarf, which will pull aggro to it. This grenade is great to distract enemies so you can deploy turrets or move into a safer spot.
“Owl” Armor Rig - B-B-A-C
- Booster Converter: With this perk your shield will regenerate faster after an initial delay, letting you get back to full shields quicker.
- Healthy: Health is very important, so more of it never hurts!
- Hazmat System: This perk will grant you poison resistance.
- Breathing Room: If you ever get downed, this perk will grant you a brief window of invincibility, letting you position yourself and deal with threats.
Perks
- With this build we recommend bringing Thorns, Born Ready and Ressuplier as your passive perks. With this combo you’ll be able to survive getting overwhelmed by Glyphid Swarmers, you’ll be able to have your weapons always reloaded and you’ll also get ammo faster from the Resupply Depots.You can always try Deep Pockets and Veteran Depositor too! For active perks, we like to take Field Medic and Dash, if we’re playing with squadmates. You can switch Field Medic with either Heightened Senses or Beast Master if you’re playing solo.
2. Super-Slim Rounds + Plascrete Catalyst
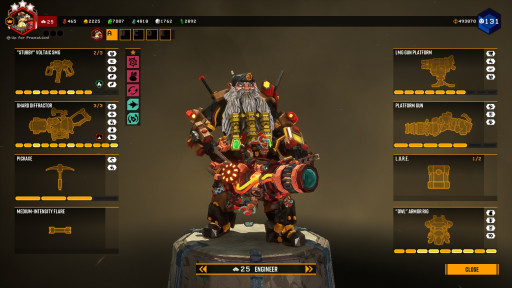
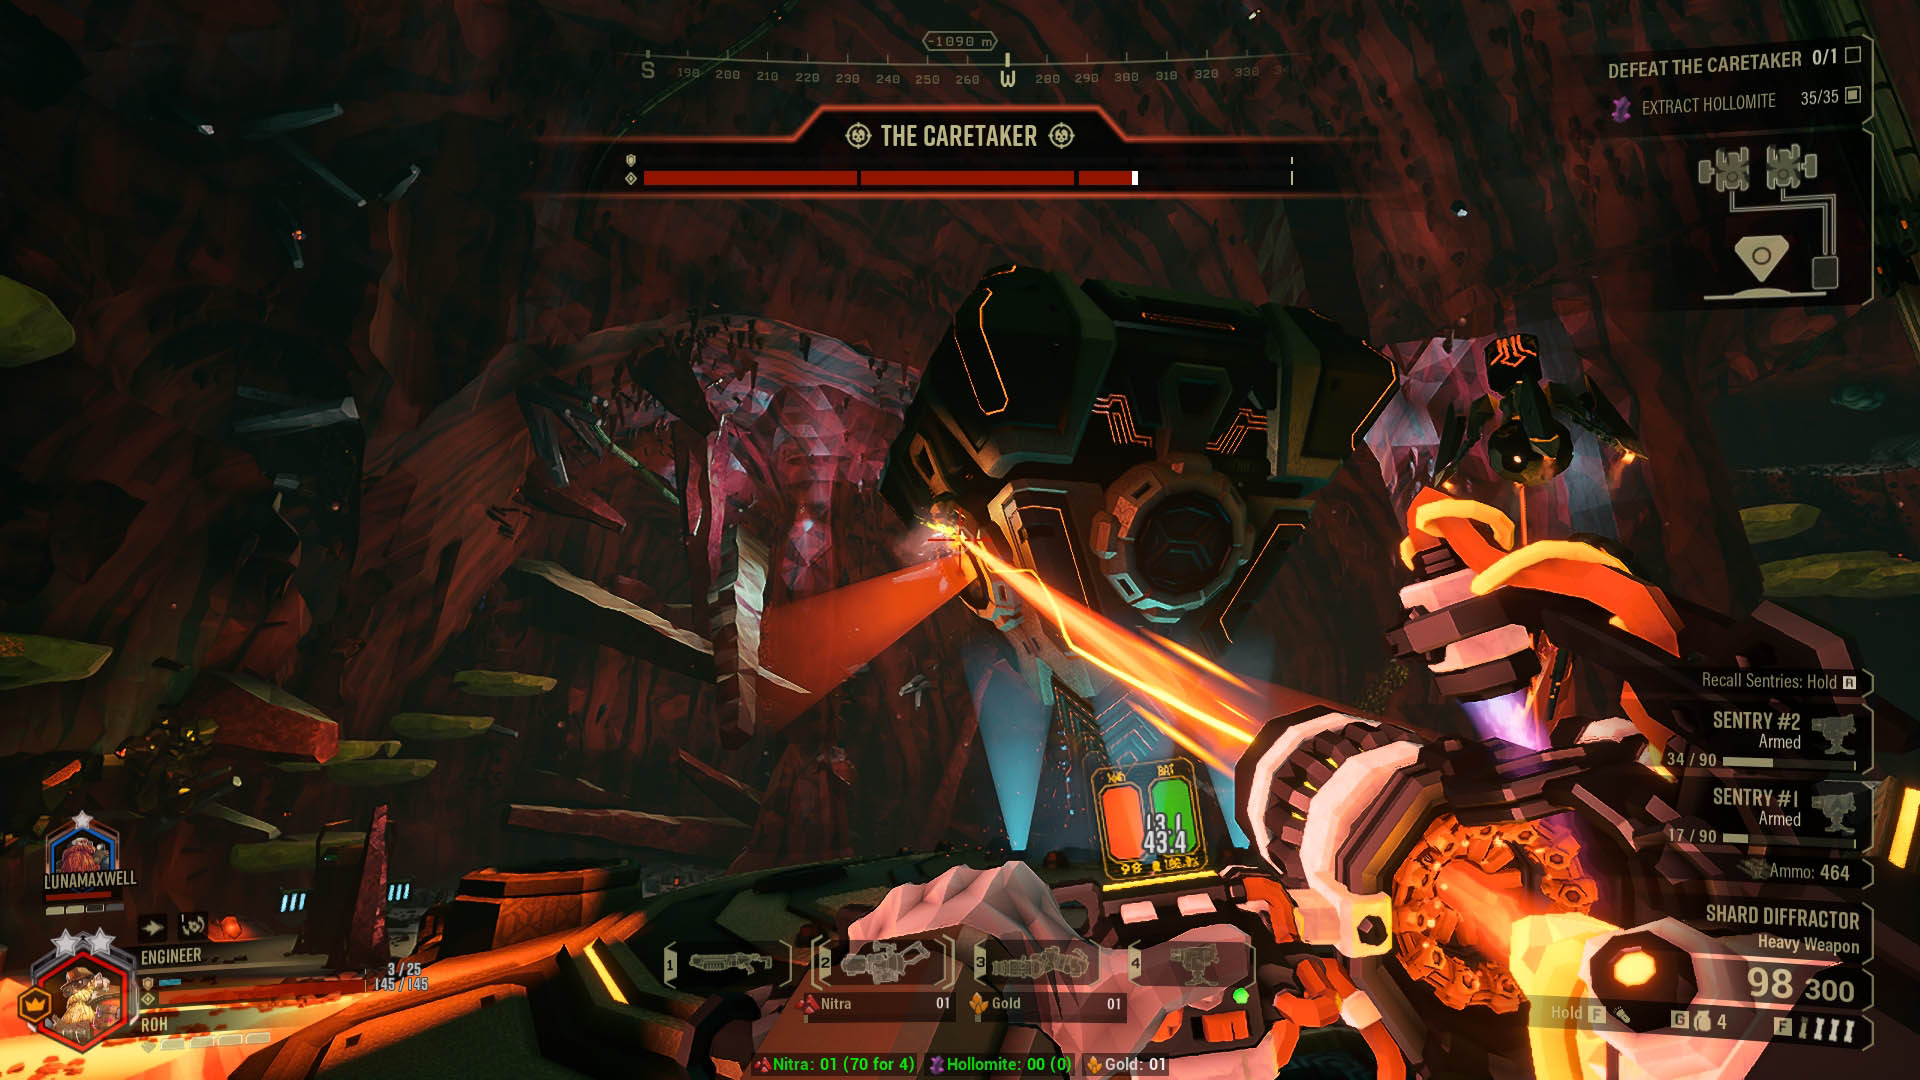
This build is very unique in its playstyle! Remember your platforms? You can now use them as offensive weapons. The Plascrete Catalyst overclock will let you shoot your platforms for more damage, and if you shoot enough, they will explode, dealing massive amounts of damage! Other than that, the Shard Diffractor is just a fun weapon to use, since it shoots a concentrated laser beam. We also bring the “Stubby” Voltaic SMG, which is a very versatile gun. You can proc electricity easily, slowing down and dealing damage over time to enemies, and with Super-Slim Rounds you’ll be able to be more accurate and reload less times.
What Super-Slim Rounds + Plascrete Catalyst Excels in?
- The Stubby is a fantastic all around weapon for crowd control, letting you take care of most enemies with ease, and providing good utility.
- Bringing the Shard Diffractor might seem strange, since it isn’t the strongest area of effect weapon, but with Plascrete Catalyst this changes completely, making it a strong contender to the best area of effect weapon!
- This playstyle takes a bit to get used to, but when you do, you won’t stop exploding pancakes on bugs, ever!
“Stubby” Voltaic SMG - A-C-B-B-B
- Increased Caliber Rounds: The overall damage of your weapon is increased by taking this perk. Killing things quicker is very useful in this game.
- Improved Gas System: This perk will increase your rate of fire, which in turn, lets you kill things quicker.
- Expanded Ammo Bags: Having more ammo lets you shoot more, letting you kill more bugs.
- Conductive Bullets: This perk will let the Stubby deal more damage to enemies that are inside an electric field. This includes being electrocuted.
- Electric Arc: Taking this perk will let the electricity arc to other targets, increasing the area of effect capabilities of this weapon.
- Overclock - Super-Slim Rounds: This overclock increases magazine size capacity and reduces spread, making your shots more accurate.
Shard Diffractor - C-B-B-A-C
- Larger Battery: The Shard Diffractor eats through ammo, so having more of it is a great improvement for this weapon.
- Particle Splattering: This perk makes it so that the area surrounding the impact zone of the laser increases, improving this weapon’s area of effect capabilities.
- Open Structure Battery: The Shard Diffractor will charge faster if you take this perk, letting you unleash mayhem quicker.
- High-Intensity Heating: Taking this perk will let the Shard Diffractor transfer more heat to the target, making it burn faster.
- Dazzler Module: Crowd control is great, and with this perk, you’ll slow down the enemies that are around the impact zone of the laser.
- Overclock - Plascrete Catalyst: With this perk, shooting at platforms will increase your area of effect range and damage, and if you keep shooting at them, it creates an explosion that deals massive amounts of damage! This overclock will also reduce your charge rate and your ammo capacity.
Pickaxe: A-C
- Power Attack: The Power Attack is a dwarf’s best tool to fend off threats that are too close for comfort.
- Better Weight Balance: You’ll want this perk if you want to use the Power Attack more often, since it reduces its cooldown.
LMG Gun Platform - A-B-B-A
- Gemini System: You can take either perk in this tier. The one we recommend lets you bring two turrets, letting you cover a huge area with them.
- Quick Deploy: Quick Deploy will let you deploy your turrets faster, letting them start shooting sooner.
- Stun: Stun is a good form of crowd control, creating space for you and your teammates to position.
- Defender System: This perk makes the turrets have a focused zone of action and more damage, enhancing them further.
Platform Gun - B-A-C
- Expanded Ammo Bags: More ammo means more pancakes.
- Plastcrete MKII: This perk will let your platforms reduce fall damage.
- Expanded Ammo Bags: You can take any perk in this tier. We take Expanded Ammo Bags in this build so we can explode more platforms with the Shard Diffractor.
Grenade - L.U.R.E.
- You can take any grenade you want, but our recommendation is L.U.R.E. This grenade creates a decoy for you, relieving pressure off of you and your squadmates. The Plasma Burster is also great if you feel you’re lacking damage.
“Owl” Armor Rig - B-B-A-C
- Bigger Mineral Back: You will be able to carry more minerals with this perk, saving up some trips to the M.U.L.E.
- Healthy: Being healthy is just great.
- Hazmat System: This perk will grant you poison resistance.
- Breathing Room: This perk will help you reposition when you get revived by giving you a brief moment of invincibility.
Perks
- We recommend taking Thorns, Deep Pockets and Ressuplier as your passive perks. Thorns will let you handle smaller enemies, while Deep Pockets will increase your carry capacity. Ressuplier is a fantastic passive perk, since it lets you refill your ammo quickly, gives you more health and it even reloads your guns. You can also bring Born Ready if you feel like it can help you in tighter spots. For active perks, we like to bring Dash and Field Medic on public missions. If you’re playing Solo, you can switch Field Medic with Heightened Senses or Beast Master.
Neuro-Lasso + Return To Sender
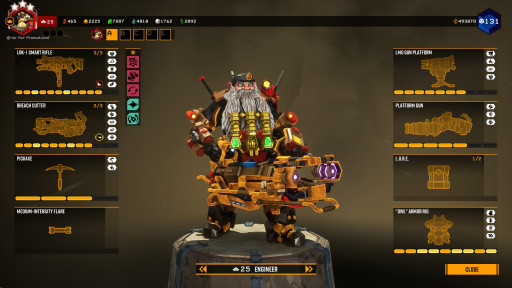
This build features the LOK-1 Smart Rifle and the Breach Cutter. The LOK-1 has its very own targeting system that creates virtual lines that tether to enemies. When you release the shoot button, the bullets fly out, following the lines that you’ve created. With Neuro-Lasso, these tethers will slow-down enemies, bringing a great amount of crowd control to the Engineer. The Breach Cutter is one if not the most versatile weapon in the game: it goes through terrain, it ignores armor, and has fantastic damage and coverage. We like to take Return to Sender, which lets the beam that you fire act like a boomerang, traveling backwards after you release the shoot button. With this build you’ll be able to tackle everything, from Eliminations to On-Site Refinings!
What Neuro-Lasso + Return To Sender Excels in?
- The LOK-1 Smart Rifle brings excellent damage to big targets, and it also can deal with waves properly.
- As mentioned above, the Breach Cutter is overall a fantastic weapon, with barely any weaknesses.
- This combo of weapons and overclocks will make the Engineer very powerful, being able to deal tons of damage, crowd control and area denial.
LOK-1 Smart Rifle - A-B-A-A-A
- Increased Caliber Rounds: This perk increases the damage dealt, reaching the necessary breakpoints to ensure a smooth mission.
- CCD Array Add-On: This perk enables the camera to track enemies from a wider angle and it also expands the angle at which new locks can be acquired.
- SMRT Targeting Software: You can take any perk in this tier, depending on your playstyle. We like to bring the SMRT Targeting Software because it will let us use ammo more efficiently by having the locks prioritizing lower health enemies and avoiding placing more locks than necessary.
- Shutter Speed Sensor: This perk will let you lock on to things faster.
- Electric Generator Mod: Bringing this perk will let you electrify enemies if you hit them with at least three bullets, which will in turn apply a damage over time effect and slow them down.
- Overclock - Neuro-Lasso: This overclock enables the LOK-1 to slow down enemies that have locks on, making it a great crowd control source. It will also slow the lock acquisition speed, and limit the lock duration.
Breach Cutter - A-A-A-B-C
- Prolonged Power Generation: The beam will be able to travel further before collapsing, letting you hit targets that are further away.
- Expanded Ammo Bags: More ammo equals less problems.
- Quick Deploy: With this perk, the beam projectile will open up quicker, hitting multiple targets at a closer range.
- Disruptive Frequency Tuning: This weapon ignores armor, so we take this perk, which will give this weapon a chance to stun any enemy that it hits.
- Triple Split Line: The plasma beam will be split into three lines, giving you the possibility of hitting targets that are at multiple heights.
- Overclock - Return to Sender: Having this overclock will let you use the beam as a boomerang, making it return when you release the fire button. This increases its damage output, because it can pass through enemies twice. It will also reduce your ammo capacity.
Pickaxe: A-C
- Power Attack: You can only take this perk in this tier. The Power Attack will deal massive amounts of damage to enemies unfortunate enough to be close to you!
- Better Weight Balance: Taking this perk will let you use the Power Attack more often.
LMG Gun Platform - A-B-B-A
- Gemini System: You can take either perk in this tier. Gemini System will let you have two turrets, covering a wider range.
- Quick Deploy: Quick Deploy will let you deploy your turrets faster.
- Stun: This perk will let your turrets be able to stun enemies, creating space for you and your squad.
- Defender System: Taking this perk will make the turrets have a focused range of action, and it will increase their damage.
Platform Gun - B-A-C
- Expanded Ammo Bags: Having more ammo will let you deploy more platforms before running out.
- Plastcrete MKII: This perk will let your platforms reduce fall damage.
- Disabled Inertia Inhibitor: All the perks in this tier are useful, so you can experiment with each to see which one fits your playstyle the best. We enjoy taking Disabled Inertia Inhibitor, because it lets us fire the projectile faster, which in turn creates the platform faster.
Grenade - L.U.R.E.
- The L.U.R.E grenade is a fantastic tool for the Engineer, since he lacks mobility in his kit. This grenade will create a decoy, which will pull aggro from enemies, letting you deal with them without having them surrounding you.
“Owl” Armor Rig - C-B-A-C
- Bigger Mineral Bag: This perk will increase your mineral carry capacity, lowering the amount of times you’ll have to deposit.
- Healthy: You’ll want to take Healthy since it keeps you alive for longer.
- Hazmat System: This perk will grant you poison resistance.
- Breathing Room: This perk will give you an invulnerability window when you get revived, letting you move to a better position without harm.
Perks
- We highly recommend bringing Born Ready on this build, since the Breach Cutter takes a long time to reload. You can also bring Thorns and Ressuplier, so you can deal with bugs that are surrounding you and get ammo and health back quicker. For active perks, we strongly advise you to bring Dash, since it’s a fantastic tool to move around the caves, and it’ll let you get out of sticky situations. If you’re playing with a squad, you can bring Field Medic, but if you’re Solo, it’s better to bring either Heightened Senses or Beast Master, depending on your preference.
You may also be interested in:
[Top 10] Deep Rock Galactic Best Weapons That Are Powerful
Deep Rock Galactic Best Perks That Are Excellent
Deep Rock Galactic Best Class - What Should You Play?


