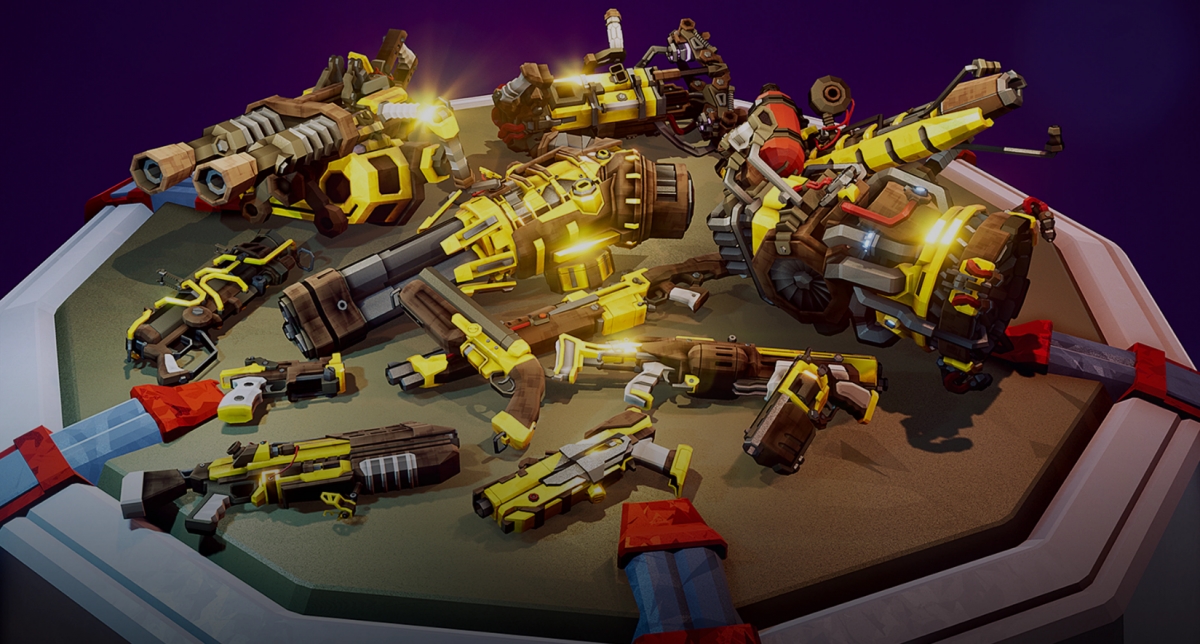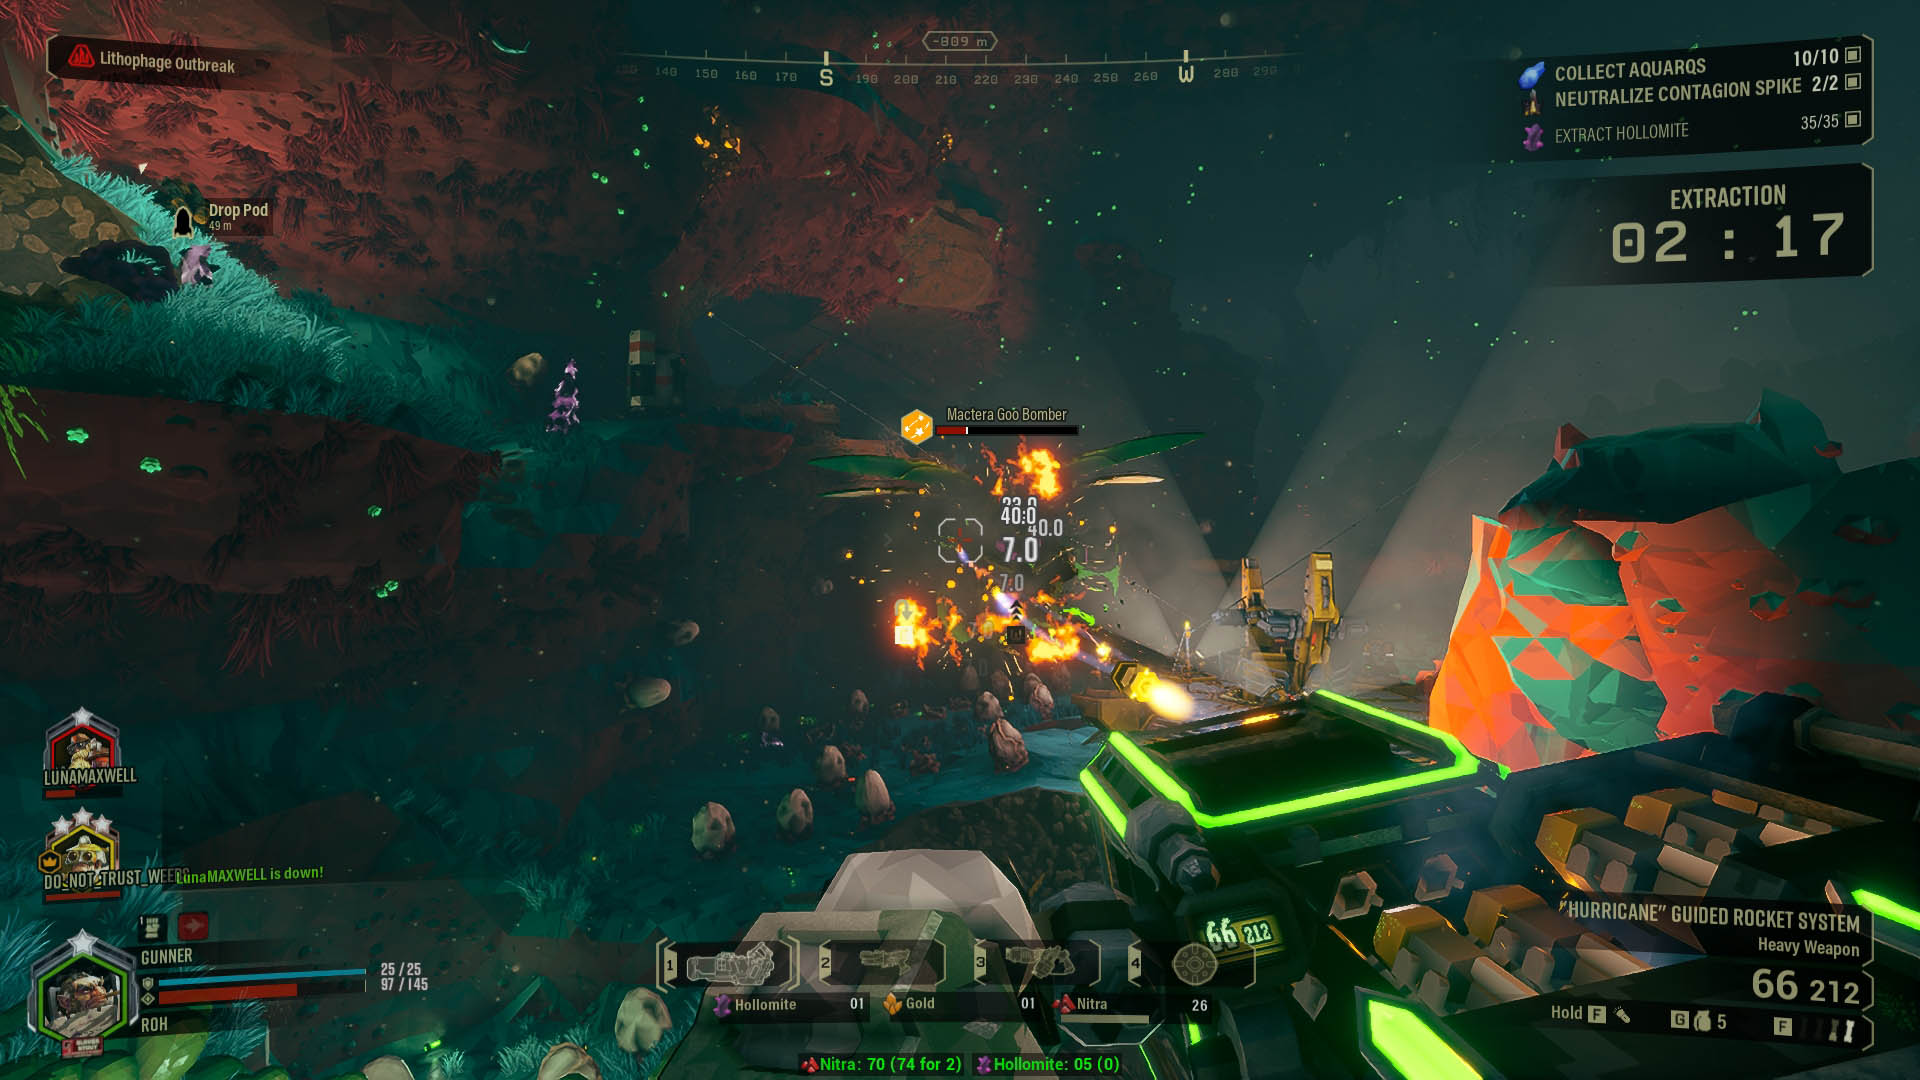
What are some of the best builds for Deep Rock Galactic?
Do you like dwarves? Are you interested in mining in space? Is cave-delving something that allures you? Is mowing through hordes and hordes of dangerous wildlife something you’ll think you’ll enjoy? Say no more, this is the game for you.
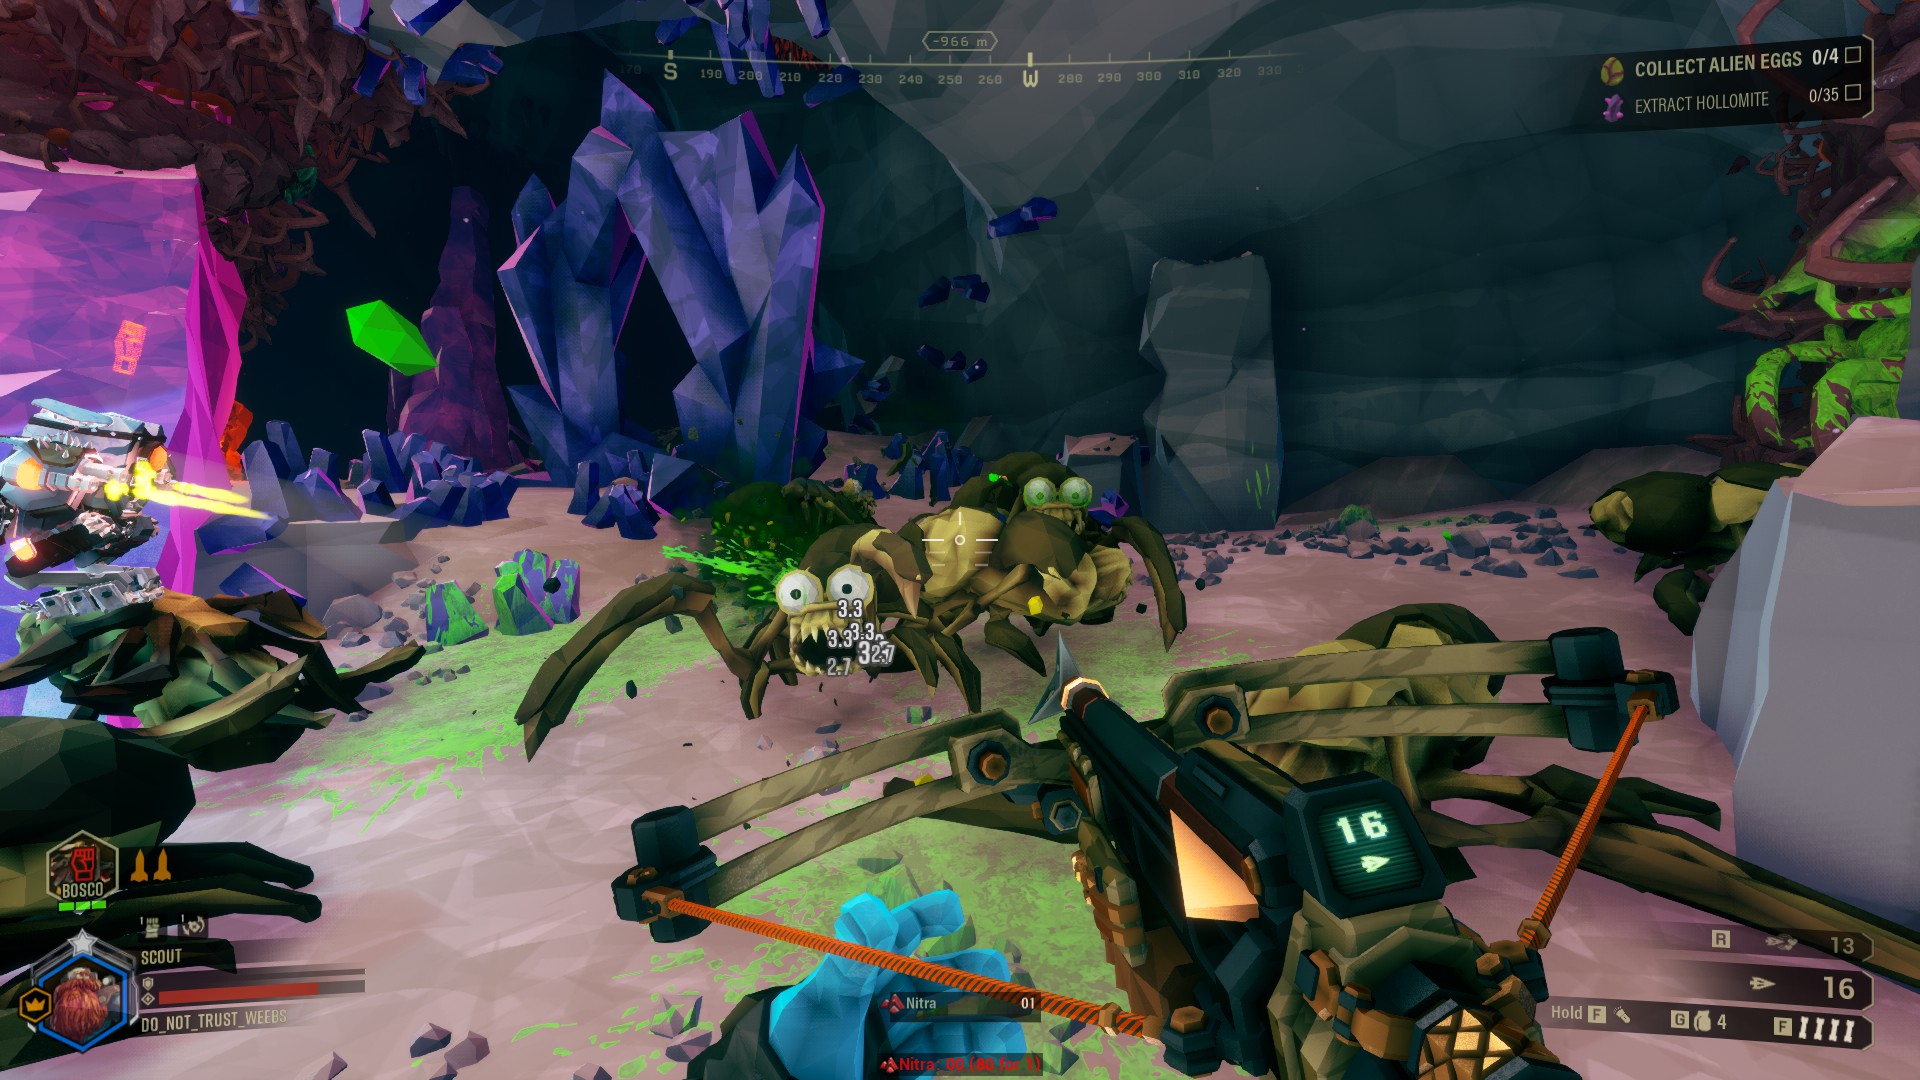
Deep Rock Galactic is an online co-op game, up to 4 players, where you go to randomly generated caves in Hoxxes II, to gather resources for a company aptly named as the game title, and while doing so, you’ll need to defend yourself against hordes of the local fauna and even flora.
To defend yourself the best way possible, we got some of the best builds available for you to excel at the game.
1. Gunner “BEST GUNNER BUILD”
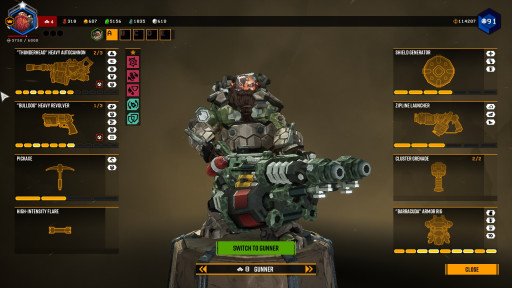
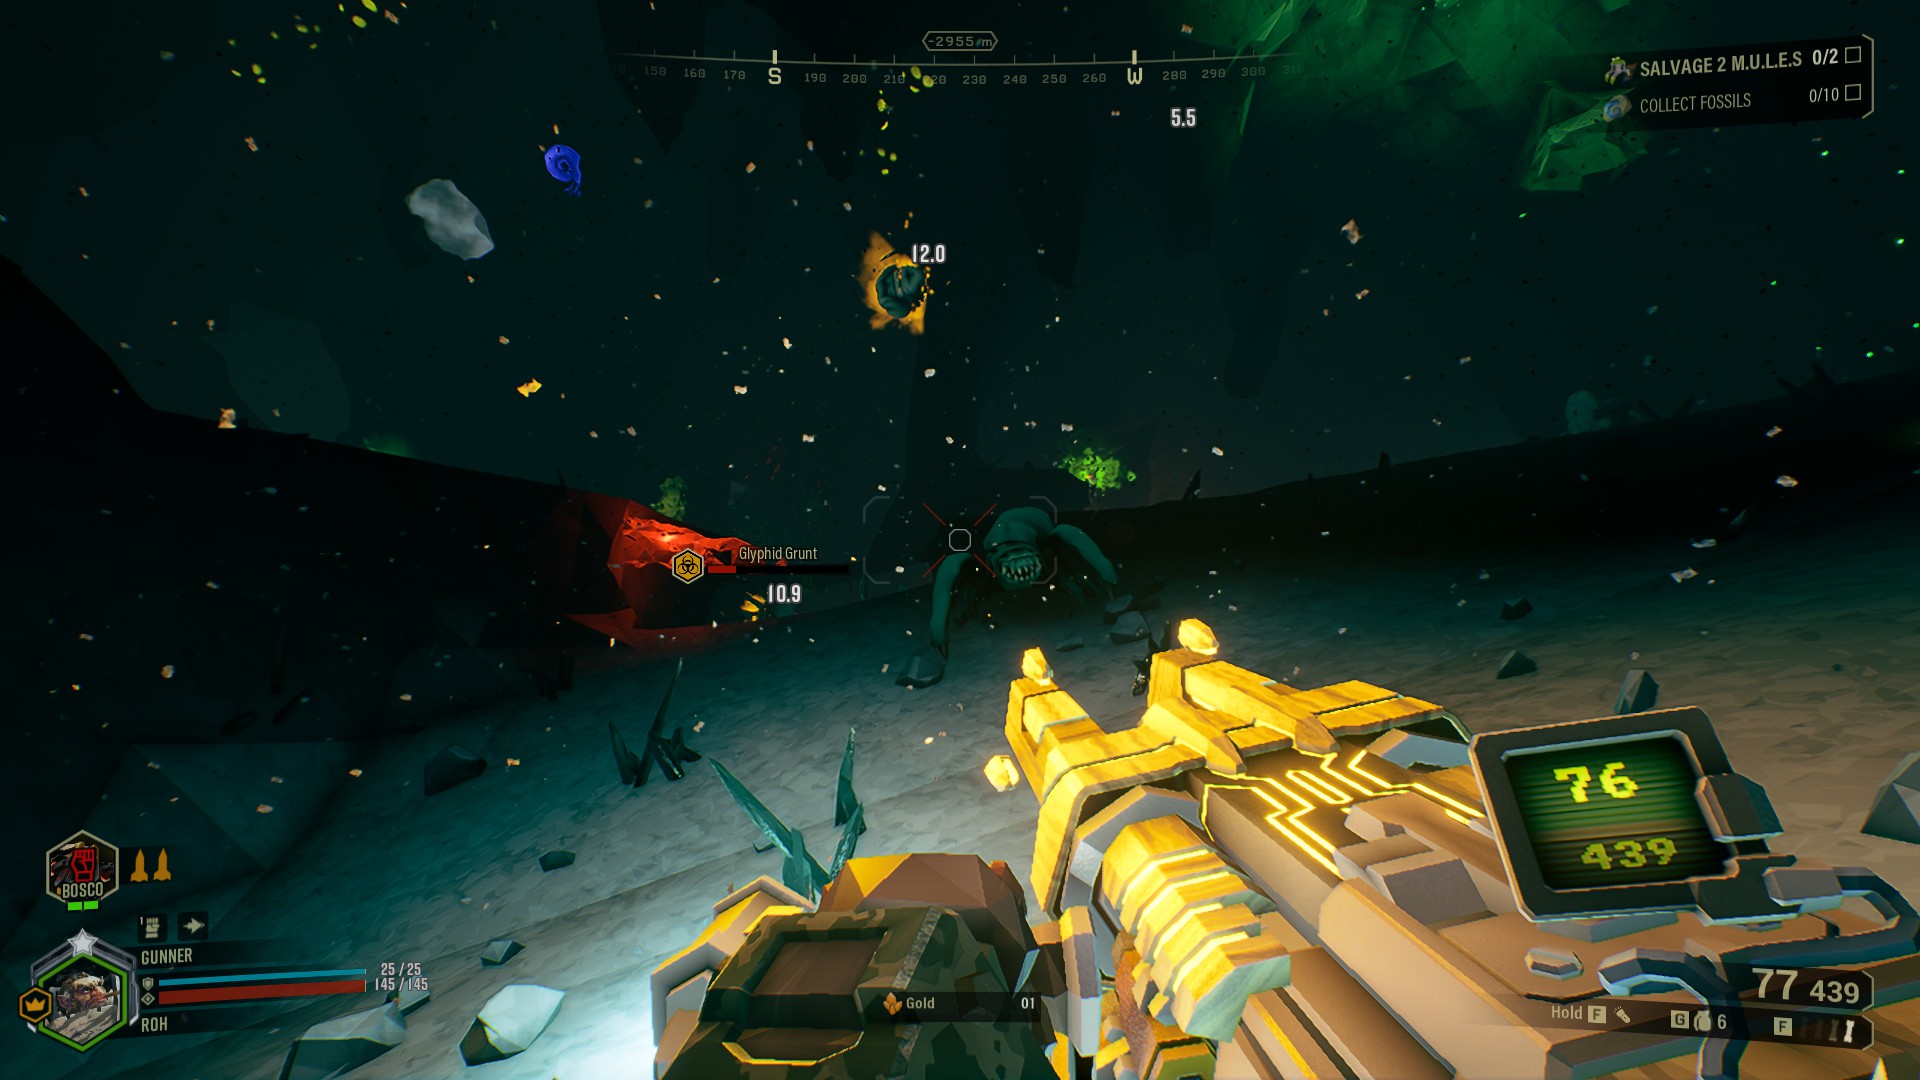
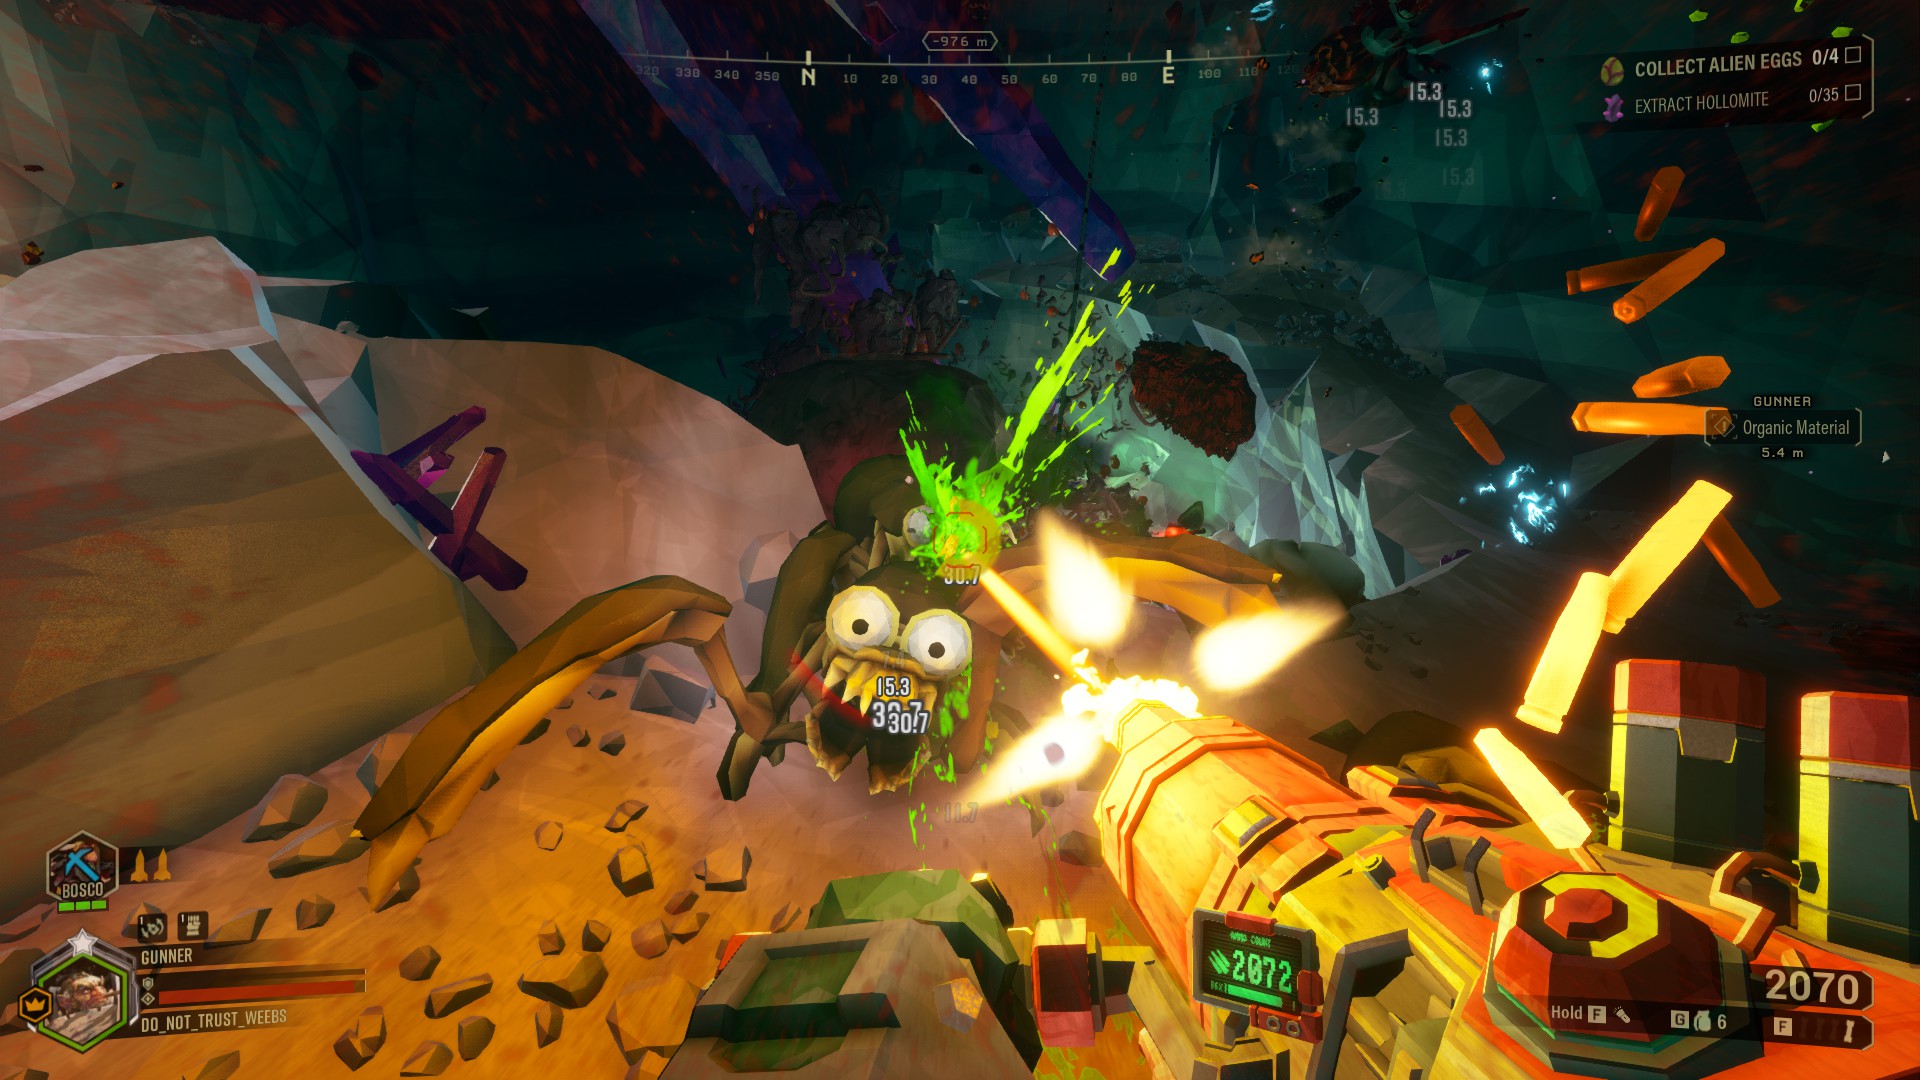
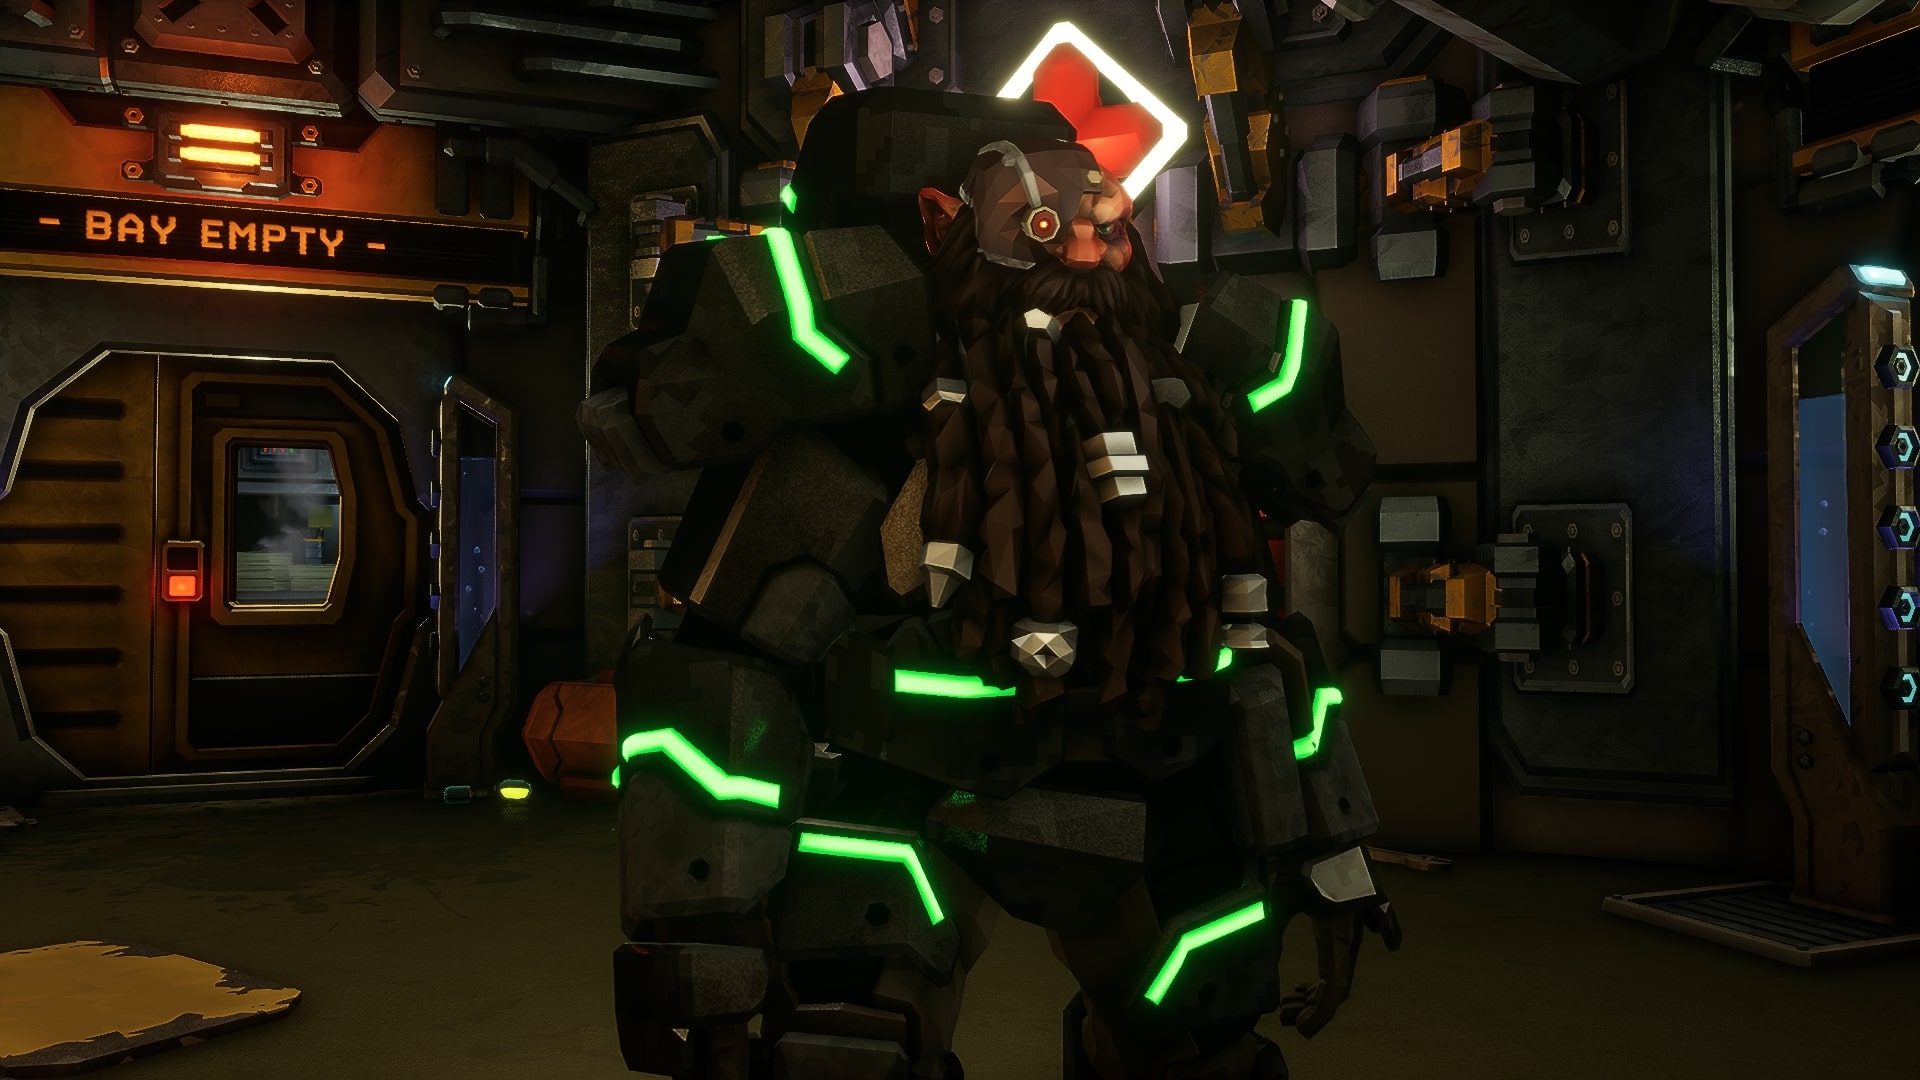
The Gunner is the first character you play with, as you go through the tutorial. He’s beefy, and has big guns! With this build you will use the “Thunderhead” Heavy Autocannon paired with the “Bulldog” Heavy Revolver. This build has both the area of effect capabilities with the Autocannon, and good single target damage with the Revolver.
What “BEST GUNNER BUILD” Excels In:
- Great area of effect damage with Thunderhead Autocannon, which is enhanced by the Carpet Bomber overclock. This will minimize one of the Gunner’s weaknesses, area damage.
- The Heavy Revolver is a great single target weapon, which will let you deal with the bigger foes easily.
- Great survivability with your shield, for you and your teammates.
- Good terrain maneuverability with your zipline, enabling you to reach even the most difficult spots.
- Increased survivability in your armor, which will let you take punishment for longer.
- Almost no downtime when dealing damage, thanks to Born Ready.
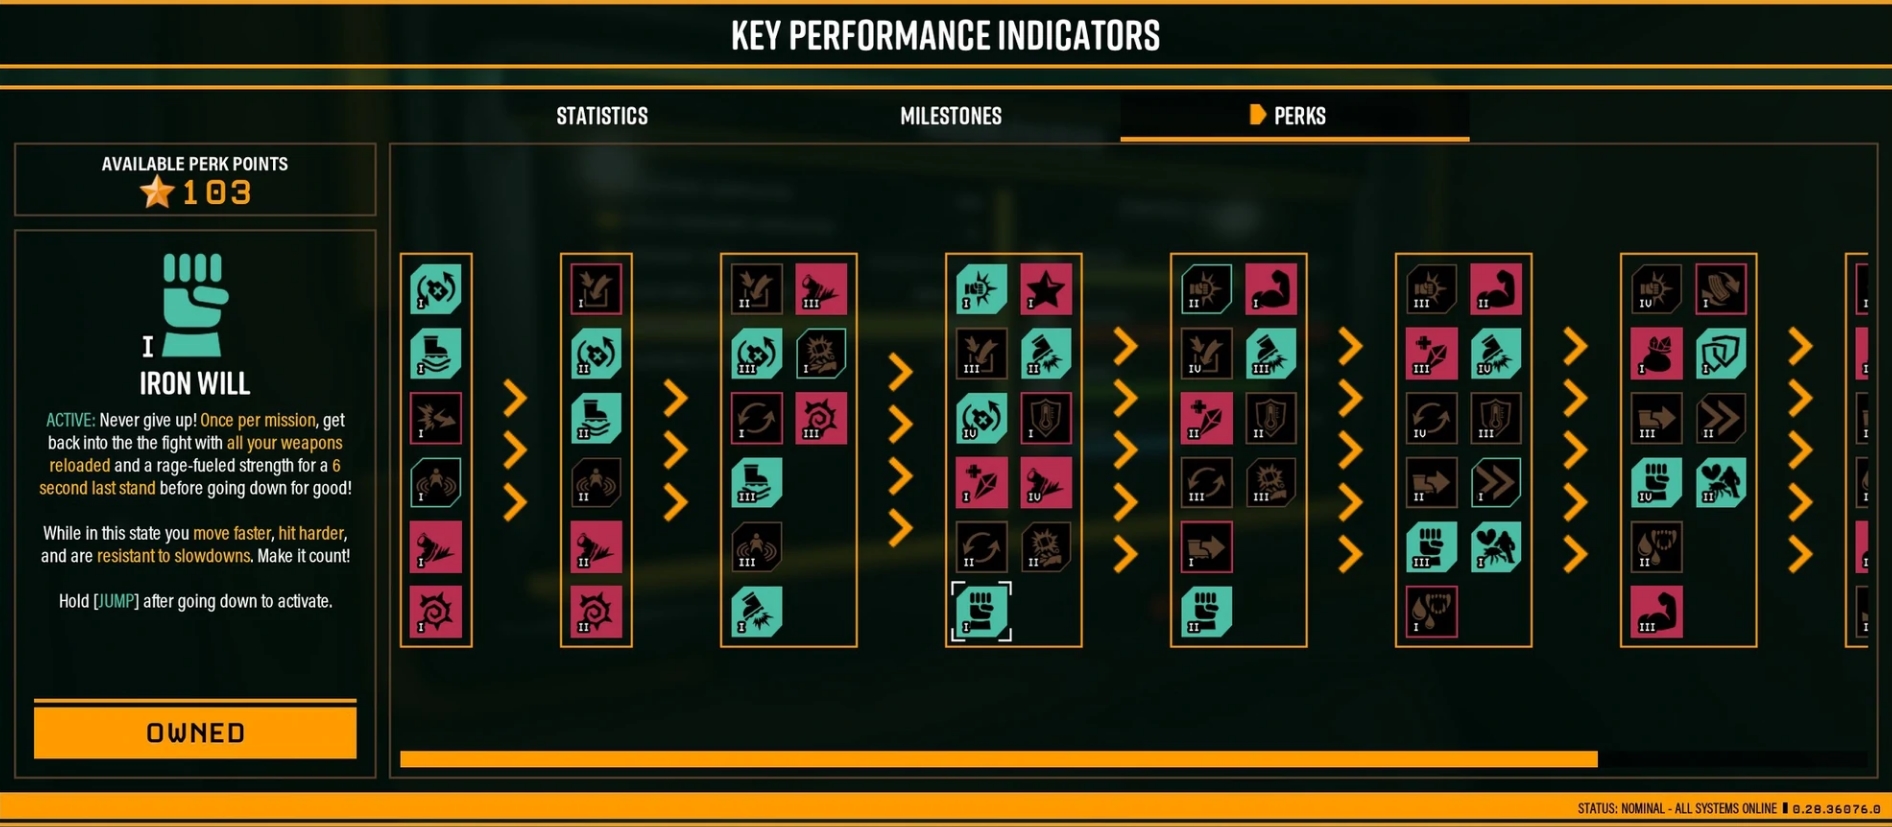
- The Iron Will + Vampire combo will keep you alive and grant you one self-revive per mission.
“Thunderhead” Heavy Autocannon - C-C-C-A-A
- Expanded Ammo Bags: if you have more ammo, you’ll be able to shoot more, and kill more.
- Lighter Barrel Assembly: The faster rate of fire will make the Autocannon feel better, and you’ll once again, kill more.
- High Velocity Rounds: This perk grants you more damage, which like the previous perks, will help you deal with the wildlife better.
- Hardened Rounds: This will enable the Autocannon to break armor, which will help you deal with the tougher enemies.
- Feedback Loop: This perk increases damage at maximum rate of fire, which will boost the capabilities of this weapon further.
- Overclock: Carpet Bomber - Carpet Bomber increases the area of effect radius and damage, while reducing the direct damage you deal. This makes the Autocannon really strong against hordes of enemies, but not as effective against bulkier targets.
“Bulldog” Heavy Revolver - B-B-C-A-A
- Perfect Weight Balance: This perk decreases the spread of your shots, which will let you be more accurate.
- Floating Barrel: This perk also lowers the spread of your shots, and it also decreases your recoil. It’s a great quality of life perk for the Heavy Revolver.
- Hollow-Point Bullets: With this perk you’ll deal more damage to weak-spots, synergising with the main usage for this weapon: shoot weak-spots.
- Expanded Ammo Bags: More ammo means more shooting.
- Dead-Eye: No aim penalty while moving, which is extremely handy for this gun, since you should always be moving.
- Overclock: Six-Shooter - This overclock makes it so you have 6 rounds in your barrel. It also increases your ammo and the rate of fire. It also increases your base spread and your reload time. With this you’ll be able to empty a clip on a tougher bug quicker, killing it in the process.
Zipline Launcher - B-A-A
- Upgraded Connection Joint: This increases the operational angle of your zipline. A must have.
- Reinforced Cable: This is the only perk available on this tier. It lets the zipline reach further distances.
- Disconnection Protection: With this perk falling from the zipline isn’t as dangerous as it usually is. A must have as well.
Shield Generator - B-B-B
- Improved Projector: This makes the shield area bigger, which will let you and your teammates defend yourselves better.
- Larger Capacitors: Your shield will last longer with this perk. This is by far the best perk in this tier..
- Lasting Effect: The shield’s protective properties last for a little while after you leave the shield. It’s the best-in-slot at all times.
Reinforced Impact Suit - C-B-A-C
- Bigger Mineral Bag: Carrying more equals less trips to deposit your goods.
- Healthy: Maximum health increased. More survivability is a must have in Deep Rock Galactic.
- Reactive Armor: There’s only one perk in this tier. You’ll be resistant to explosions with it, so take it.
- Breathing room: This perk will give you invulnerability after getting revived. It’s a great way to reposition yourself and carpet bomb the bugs.
Pickaxe - A-C
- Power Attack: This perk is mandatory. The Power Attack will let you deal great damage to the enemies that are unlucky to be close to you.
- Better Weight Balance: With this perk you’ll lower the Power Attack cooldown by 10 seconds, which will let you use it more often.
Grenade - Sticky
- Sticky grenades, as the name says, will let you throw a grenade that sticks to an enemy or surface. It deals great damage and can clear many bugs instantly.
Perks
- Born Ready - Reload the Autocannon by switching to your Revolver. The Autocannon takes a long time to reload, so this is a huge quality of life.
- Dash - With this perk you’ll get a burst of speed when you activate it, enabling you to kite the bugs easier.
- Thorns - Thorns makes the smaller enemies kill themselves when they hit you with a melee attack, which will relieve some pressure off of you.
- Vampire - You’ll be able to regain health when you kill a medium-sized (or bigger enemy) with a melee attack, helping you survive.
- Iron Will - You’ll be able to revive yourself once per mission. With Vampire you’ll be able to regain health, which might help you finish the mission successfully.
Link for this build: BEST GUNNER BUILD **UPDATED MAY 2022
2. Scout “Revan's All Purpose Scout”
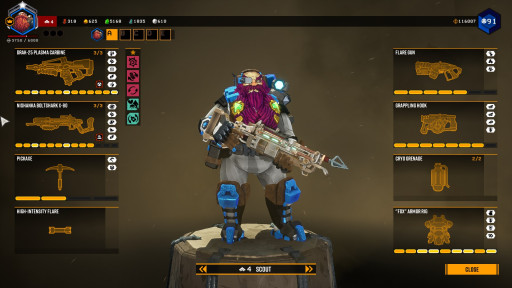
The Scout class is all about mobility and scouting the terrain for his team. With this build you’ll have the DRAK-25 Plasma Assault Rifle and the Nishanka Boltshark X-80 as your weapons. These two weapons will bring you good waveclear, and serviceable single target damage. With the rest of your tools, you’ll be able to move throughout the battlefield while dishing great amounts of punishment to the wildlife. Don’t fall down from too high!
What “Revan's All Purpose Scout” Excels In:
- Great utility and area of effect damage in the DRAK-25 Plasma Assault Rifle, since we’re speccing the gun to deal electricity and damage around you.
- We are bringing Pheromones with the Nishanka Boltshark X-80, which will relieve some pressure off of your team.
- The Trifork Volley Overclock will let you deal great amounts of damage to weak spots, helping you deal with the bigger foes.
- The Grappling Hook is specced to maximum mobility, enabling you to move through the caves with ease.
- Lighting up rooms is one of the main tasks for the Scout, and with this build we maximize the utility the Flare Gun brings to the table.
- The Cryo Grenade brings a lot of utility and survivability, since it freezes the enemies, and enables you to deal more damage to them.
- The perks that were chosen will further enhance this build’s playstyle, letting you auto-reload and move around quicker.
DRAK-25 Plasma Assault Rifle - A-A-C-A-B
- High-Volume Plasma Feed: This perk increases the rate of fire, which will let you deal more damage and proc electricity more often.
- Larger Battery: More ammo means less supplies needed, and more time spent killing bugs.
- Hot Feet: When you overheat the weapon, you’ll move much faster. This increases your mobility, letting you reach an optimal position faster.
- Overcharged PCF: This gives electricity to the DRAK, which is the best status you can apply (damage over time and slow effect). It also synergises well with the crossbow.
- Thermal Feedback Loop: This will increase the rate of fire when your heat is above 50%, helping you dish more damage, thus killing faster.
- Overclock: Aggressive Venting - This overclock will deal damage and fear the mobs around you when you overheat the weapon. With it, you’ll always want to reach the overheat threshold as fast as possible, so you can take advantage of this overclock.
Nishanka Boltshark X-80 - A-B-A-A-B
- Special Bolt: Pheromone Dart: Pheromones are a great utility tool, as it slows down the target you hit and it makes it so that other enemies will instead attack the afflicted target. Try to use them on bigger foes for maximum efficiency.
- Increased Quiver Capacity: More ammo equals more opportunities to kill enemies.
- Stabilizing Arm Brace: This perk will lower your reload speed. Good quality of life, letting you shoot again faster.
- Battle Frenzy: If you’re using the overclock suggested in this build, you won’t be able to retrieve your bolts, so this is the perk you should take. Mobility is also a great bonus.
- Magnetic Shafts: This perk is extremely important, as it will make your bolts homing if the target has the electricity status on him. It will let you snipe targets from really far away, and deal massive amounts of damage to anything that is electrified.
- Overclock: Trifork Volley - This overclock lets you fire 3 bolts at once and gives you a bit more ammo. It also lowers your rate of fire and increases your reload time. Your bolts stop being retrievable. This overclock will increase your damage output massively, as you will be able to shoot 3 bolts at once! If you’re close, aim for the weak spots, or aim towards a target that is being electrocuted.
Grappling Hook - B-A-B-B
- Longer Cable: Increased range for the Grappling Hook. This is a huge quality of life, letting you zip around with less effort.
- Greater Cable Stretch: This is the only perk you can take on this tier. It increases the reach of your Grappling Hook.
- Overcharged Winch: The hook retracts faster, letting you move around like Spiderman. Be careful not to fall from too high!
- Momentum: This is personal preference, but we like to go with this perk because it gives us a nice burst of speed after releasing the Hook, which will help with traversal and positioning in the battlefield.
Flare Gun - B-A-B
- Thicker Core: Your flares will last longer with this perk, which means more visibility for the whole team, and less ammo wasted, especially if you’re protecting a point.
- Supercharged Feed Mechanism: The Flare Gun will fire faster with this perk. It’s a good quality of life, letting you quickly light up rooms.
- Expanded Ammo Bags: More ammo means more light for the whole team.
Light Scouting Suit - C-B-A-C
- Bigger Mineral Bag: As Scout you’ll be gathering resources from up high. With this perk you won’t have to go back to deposit as often.
- Healthy: Max health increased. You’ll endure more punishment, which is always great.
- Shock Absorbers: This is the only perk on this tier. It reduces fall damage, which is fantastic for Scout, since he likes to soar through the air.
- Breathing Room: You will gain temporary invulnerability when revived, which will let you run away and reposition to deal with the threat.
Pickaxe - A-C
- Power Attack: This perk is mandatory. The Power Attack will let you deal great damage to the enemies that are unlucky to be close to you.
- Better Weight Balance: This perk the cooldown of your power attack will be decreased, which will in turn let you dish more damage to enemies.
Grenade: Cryo
- The Cryo Grenade freezes most enemies it hits in a large area (including your teammates). This will make the enemies more susceptible to damage, and stop them in place, which can help you or your team in a tight spot.
Perks
- Born Ready: This perk reloads your weapons automatically if you’re not using them. Even though your DRAK doesn’t need reloading, your Crossbow and Flare Gun does. Born Ready is a huge quality of life, since reloading is just time wasted.
- Ressuplier: Ressuplier lets you get ammo faster from the Resupply Depot, and it also increases the amount of health you get from it. It also reloads your guns. Another quality of life perk, enabling you to get back into the fray faster.
- Sweet Tooth: This perk can be changed to something else you prefer. With Sweet Tooth equipped, Red Sugar will give you more health.
- Heightened Senses: You will receive a warning when a mob is trying to grab you, and you can release yourself from their clutches if it happens. Great quality of life, because you will be moving so quickly through the cave systems, that you won’t be able to spot the Cave Leeches in time, sometimes.
- Iron Will: One of the best perks available, it will let you self revive once per mission. It can mean a successful mission
Link for this build: Revan's All Purpose Scout
3. Engineer “Trigger's Fav BC Engi”
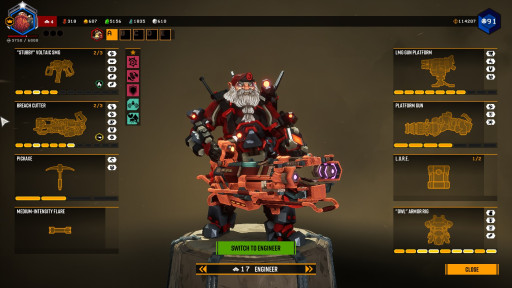
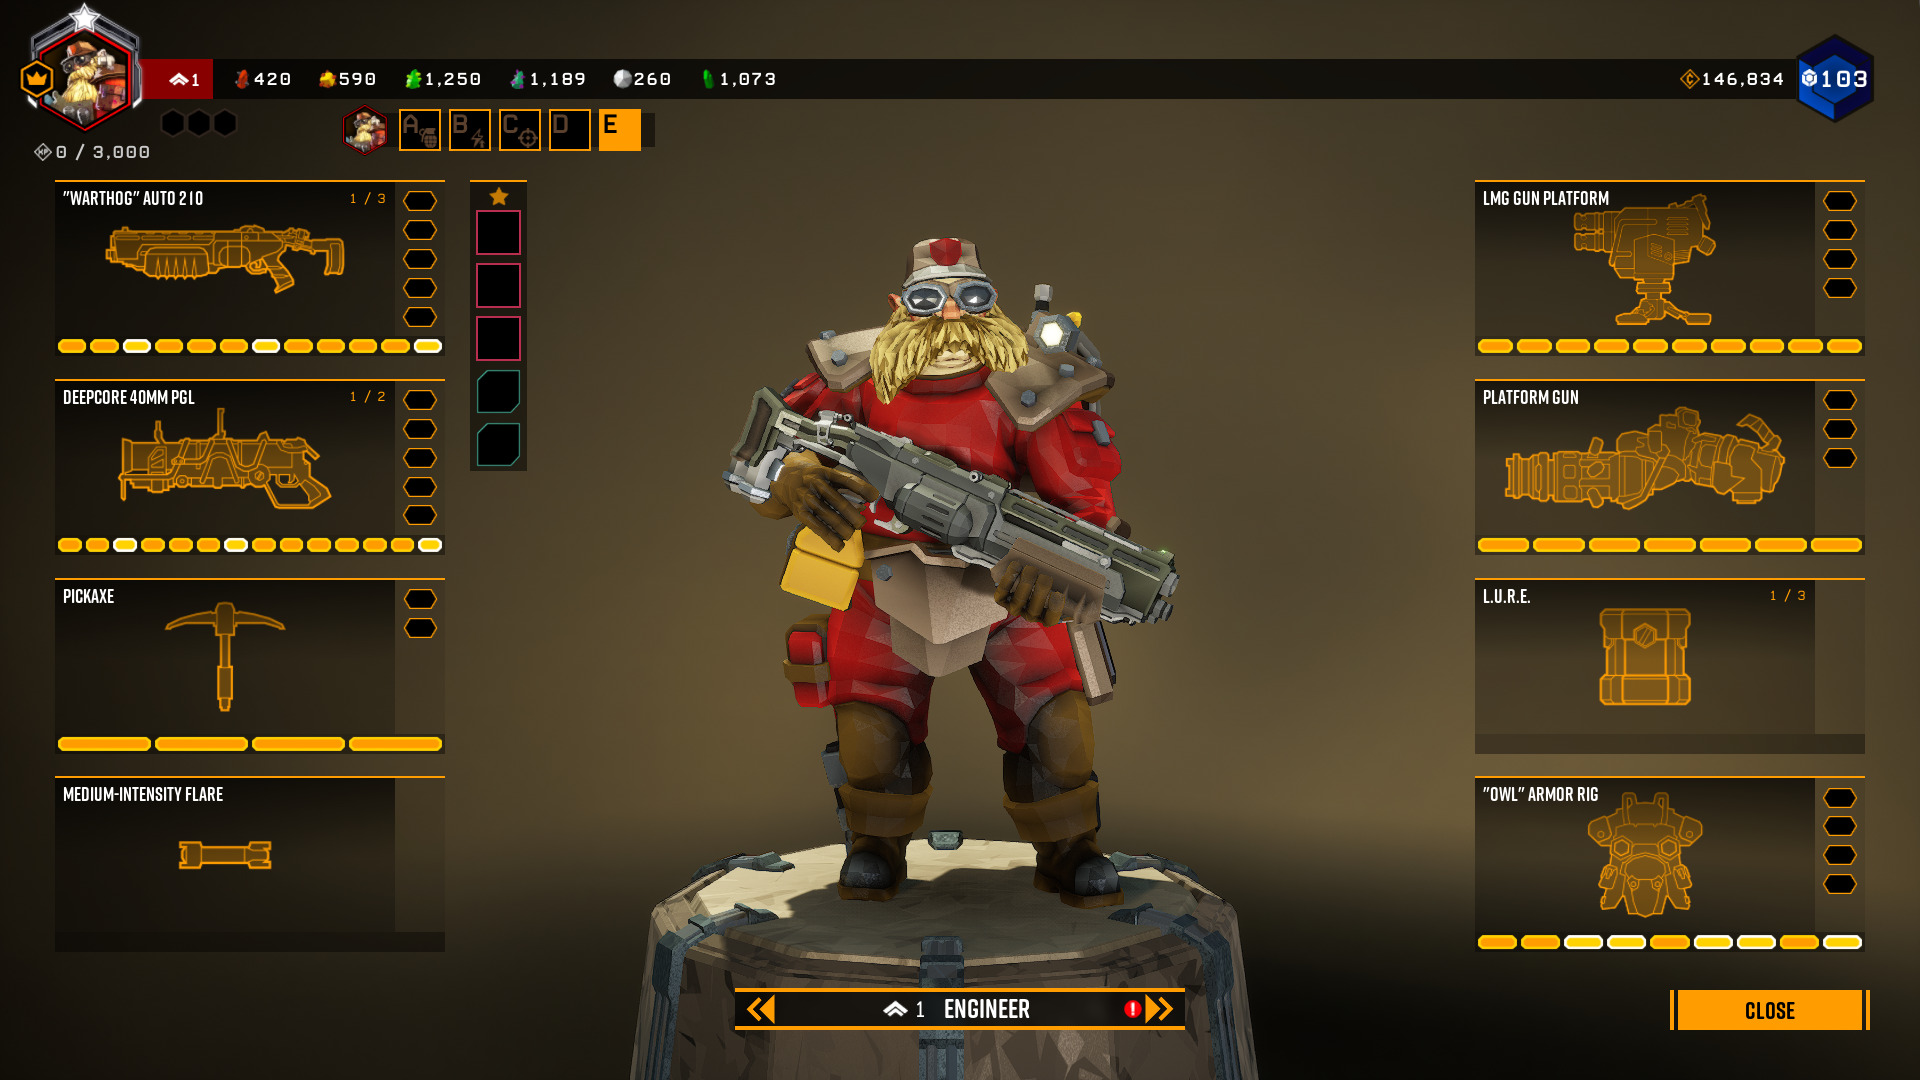
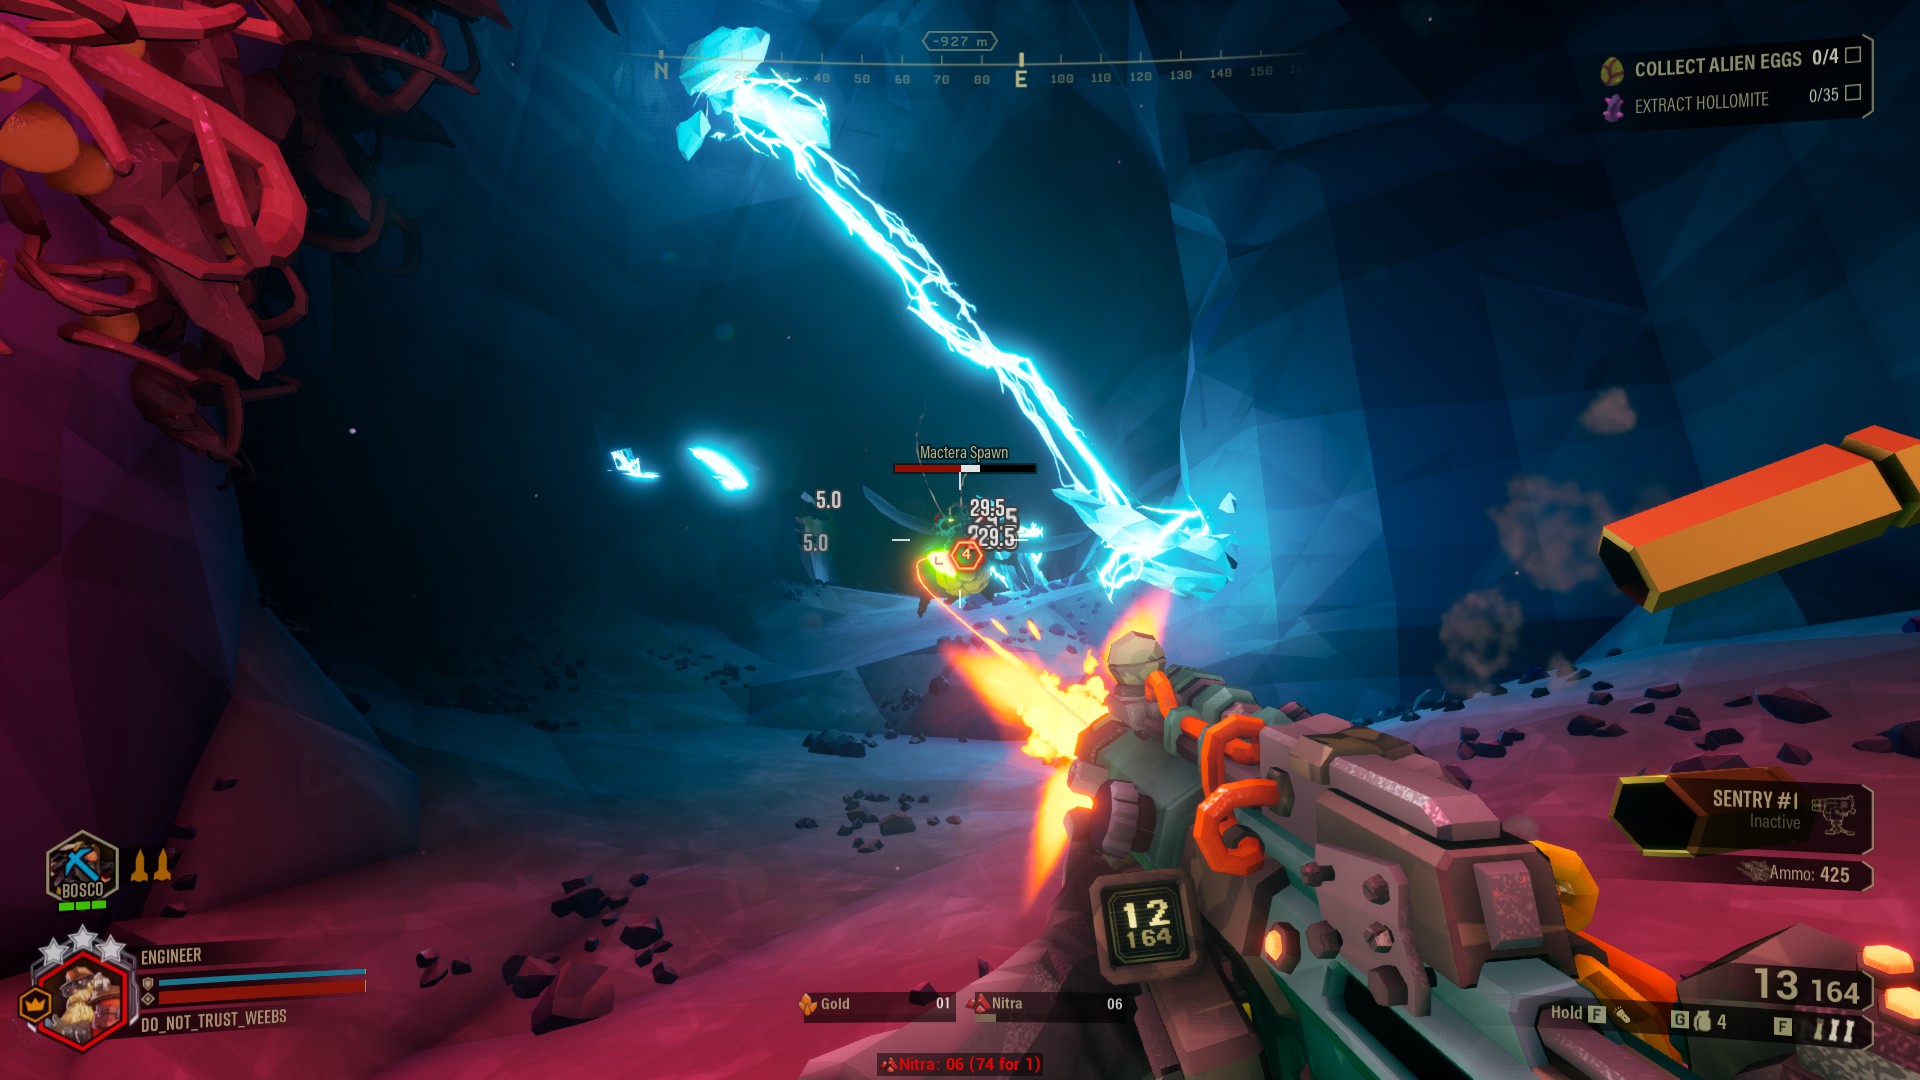
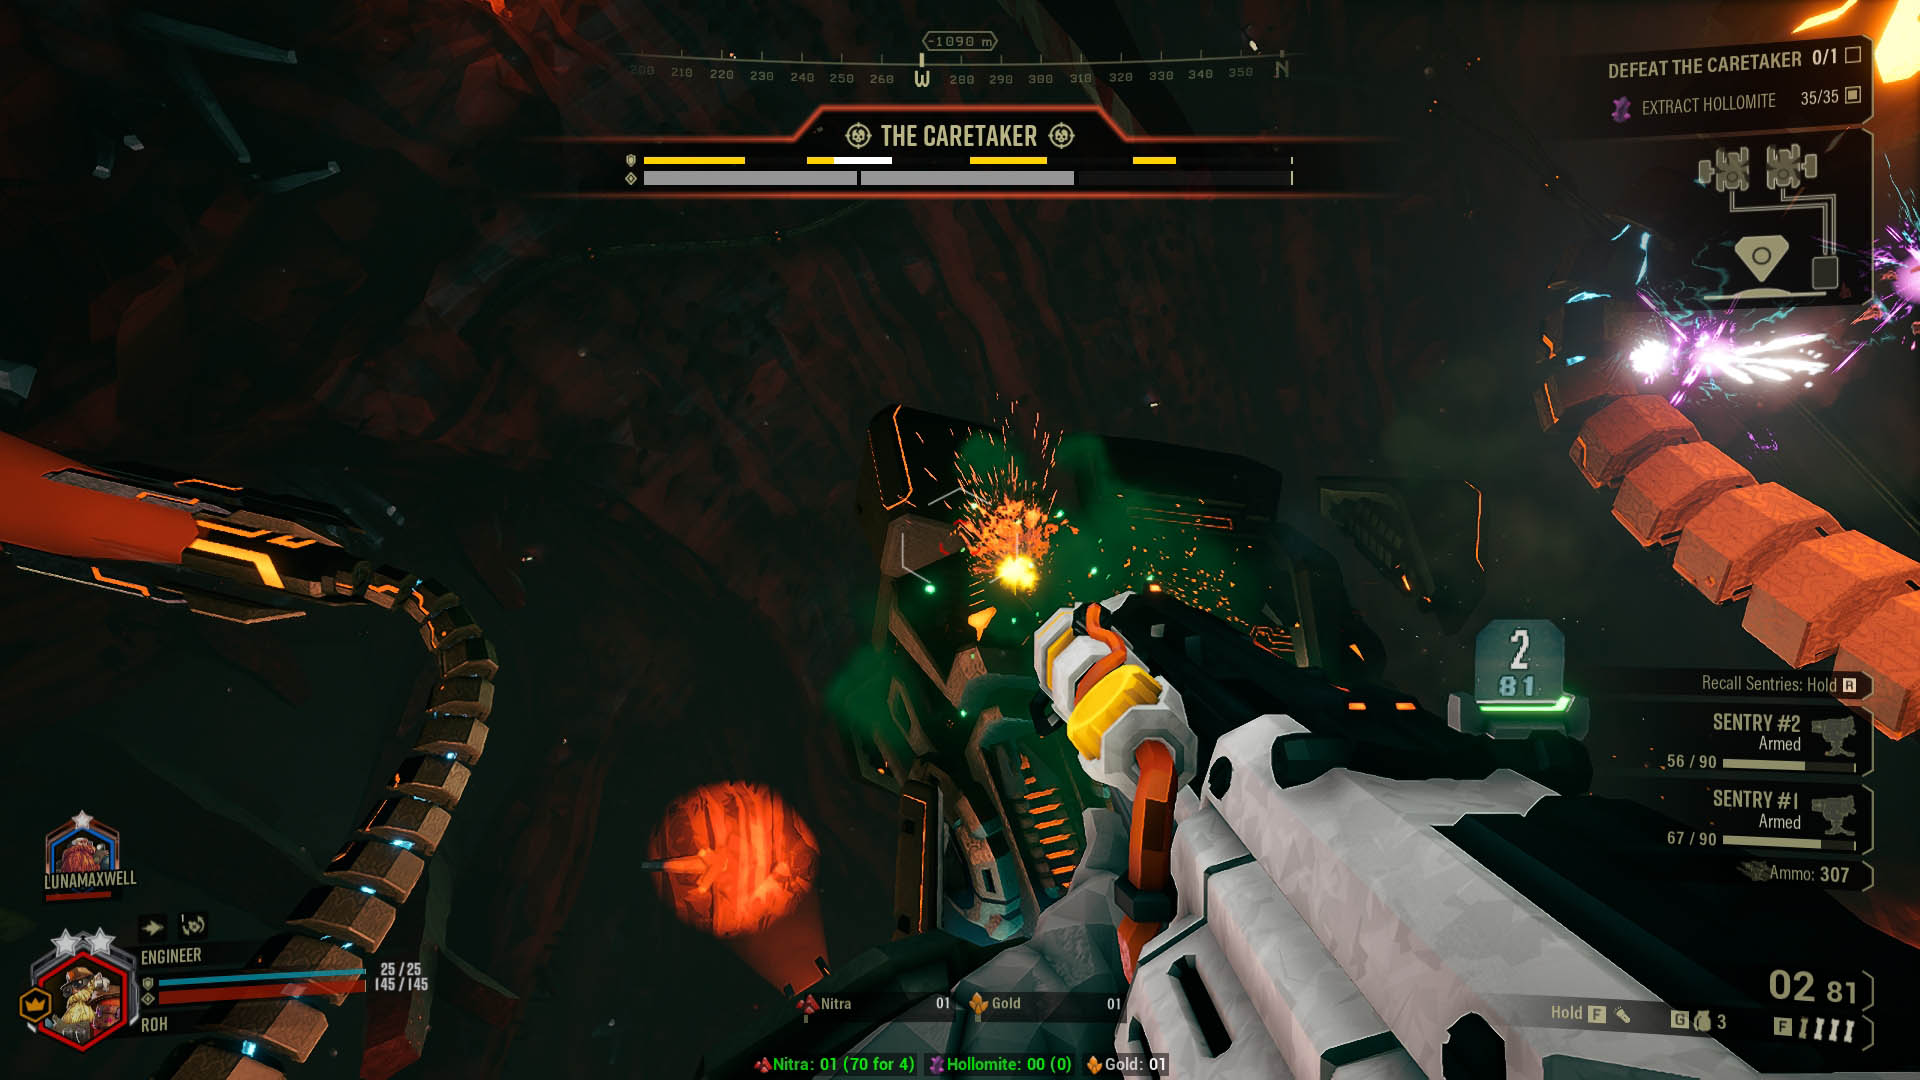
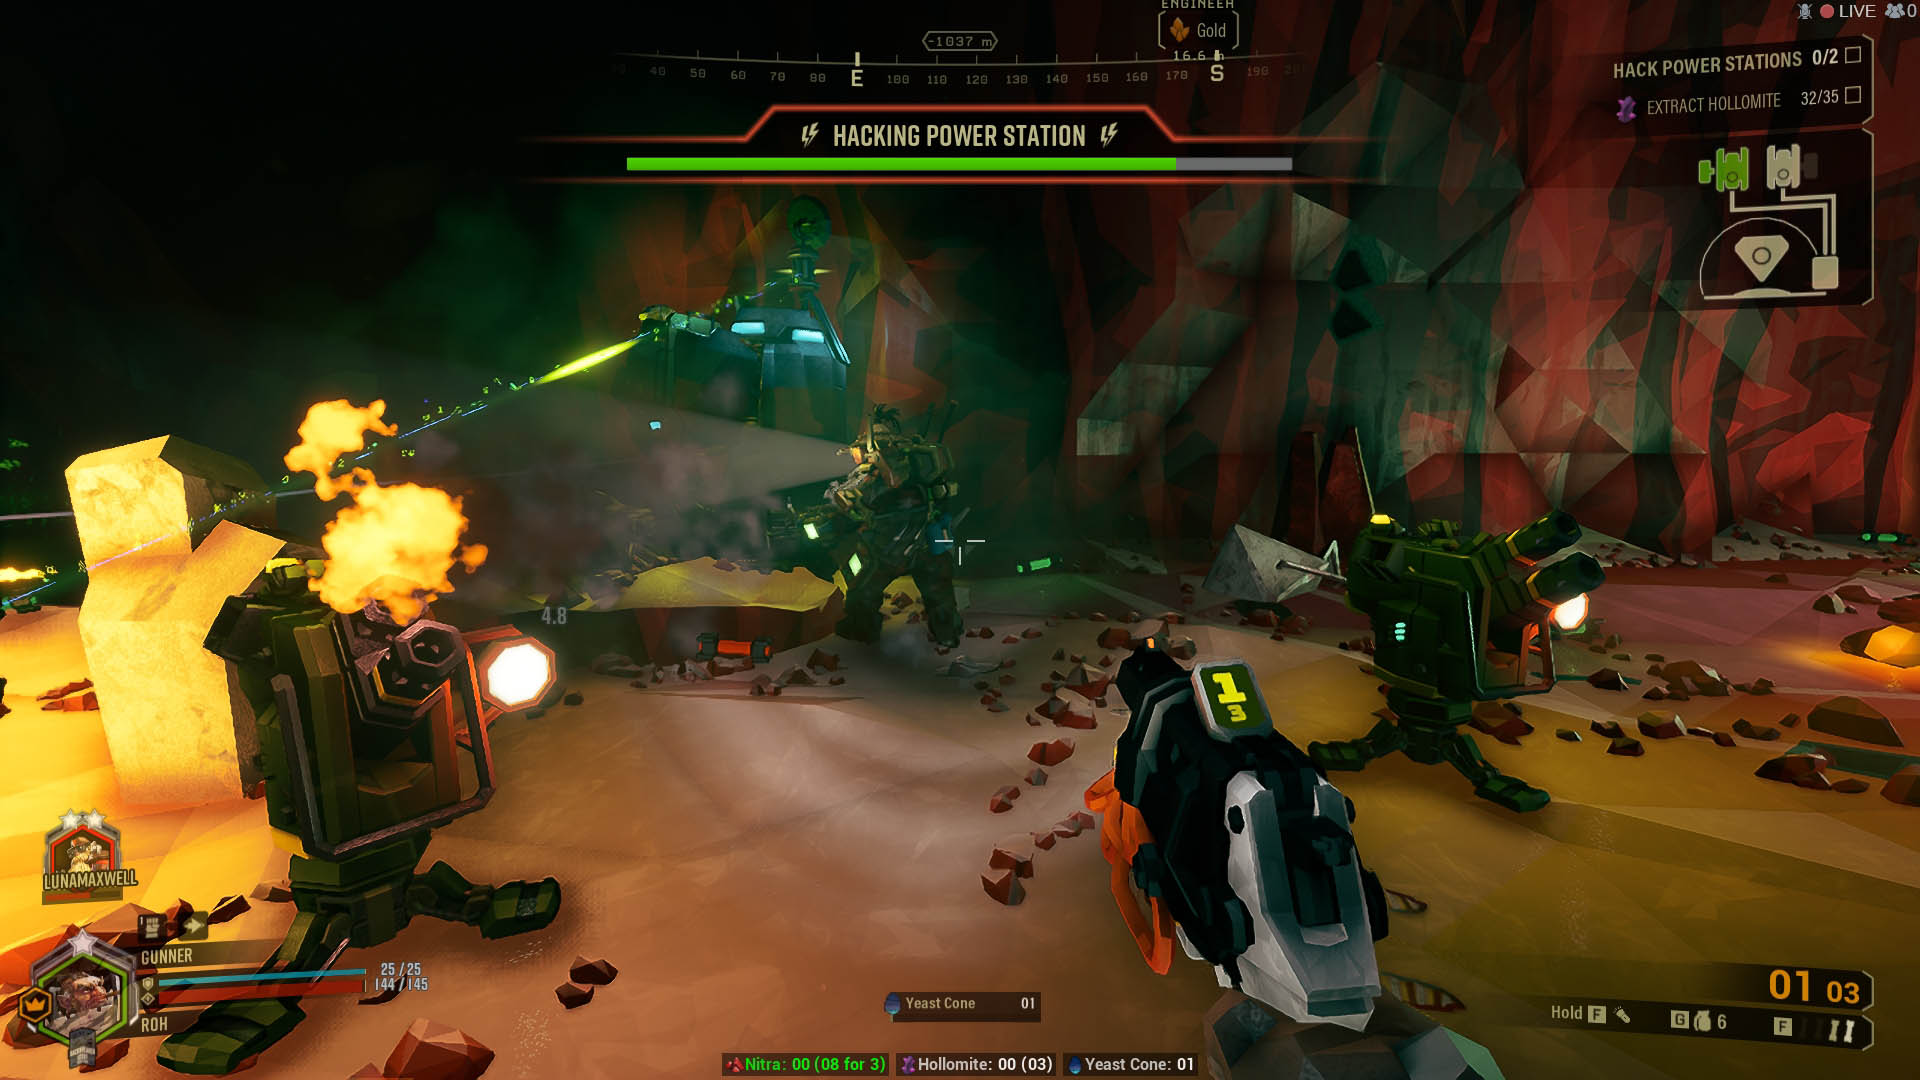
A game featuring dwarves isn’t complete without the Engineer archetype! This class features turrets you can deploy that will shoot enemies with reckless abandon, and a Platform Gun for your traversal needs. In this build we will feature the "Stubby" Voltaic SMG and the Breach Cutter as your weapons..
What “Trigger's Fav BC Engi” Excels In:
- The Stubby is a serviceable weapon. It shoots quickly and with the perks this build uses, you won’t have much downtime on it.
- The Voltaic SMG is able to proc electricity on the enemies, which slows them down and deals damage over time. This is great crowd control, and more damage never hurts.
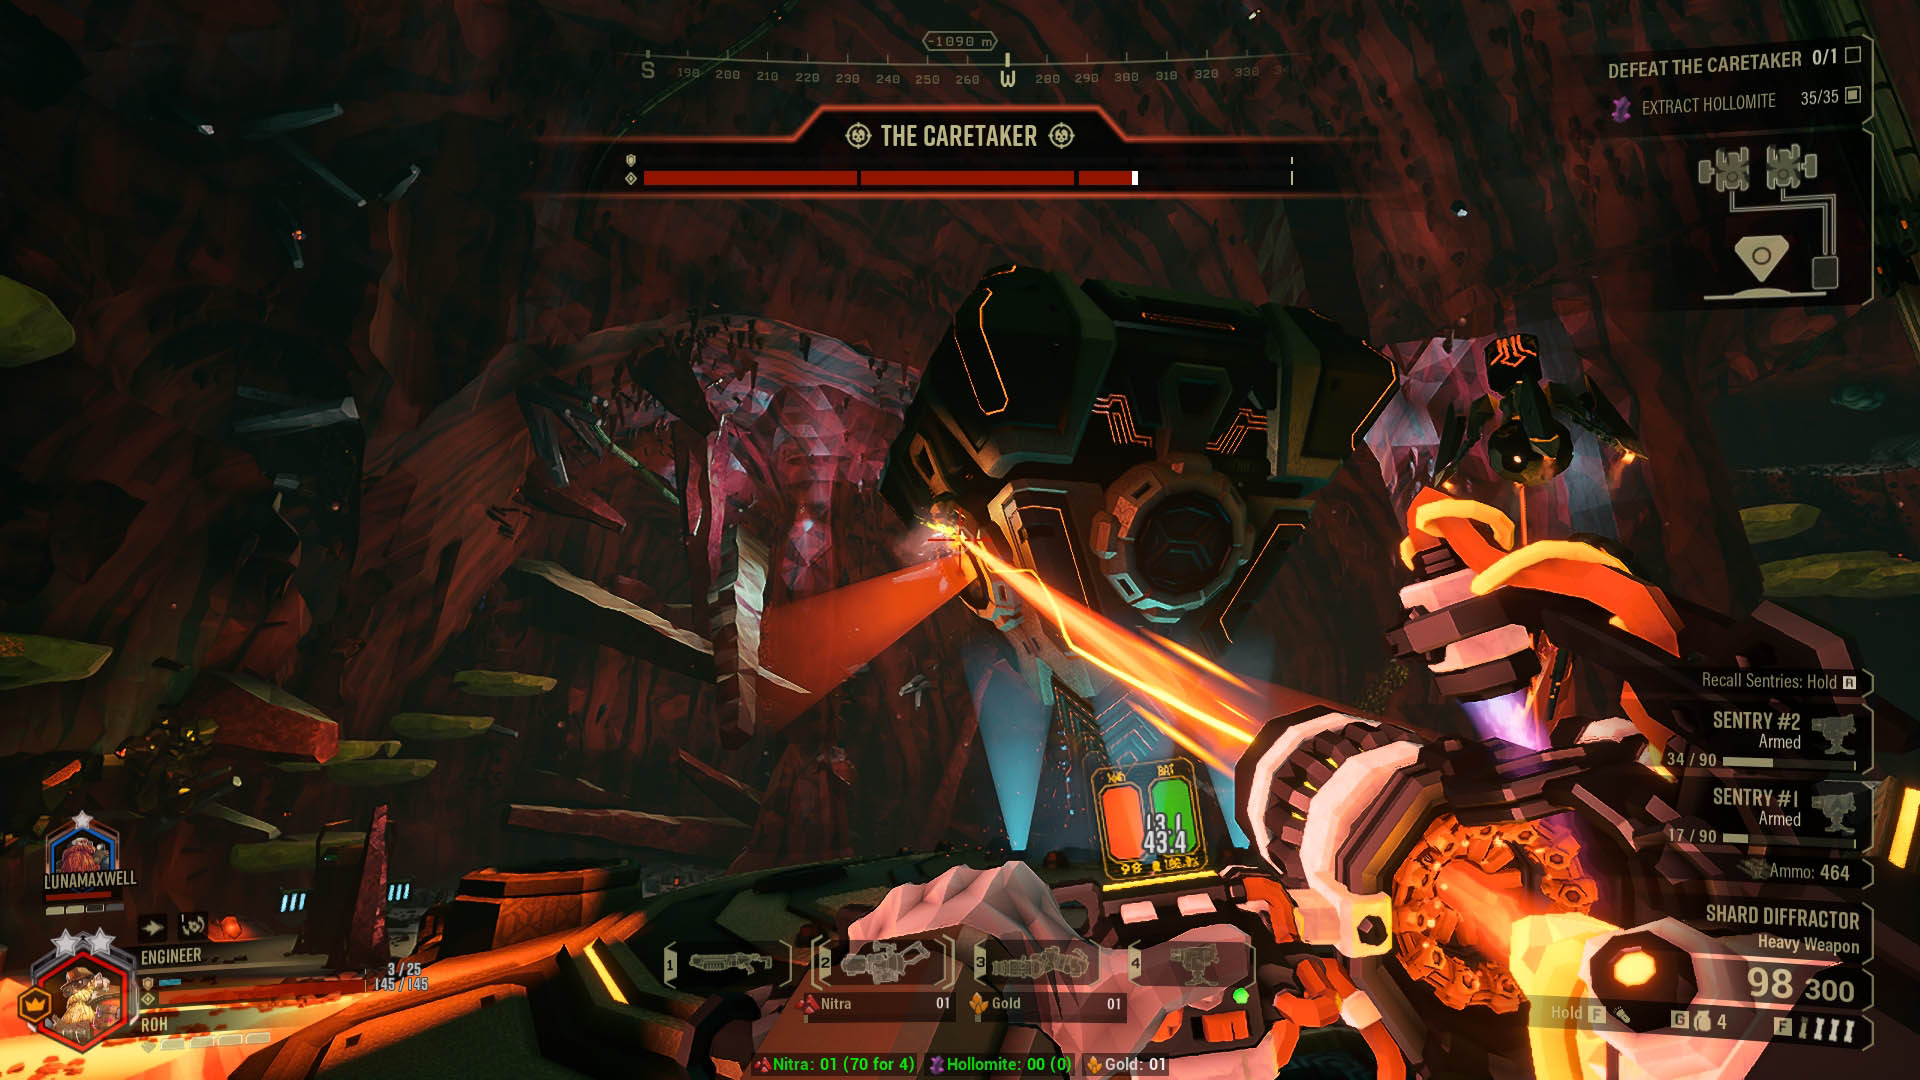
- The Breach Cutter is a fantastic weapon. It shoots an horizontal laser that passes through enemies, dealing fantastic amounts of damage. It’s the bread and butter of this build, and it’s highly recommended you get it as soon as possible.
- With this build you’ll be able to deal with any kind of threat, since you have area of effect in the form of Breach Cutter, and single target damage with the Stubby and your turrets. The Breach Cutter can also deliver good single target damage.
- The build is optimized for utility and survivability, letting you coast through missions easier.
- The perk choices enhance the Engineer’s playstyle, enabling his potential to defend zones and traverse through the map quickly.
"Stubby" Voltaic SMG - C-A-B-A-A
- Expanded Ammo Bags: The Engineer isn’t known for his ammo efficiency, so we take this perk to counter that.
- High Capacity Magazine: You can shoot for longer without reloading, which is a good quality of life for this weapon.
- Expanded Ammo Bags: Once again, we take this so we have more ammo at our disposal.
- Hollow-Point Bullets: This perk gives us extra damage while shooting weak spots, further improving our damage.
- Magazine Capacity Tweak: More magazine size means less downtime fighting the bugs.
- Overclock: EM Refire Booster: This overclock grants you faster rate of fire, increases your spread, and more importantly, gives the Stubby electrical bullets. Electricity is great, since it deals damage over time and slows the enemies down, enabling you to kite them around better.
Breach Cutter - B-A-A-B-C
- High Capacity Magazine: The Breach Cutter takes a long time to reload, so the bigger magazine size lets you shoot more lasers without having to switch back to the Stubby (if you’re using the Born Ready perk).
- Expanded Ammo Bags: This weapon doesn’t have much ammo to begin with, so an increase is always useful.
- Quick Deploy: This perk makes it so that your laser deploys faster, enabling you to hit multiple bugs sooner.
- Disruptive Frequency Tuning: Being able to stun is a great quality of life, and this perk gives you a 100% chance to do so.If the enemies don’t die, they will stop in their tracks.
- Triple Split Line: This perk adds two more lasers on top of the primary one, making this weapon more forgiving when you’re shooting it.
- Overclock: Stronger Plasma Current: This overclock increases the damage your beam does when it passes through mobs, and it also increases the lifetime of your laser, enabling you to shoot from further away.
Platform Gun - B-A-B
- Expanded Ammo Bags: More platforms is always great.
- Plascrete MKII: This is the only perk you can take in this tier. It reduces fall damage if you fall on a platform.
- Repellent Additive: This perk will make it so the enemies will avoid pathing into the platforms. It’s not 100% foolproof, so if there’s no other path, the bugs will still go through it.
LMG Gun Platform - A-B-A-A
- Gemini System: This perk allows you to deploy two turrets at once, and grants you additional ammo. It’s great to defend points and objectives, since you can cover all the angles.
- Quick Deploy: With this perk it takes less time to deploy a turret, and time is of the essence in Deep Rock Galactic.
- Penetrating Rounds: Since you don’t have much armor breaking in this build, we recommend bringing this perk with you, since it will help you deal more damage to armored targets.
- Defender System: With this you’ll upgrade your turrets, giving them more damage and a focused shot angle.
Engineering Suit - A-B-A-C
- Improved Generator: Bringing this will let your shield generate sooner when you’re not taking damage, protecting you further.
- Healthy: This increases your health, which means more survivability.
- Hazmat System: This is the only perk you can take on this tier. It reduces the damage you take from poison.
- Breathing Room: This perk grants you invulnerability after being revived, letting you reposition to deal with the wildlife.
Pickaxe - A-C
- Power Attack: This perk is mandatory. The Power Attack is a great tool to quickly dispatch enemies that are too close for comfort.
- Better Weight Balance: With this perk you’ll reduce the cooldown of your power attack, letting you crush some skulls quicker.
Grenade: L.U.R.E.
- The Laser Utility Refraction Emitter (AKA L.U.R.E.) will deploy decoys for you, confusing the enemies into attacking them. This will relieve some pressure off of you and your teammates, letting you deal with the bugs without much turmoil.
Perks:
- Veteran Depositor: This perk will let you deposit your minerals faster, and it gives you damage reduction when near the M.U.L.E. Since you excel at defending areas, having Molly next to you will give you an extra layer of protection.
- Thorns: Bringing this perk will make enemies hurt themselves when they melee attack you, which will kill the smaller bugs. It’s a great quality of life for the Engineer, since the only way he can deal with them quickly is either wasting ammo on the Breach Cutter, or deploying a turret while being overwhelmed.
- Field Medic: You’ll revive your teammates faster with this perk, and you’ll even have one instant revive per mission. They’ll be thankful you brought this perk to the mission.
- Heightened Senses: With this perk you’ll get a loud warning whenever an enemy tries to grab you, letting you deal with the threat faster and not be surprised by those pesky Cave Leeches. You can also release yourself from their clutches if you happen to get grabbed!
Link for this build: Karl: Born Ready - Engineer - Trigger's Fav BC Engi
4. Driller “One Man Army Driller”
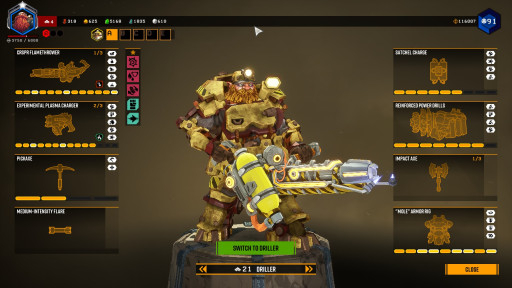
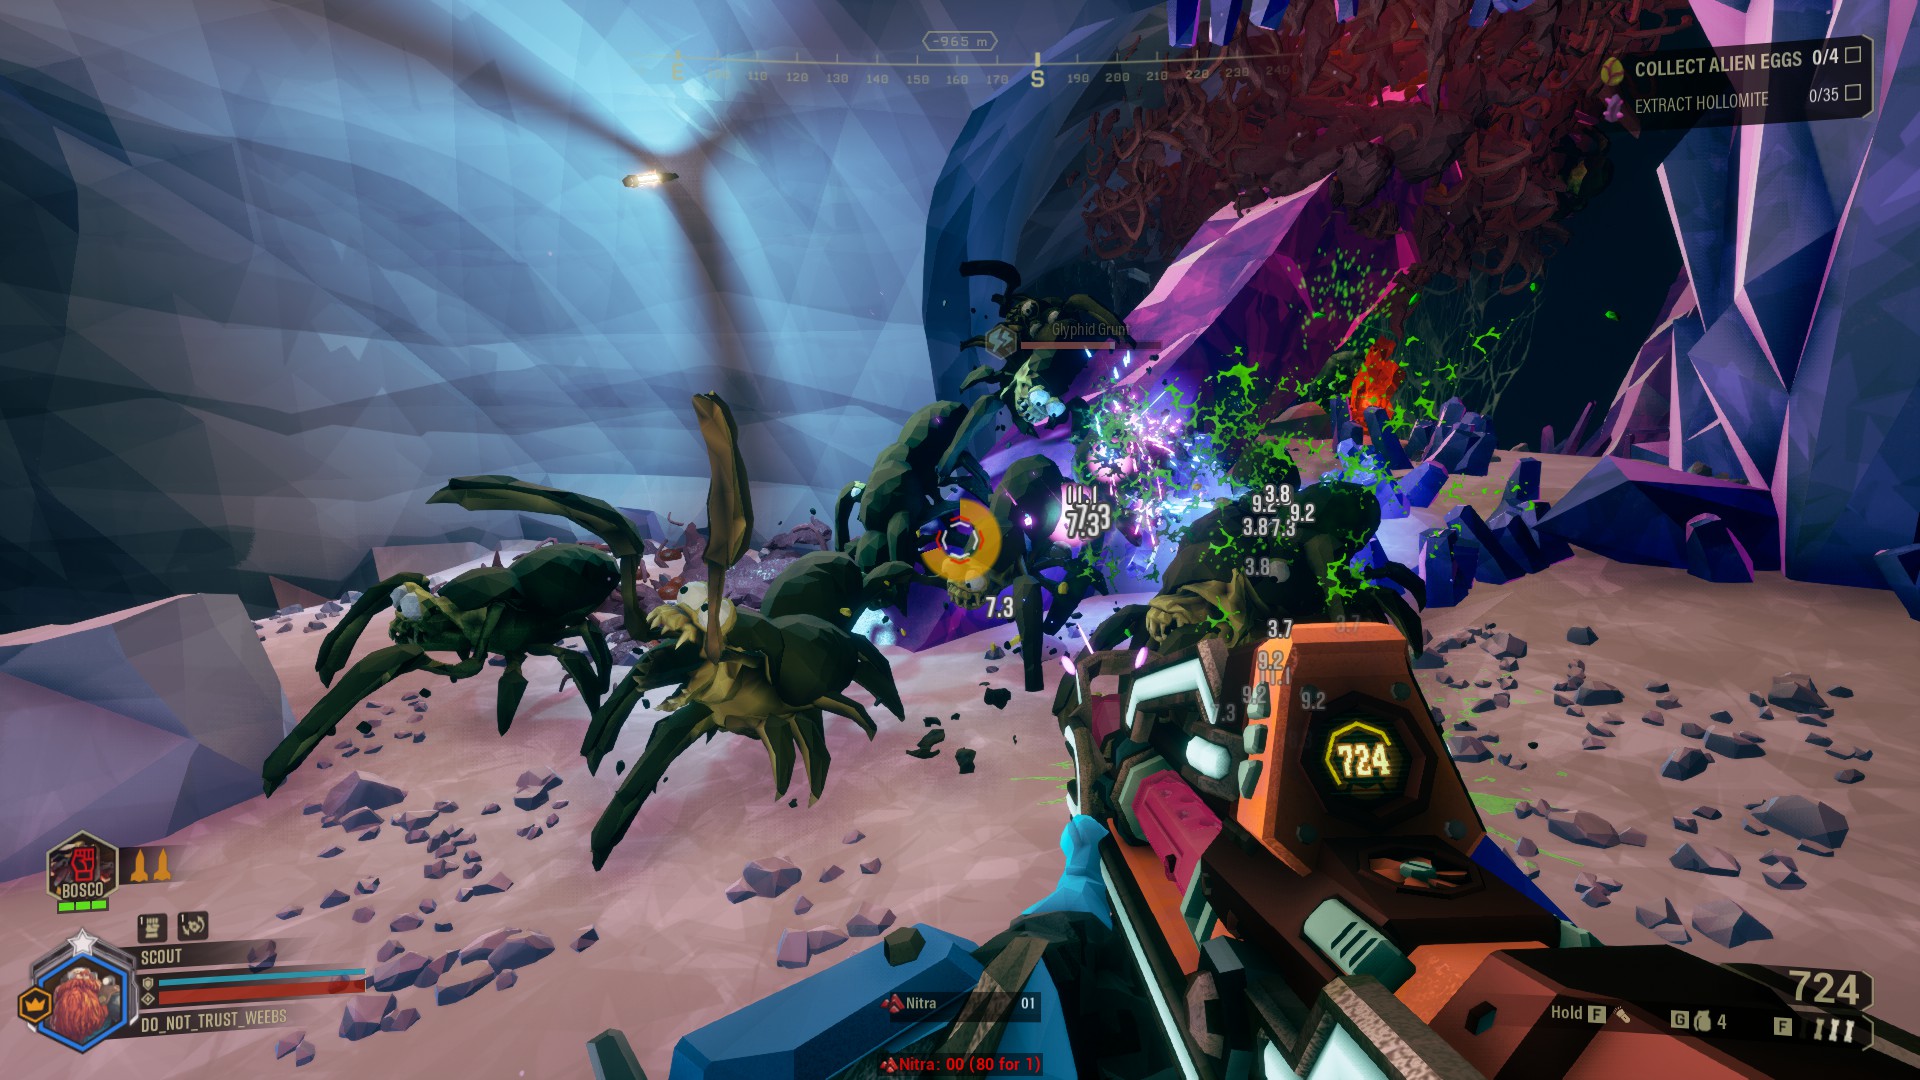
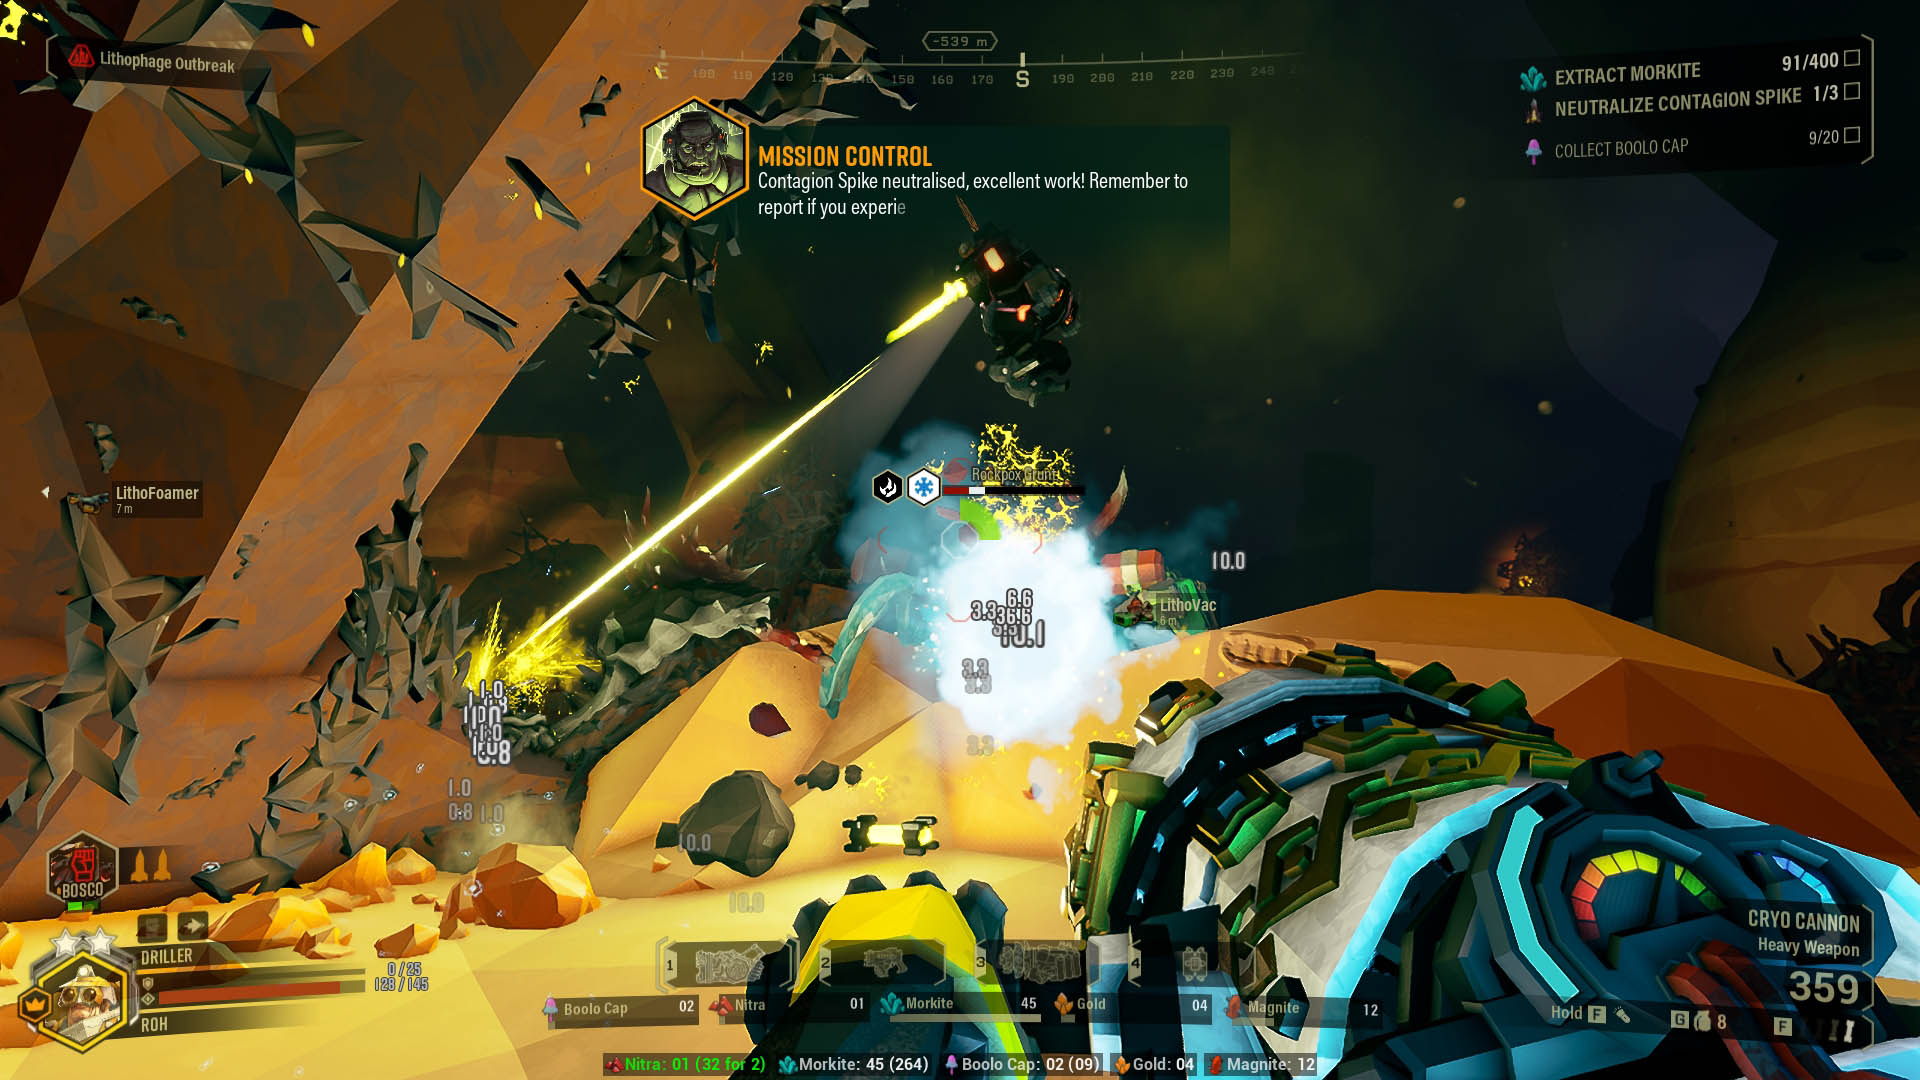
The Driller is a support-type character, but don’t be fooled; he can dish out massive amounts of area of effect damage and crowd control. His signature tool is the Reinforced Power Drills, which he can use to carve tunnels anywhere he wants to. This build features the CRSPR Flamethrower as the primary weapon, and the Experimental Plasma Charger (EPC) as secondary.
What “One Man Army Driller” Excels in:
- The CRSPR Flamethrower is a great all-around weapon, excelling in area of effect damage.
- The heat debuff will instantly kill Rivals, and it has bonus damage against enemies in Glacial Strata and Mactera.
- With the EPC you’ll further improve your area of effect capabilities, since you can shoot a massive plasma ball, which explodes whenever you shoot it.
- The EPC can also mine minerals at a loss, which you can use to get to the more unreachable veins.
- The Reinforced Power Drills are optimized for maximum usage, letting you drill further and melee enemies for prolonged periods.
- With the pickaxe perks and the usage of the Impact Axes you’ll cover the only weakness this build has: Single target damage.
- The perks compliment the Driller playstyle well, enabling you to stay alive and finish the mission at hand.
CRSPR Flamethrower - B-B-B-C-B
- High Pressure Ejector: This perk will make it so your flames reach further, enabling you to start dealing damage sooner.
- Triple Filtered Fuel: You will be able to start burning the targets earlier if you take this perk.
- Sticky Flame Slowdown: Crowd Control is great in Deep Rock Galactic, and bringing this perk will increase the slowdown effect of your Sticky Flames (flames that stay on the surfaces that you shoot).
- More Fuel: More fuel means more bugs being fried before you’ll need a resupply.
- Targets Explode: With this perk the targets you kill with direct fire have a chance to explode, dealing fire and heat damage around them. This helps you clear the waves faster.
- Overclock: Sticky Fuel: This overclock will further improve your Sticky Flames, increasing their damage and duration, while decreasing the tank size and maximum fuel.
Experimental Plasma Charger - B-A-A-B-B
- Larger Battery: The EPC has high ammo costs, so having a larger battery is a huge quality of life for this weapon.
- Heat Shield: This perk reduces the rate at which the weapon heats when charging it, letting you charge it to its fullest without overheating it.
- Improved Charge Efficiency: This weapon isn’t that ammo efficient, and with this perk you’ll use less of it while charging the shot, letting you use it more overall.
- High Density Battery: Like the first perk for this weapon, more ammo equals higher quality of life.
- Thin Containment Field: This perk will let you shoot the charged shot with a normal shot, exploding it. It’s great to deal with enemies, and you can even mine with it, with lower efficiency.
- Overclock: Energy Rerouting: This overclock helps the EPC a lot, since it gives you more ammo and increases the charge speed of your charged shot.
Reinforced Power Drills - B-A-A-A
- Hardened Drill Tips: You will be able to drill faster, which is just a quality of life improvement.
- Magnetic Refrigeration: This perk will let your drill hands cooldown faster when they’re not in use. Another great quality of life upgrade.
- Supercharged Motor: This is the only perk in this tier. You’ll drill faster if you take this perk, and like the first perk for the RPD, it’s an improvement for this tool.
- Increased Tank Pressure: With this perk you’ll carry more fuel for the Reinforced Power Drills, letting you drill terrain and through enemies for longer.
Satchel Charge - B-A-A-C
- Extra Satchel Charge: You will be able to carry one extra C4 if you choose this perk. More booms equals more dead enemies.
- Kill Switch: This is the only perk available on this tier. You’ll be able to pick up unused Satchel Charges when taking this perk.
- Extra Satchel Charge: This perk functions the exact same way as the first one, giving you one extra C4.
- Rock Mover: With this perk selected the explosion area will be bigger, affecting more enemies. Be careful about your teammates!
Heavy Drill Suit - A-B-A-C
- Improved Shield Generator: Your shields will start regenerating sooner, which in turn will help you protect your health better.
- Healthy: More health equals less chances to go down.
- Temperature Insulation: This is the only perk available at this tier. You’ll be able to resist fire damage with it.
- Breathing Room: When you get revived, you’ll have a brief invulnerability window, letting you move to a better position or replenish your health pool.
Pickaxe - A-A
- Power Attack: You’ll always take this perk, since it’s the only one available in this tier. The Power Attack lets you swing your pickaxe with force, shattering anything that was unfortunate enough to be under it.
- Serrated Edge: This build lacks single target damage, so taking this perk will help you shore that weakness.
Grenade: Impact Axe
- This is not a “grenade”, but it functions as one. The axes deal great amounts of single target to enemies, especially if you hit the weak spots. This helps combat the weakness of this build even further.
Perks
- Thorns: Thorns will enable you to deal with melee attackers better, especially if they’re surrounding you. This perk damages the enemies that try to bite you down, which kills the smaller bugs and injures the bigger ones.
- Vampire: This perk synergises extremely well with the Driller, since his Drill Hands and his Impact Axes count as melee weapons, with the Pickaxe. With Vampire you’ll be able to replenish your health whenever you kill an enemy with a melee attack.
- Born Ready: Born ready reloads your weapons when they’re not being used. This will only work for the Flamethrower, but it’s such a huge quality of life that when first you use it, you won’t ever go back.
- Dash: Dash gives you a burst of speed and grants you immunity to slowdown effects while you’re running. This perk lets you reposition in the battlefield, and can get you out of sticky situations.
- Iron Will: This perk works great with Vampire. By itself, you’ll get a free self-revive which will enrage you, making you go faster and deal more damage with your melee options. This synergises very well with Driller and Vampire, since you can use your RPD to mow down waves of enemies, and replenish your health pool before Iron Will runs out.
Link for this build - One Man Army Driller (VERIFIED with Hazard 6x2)

