10. Adrenal Surge
https://youtu.be/sRHY6Kkr2-U?si=p0RZLuh8UiacXN0i&t=161
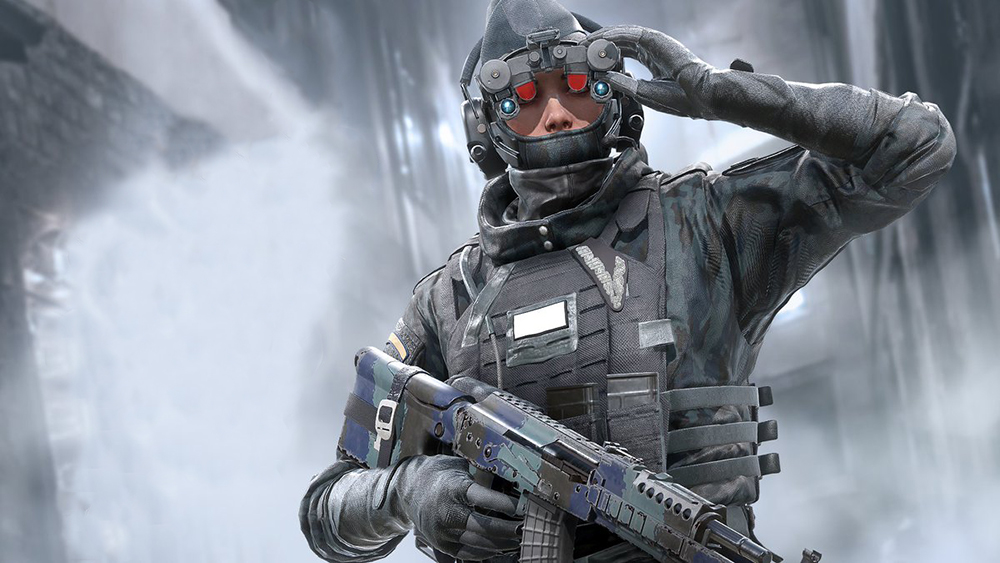
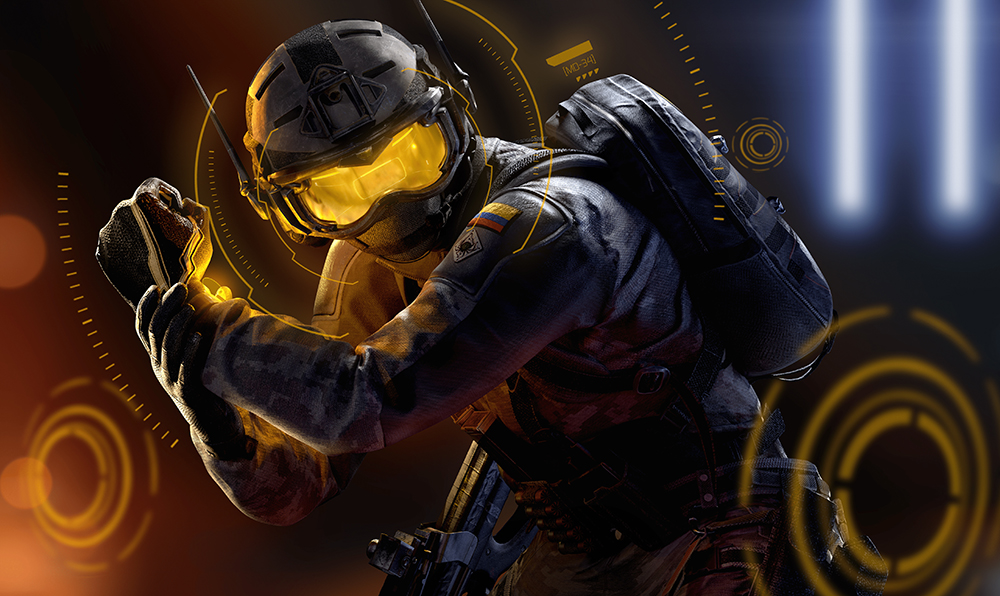
The Adrenal Surge is Finka’s special gadget and whenever it’s activated, it affects the whole attacking team, regardless of Finka’s distance from them. Even that fact alone makes the Adrenal Surge a great special gadget, but that’s only a small part of it. Finka’s Adrenal Surge has a huge impact in the match because it provides the whole attacking team with a lot of benefits. Finka can activate the Adrenal Surge three times per round and each activation will add twenty health points to all attackers. This serves as healing to wounded team members and adds toughness to full health ones.
Any attacker, including Finka, who’s in a down-but-not-out state will also be revived upon activation of the Adrenal Surge, and this is extremely helpful in giving second chances to attacking team members, especially since Finka can activate it anywhere she is on the map. The Adrenal Surge while active will also provide all attacking team members a plethora of buffs like more resistance to tinnitus, Fenrir’s Dread Mines, as well as blind effects. Attackers affected by the Adrenal Surge will also be able to walk over barbed wires faster, be able to reload quicker, and those experiencing concussion will have its effects removed upon activation of the Adrenal Surge.
What makes the Adrenal Surge Great:
- The Adrenal Surge is the only special gadget on the attackers’ side that can provide healing to team members, and since it can be activated three times, it can provide sixty health points in total
- Upon activation of the Adrenal Surge, attackers, including Finka, who are in a down-but-not-out state will be revived. It will also remove concussion effects caused by gadgets such as Grzmot Mines
- When active, the Adrenal Surge provides buffs like more resistance to blind effects, tinnitus, as well as the effects of Fenrir’s Dread Mines. Attackers will also be able to walk over barbed wires faster.
- The effects of the Adrenal Surge are global, meaning no matter where Finka is on the map, she’ll be able to affect her teammates with it, and this is very helpful, especially when reviving someone from dbno
Item Stats:
- 3 activations per round
- Lasts for 10 seconds
- Cooldown is also 10 seconds
9. Candela Device
https://youtu.be/dfhjF8W3JRI?si=tjN-XARPZ81gvrVD&t=15
The Candela Device is Ying’s special gadget. She can bring four of them per round, and knowing what it can do, four is actually a lot. That’s because when they pop off, each of them releases several flash charges that unleash blind effects on a wide area. The blind effects from a Candela Device can be deceivingly far, so it’s very hard not to get blinded by it even when you turn around, get behind cover, or think that you’re far enough to get blinded. That’s why the best way for defenders to avoid being blinded by Ying’s Candelas is to simply have Jager or Wamai in the team.
Another great thing about Ying’s Candela Device is their deployment method is quite versatile. They can be “cooked” frag-grenade style wherein if the user holds it for a few seconds before throwing it, it’ll release its flash charges almost immediately after landing, and when the user immediately throws it, there’s going to be a few second delay before the flash charges inside are released. They can also be deployed on soft surfaces - Cluster Charge-style, where they’ll be releasing their flash charges on the other side of the soft surface. This is really useful on barricaded windows, and even wooden floors above the objective spot.
What makes the Candela Device Great:
- Each Candela Device releases several flash charges when they pop off, and those flash charges have a wide range so it’s very hard to avoid getting blinded from them when you’re in the vicinity
- Ying can bring four of them per round and that number is really helpful as it’ll allow her to use them in multiple spots, or even for just for testing out if the areas has a Jager or Wamai special gadget around
- The Candela Device’s doesn’t affect Ying, and that’s a great perk for her because that’ll allow her to take control of an area easily by blinding enemies in a room and immediately entering to frag them
- They’re quite versatile as they can be cooked frag-grenade style and they can be deployed on breakable surfaces. This provides Ying with a lot of options on how she’s going to blind her enemies with them.
Item Stats:
- 4 Candela Device per round
- 7 flash charges per Candela
- 10-meter effective range
8. RCE-Ratero Charge
https://youtu.be/zk4PeIQxL_4?si=dmKTrZ9x0Ys07Nho&t=65
The RCE-Ratero Charge is more famously known as Flores’ exploding drone. Flores can bring in four RCE-Ratero Charges per round, and they have a high impact due to their maneuverability and explosion power. For ten seconds, Flores can control them just as one would a normal drone. It has a camera, it can jump, and it runs pretty fast. But after ten seconds, it’ll enter a bulletproof state and begin its explosion countdown which will only last for a few seconds. This bulletproof state explosion countdown can be triggered manually by Flores, so he has a lot of control over his RCE-Ratero Charges.
Its explosion power can be compared to that of a nitro cell, so any operator definitely doesn’t want to be near it when it detonates. That’s why they’re very effective in forcing defenders to move out from their entrenched positions, and when they’re moving out, they can be vulnerable to attacker gunfire. But the main purpose of the RCE-Ratero Charge is utility destruction. Since Flores has a lot of control over them, he can make them detonate on spots where valuable defender gadgets have been deployed. They can also attach to breakable surfaces, so they can even be used for creating soft entry points.
What makes the RCE-Ratero Charge Great:
- Each of Flores’ four RCE-Ratero Charges has powerful explosion power. Anybody caught in this explosion radius will die, so they can be used to force defenders to go out of their hiding spots.
- Since Flores has a lot of control over them and their explosion power is strong, they can be used for destroying valuable defender gadgets such as Maestro’s Evil Eyes or Melusi’s Banshees
- The RCE-Ratero Charge can also be attached to breakable surfaces like barricaded doors or windows, even Castle’s Armor Panels. Making them a great utility for creating soft entry points.
- When set on the ground, an RCE-Ratero Charge will automatically go forward for ten seconds until it enters its explosion countdown or destroyed, making it a good bait or distraction
Item Stats:
- 4 RCE-Ratero Charge per round
- Can be controlled for up to 10 seconds
- 3-second explosion countdown
7. Prisma
https://youtu.be/VGkKjkEoOSw?si=os9d2secaqM1vEdq&t=28
The Prisma is Alibi’s special gadget and she can bring with her three Prismas per round. Once deployed, a Prisma will project a holographic copy of Alibi’s default skin. Even though the Alibi holographic copies from the Prismas are static, most of the time, attackers will shoot them at first sight thinking that they’re Alibi. That’s important because whenever something from an attacker, be it their bullets, projectiles, throwables, or their own body passes through a Prisma holographic clone, the attacker will get pinged for several seconds and it’ll be visible to the whole attacking team.
Now the mechanism might sound simple, but it presents a lot of trouble to the attackers. Because of that, Alibi can prevent them from vaulting through windows by deploying her Prisma holographic copies right behind them. That way, attackers who will vault through those windows will immediately get pinged and draw the attention of the defenders. As shown in the video above, they can also be used by the Alibi user for the substitution trick with the Prisma holographic clones, where the real Alibi quickly takes the place of a Prisma holographic copy that just got shot.
What makes the Prisma Great:
- Alibi can bring three Prisma per round and each of them produces a holographic copy of her that is great for confusing enemies, gathering intel on them, and ruining their momentum.
- When anything from an attacker touches a Prisma holographic copy, be it their bullets, own body, projectile, or other utilities, that attacker will get pinged for several seconds.
- Because of the reason stated above, Alibi can prevent attackers from vaulting through windows by deploying her Prismas right behind them. That way, if they do, they’ll get pinged.
- Alibi can perform the very deadly substitution technique with her Prisma holographic copies where she substitutes herself to a holographic copy that was just shot by an enemy.
Item Stats:
- 3 Prismas per round
- Ping tracker lasts for 5 seconds
6. Armor Pack
https://youtu.be/ECcOETmFyMI?si=SqLCpihUoFgD7W05&t=79
Speaking of impact in a round, there’s no denying that Rook’s Armor Pack’s impact on a match is huge. Rook’s Armor Pack contains five armor plates. So basically, for each of the defending team members. After deploying it on the ground, Rook automatically gets his armor plate from the pack and equips it, but the other defending team members have to manually go to the pack and equip theirs. Once a defender equips Rook’s armor plate, they’ll receive bonus health points, which effectively makes them tougher.
Additional health points aren’t the only thing that Rook’s armor plates provide though. Defenders who are wearing his armor plates will now also have the ability to revive themselves from a down-but-not-out state. That’s a great perk to have, especially now that players do not get a warning when they put an enemy in a dnbo state. So basically when Rook is around, the whole defending team will be tougher to take down, and all of them have a second chance when they get put in a down-but-not-out state. And the great thing is, all defenders have to do to get these great buffs is to simply get their armor plates from the Armor Pack.
What makes the Armor Pack Great:
- Rook’s Armor Pack contains five armor plates that defenders can wear, and defenders who are wearing the armor plates from the Armor Pack will have more health points, basically making them tougher
- Defenders who are wearing the armor plates from Rook’s Armor Pack will also now be able to revive themselves from a down-but-not-out state, and for all defenders to have that ability is very powerful
- Rook can simply deploy the Armor Pack at the very beginning of the round and all the defenders have to do is get their armor plates from the pack and they’ll receive its benefits
Item Stats:
- Contains 5 armor plates (1 is automatically worn by Rook)
- Armor plates provide 20 extra health points
- Armor plates provides Withstand ability to the wearer
5. Logic Bomb
https://youtu.be/ixbCj6tSgms?si=RdCDpysrP2wr51kQ&t=82
Dokkaebi’s Logic Bomb is one of the special gadgets in the game with the highest impact because it’s basically a hack that gets put into the mobile devices of the defenders. When triggered, it’ll force defender mobile devices to turn on and ring loudly. Now obviously, the loud ringing can give away their current location and that’s very important for the attackers, be it for pushing the objective spot or for hunting roamers. When pushing, it’ll give them a good idea on where the enemies are positioned, and when hunting roamers, it’ll tell them where the roamers are hiding.
Dokkaebi can trigger two Logic bombs per round and the loud phone ringing will last for several seconds before stopping on its own. The defenders can manually turn off their mobile devices, however, that’ll take them five seconds, during which they won’t be able to move or shoot, so they can leave themselves vulnerable. Another thing about the Logic Bomb is that the loud ringing on the defenders’ mobile devices doesn’t only compromise their positions, it can also mask the sound that attackers make when they’re pushing.
What makes the Logic Bomb Great:
- It forces the defenders’ mobile devices to turn on and ring loudly, and that loud ringing is oftentimes enough to give away their positions which is very important for attackers when pushing or roam clearing
- The loud ringing on their phones caused by the Logic Bomb will last for several seconds. The defenders can manually stop it, but it’ll take them five seconds, during which they won’t be able to do anything.
- The loud ringing from the defenders’ mobile devices doesn’t just give away their current position, it’s also great for masking the sound cues that the attacking team makes when they’re approaching
- When active, the Logic Bomb will also prevent defenders from using their cameras for surveillance as the only thing they’ll be able to see from them is Dokkaebi’s icon in a black background
Item Stats:
- Can be activated 2 times per round
- Effect lasts for 12 seconds
- Turning it off takes 5 seconds
4. S.E.L.M.A. Aqua Breacher
https://youtu.be/9Zyk1pRBS6U?si=sejqOfig4iA4mPoM&t=156
Ace’s S.E.L.M.A. Aqua Breacher is in this list because oftentimes, it’s needed by the attacking team. Hard breaching plays a major role in Siege gameplay because when attackers are able to breach the wall that connects the objective spot to the outside, or even the hatches above the objective spot, it brings them closer to victory. That’s obviously because the breaches will open up more paths of attack for the attackers and it means that the defenders will have more angles to watch out for, and that can greatly unsettle them.
Ace can bring three S.E.L.M.A. Aqua Breachers per round and each of them can open up a large breach on an unreinforced wall and completely destroy an unreinforced hatch. Since Ace has three S.E.L.M.A. Aqua Breachers, oftentimes, he can just use two of them for walls and reserve the remaining one for breaching a reinforced hatch. The S.E.L.M.A. Aqua Breacher’s breaching action may be quite slow, but it also produces a loud noise, and that loud noise can serve as a distraction while the other attackers are flanking. Ace’s S.E.L.M.A. Aqua Breachers can also be deployed from a distance, allowing the user to be safer while breaching.
What makes the S.E.L.M.A. Aqua Breacher Great:
- The S.E.L.M.A. Aqua Breacher can breach a large hole on an unreinforced wall and completely destroy a reinforced hatch, and hard breaching is an important aspect of the game, especially in ranked
- Since Ace can bring three S.E.L.M.A. Aqua Breachers per round, he can just use two of them for breaching a reinforced wall while reserving the remaining one for destroying a reinforced hatch
- The S.E.L.M.A. Aqua Breacher’s breaching action is quite slow compared to Thermite’s Exothermic Charge, but it produces a loud sound that can serve as a distraction while other attackers are flanking
- The S.E.L.M.A. Aqua Breacher can be deployed from a distance and has a similar throwing profile to that of impact grenades, and that will allow Ace to perform hard breaching while also being safe
Item Stats:
- Ace has 3 S.E.L.M.A. Aqua Breachers per round
- Each S.E.L.M.A. Aqua Breacher detonates 2 times
3. Kludge Drone
https://youtu.be/9whi0787A4k?si=o2RDdhkNCw1e4rkn&t=56
Brava’s Kludge Drone is one of the most powerful special gadgets in Siege because it has the very unique ability to convert defender gadgets into allies. Obviously, this will only work on gadgets that are made of electronics, and the Kludge Drone can’t convert all defender electronic gadgets. However, the electronic defender gadgets that the Kludge Drone cannot convert will be disabled instead. So either way, the defenders will be losing their valuable gadgets.
Brava can bring two Kludge Drones per round and each of them can convert three defender electronic gadgets. So basically six in total. What makes them extremely dangerous is that they can convert defender electronic devices that can damage, like Kapkan’s EDDs or Maestro’s Evil Eyes. So if the defenders aren’t watching their surroundings well, they can get instantly killed just by passing through a doorway. The biggest weakness of the Kludge Drone is its size which makes it easy for the defenders to spot and shoot. But like ordinary drones, it can also jump and has high maneuverability.
What makes the Kludge Drone Great:
- The lasers from the Kludge Drone can convert defender electronic gadgets into allies, and those that cannot be converted will instead be disabled, so either way, the defenders will lose gadgets
- Brava can bring in two Kludge Drones per round and each of them can convert or neutralize three defender electronic gadgets, which means six in total, and that makes them great anti-gadget utilities
- While the Kludge Drone is quite big so it’s easy to spot and hit, just like an ordinary drone, it can also jump and has high maneuverability so it has a high chance of escaping defender fire
- Just like a regular drone, the Kludge Drone is also equip with a camera, so it can be used for surveillance once the user used up all of its lasers for converting or neutralizing defender electronic gadgets
Item Stats:
- Brava has 2 Kludge Drones per round
- 3 electronic lasers per Kludge Drone
2. SPEC-IO Electro Sensor
https://youtu.be/dd9G_9ifbxQ?si=U0AV0vQwbxQ11CyT&t=60
The SPEC-IO Electro Sensor is Solis’ special gadget and is one of the best intel gathering utilities in the game. But instead of the enemies themselves, what the SPEC-IO Electro Sensor scans are their electronic gadgets. This is why when Solis is on the defending team, it can be close to impossible for attackers to leave their drones around the objective spot for surveillance as she can easily detect and destroy them. So not only is the SPEC-IO Electro Sensor great for gathering intel, it’s also a great special gadget for denying intel to the attackers.
The SPEC-IO Electro Sensor detects enemy electronic gadgets in real time, and what makes it even more amazing is that Solis can perform cluster scans with it and that will tag the enemy electronic gadgets she’s detected for the whole defending team to see. That’s a great way to share intel to the other defending team members and knowing where the enemy electronic gadgets are will also give them a good idea of where the attackers are attacking from. And because the SPEC-IO Electro Sensor allows Solis to scan enemy electronic gadgets, it allows her to be one of the best defenders for run outs as she’ll know if a claymore is deployed right behind a window or not.
What makes the SPEC-IO Electro Sensor Great:
- The SPEC-IO Electro Sensor allows Solis to detect attacker electronic gadgets in real time and its range is quite far, so it’ll be hard for them to escape from being disabled when Solis is on the defending team
- The SPEC-IO Electro Sensor also allows Solis to perform cluster scans which will tag the attacker electronic gadgets she’s scanned for the whole defending team to see
- Because of the SPEC-IO Electro Sensor, when Solis is in the defending team, it’s close to impossible for attackers to leave their drones around the objective spot for surveillance, making her great at intel denial
- The SPEC-IO Electro Sensor allows Solis to perform run outs safely and effectively as she’ll be able to detect if there’s a claymore deployed on the spot where she’s going to run out to
Item Stats:
- 15-meter detection range
- Cluster scan has the same range
1. Dread Mine
https://youtu.be/rgU8F7S9nro?si=GymIAwllIeNGVOep&t=13
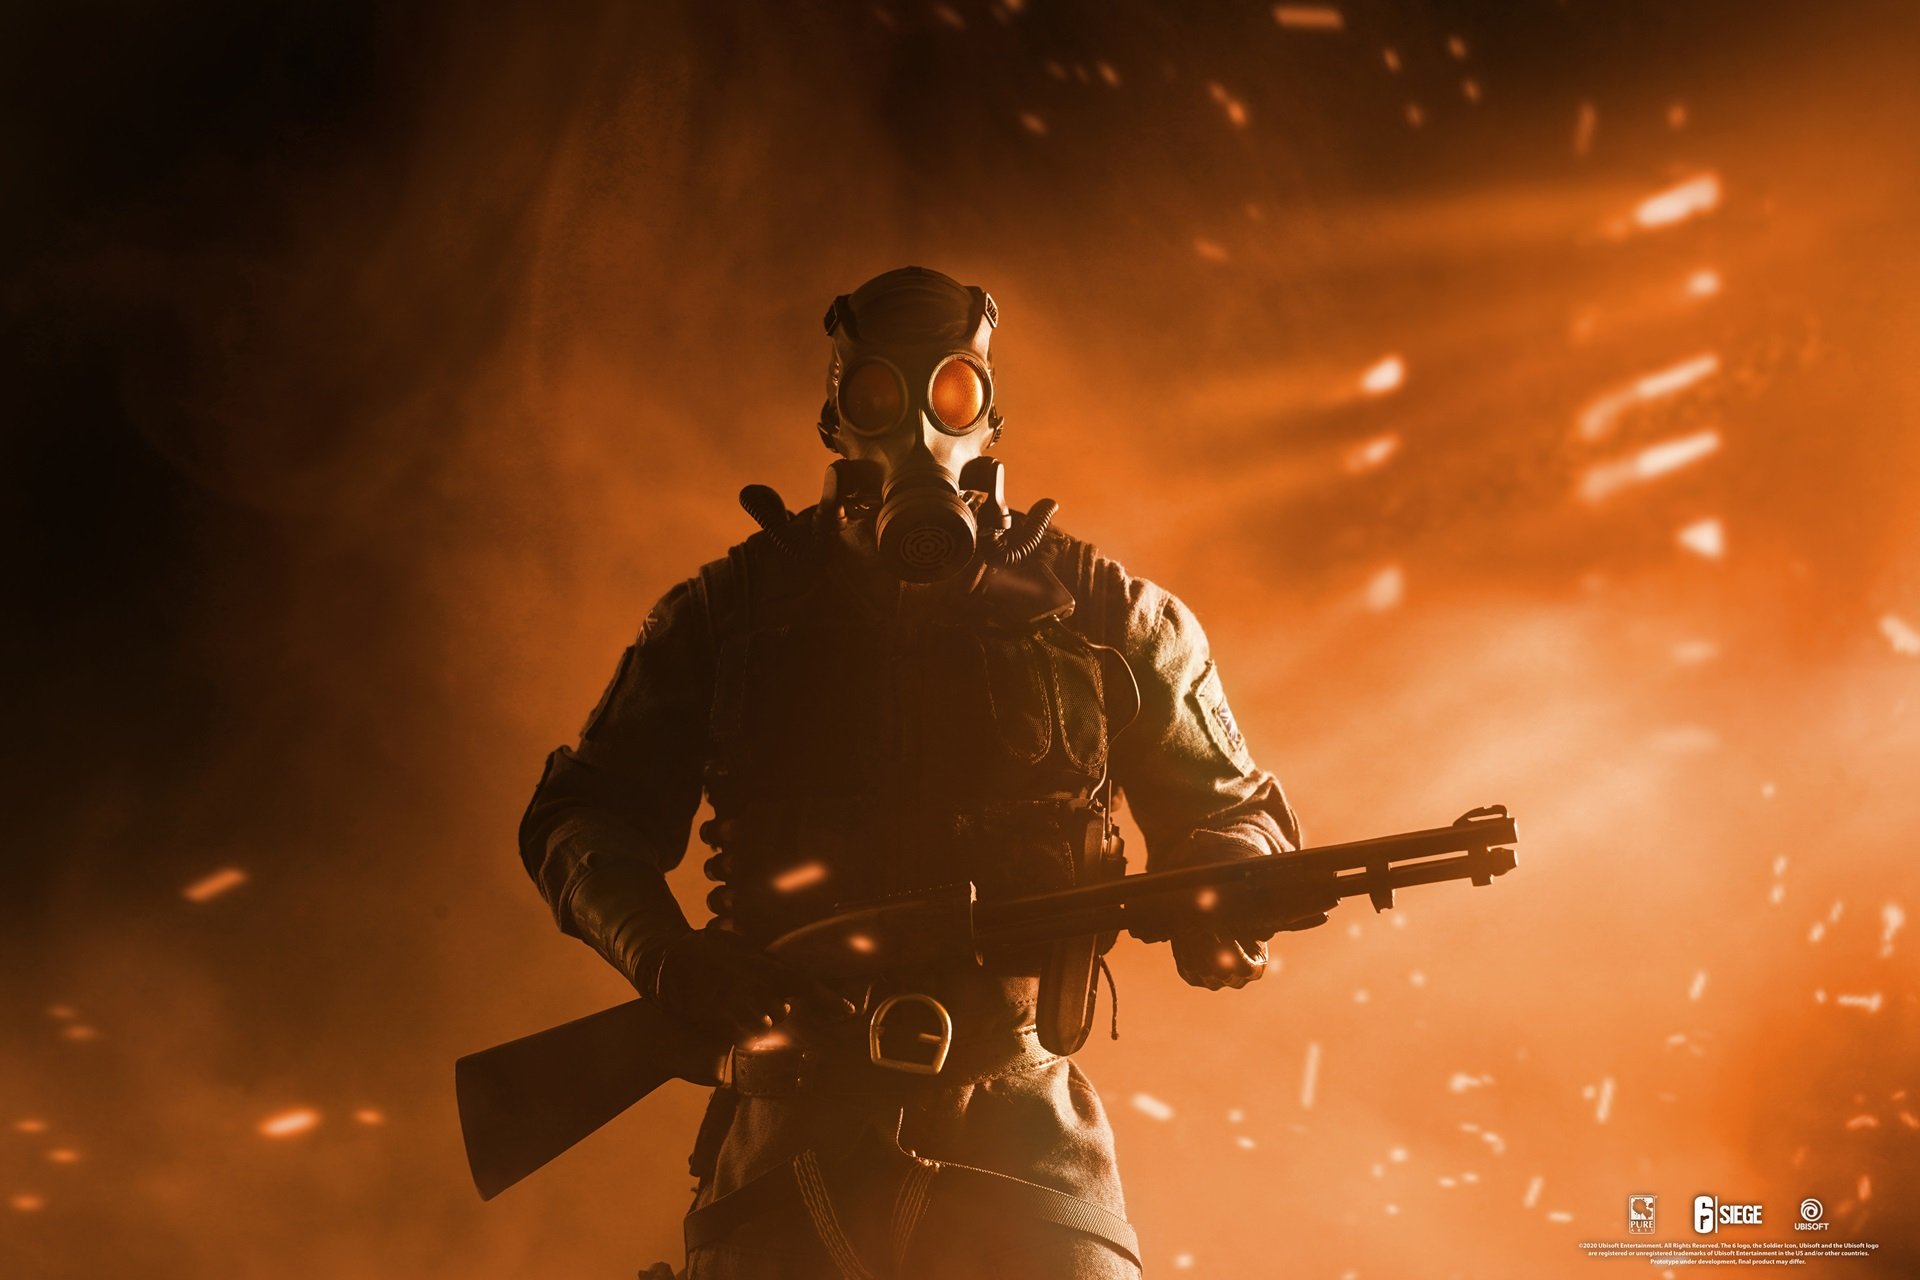
Fenrir’s Dread Mine literally inflicts fear on his enemies, and that’s what makes it so powerful. The fear effect from a Dread Mine will severely limit the vision range of attackers who are within its radius, and that will make them vulnerable from defender gunfire. What’s even more scary is that Fenrir can bring five Dread Mines per round, and while he can only have three of them active at the same time, he can very easily deactivate and activate them even through unbreakable surfaces like cement walls and floors. Because of that, as long as he has good intel on where the enemy is pushing, he’ll be able to inflict fear on them using his Dread Mines.
A Dread Mine is bulletproof when not active, but because they’re quite small, they can easily be tucked on corners or hidden behind objects, so it’s generally better to have as many Dread Mines active as you can because you’ll never know when an enemy will use a certain path of attack in Siege. After being deployed, Fenrir can pick them up again as long as he can reach them if he wants to reposition them. The Dread Mine, as its name implies, is one of the most dreadful defender gadgets because it’s great for ruining the momentum of pushing attackers and leaving them vulnerable to defender gunfire.
What makes the Dread Mine Great:
- When an enemy steps into the radius of an active Dread Mine, its fear effect will be unleashed, and that will severely limit the vision range of any enemies within it, leaving them vulnerable to defender gunfire
- Fenrir can deploy five Dread Mines per round and have three of them active at the same time. He can also deactivate or activate them through indestructible surfaces like cement walls or floors.
- The Dread Mines are quite small so it’s easy to hide them behind objects or tucked in corners, so even when they’re active and non-bulletproof, it can be hard to disable them
- The Dread Mines work so well with other defender gadgets that slow enemy movements like Melusi’s Banshees, Lesion’s Gu Mines, or Clash’s CCE Shield
Item Stats:
- Fenrir has 5 Dread Mines per round
- Fenrir can have up to 3 Dread Mines active at the same time
Attention operator, please be advised. There is a new directive from Six. Read up on these related articles, and prepare for deployment:

