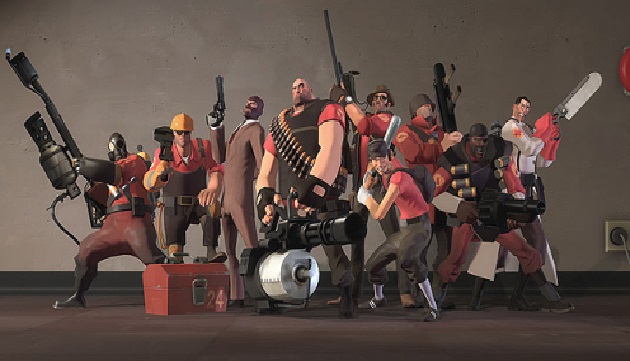
Over the years, Team Fortress 2 has undergone so many changes, rebalances, and additions that it can be hard to keep track of everything without feeling like you need the CliffsNotes. So many of these changes in earlier updates, and seeing a resurgence more recently, are game changing weapons. Like introducing a swarm of bees to a game of tag, the following items change the game in, what I would say, are the most interesting ways.
10. Mad Milk
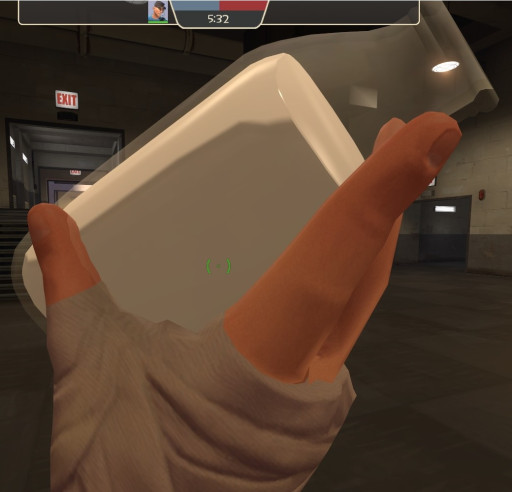
A small glass jar of, concerningly, a ‘non-milk substance’, the Mad Milk is a secondary item for the scout. Rather than add additional damage mechanics that many scout additions have, the Mad Milk instead provides a utility mechanic revolving around healing. By throwing this item at an enemy, any targets within range of the Mad Milk will grant health when dealt damage.
The frontlines of any battle are often hectic and harsh, leaving low priority allies to fend for themselves without healing. In such chaos, every little bit counts. As one of the best front-line classes, the scout is easily able to adapt the Mad Milk into gameplay, using his hit and run tactics to quickly launch his ‘non-milk substance’ into a crowd where his allies can reap the benefits. This also allows the scout to be more independent despite his smaller health pool, forgoing the need to run back to a medic.
Summary:
- Allows the scout to assist in medic duties
- Gives the scout more independence and survivability on the front lines
- Functions as a form of AoE spy check when necessary
9. Buff Banner
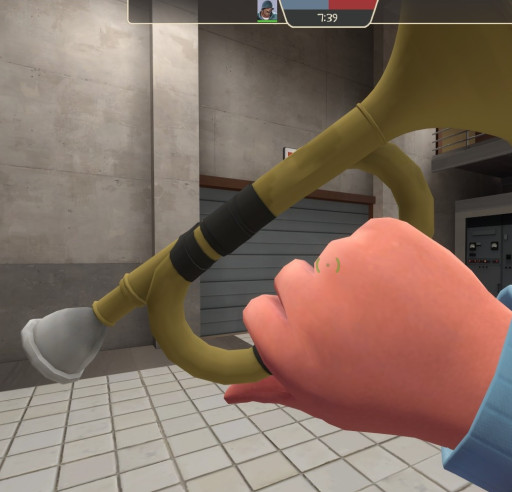
A rather innocent looking backpack, the Buff Banner is also a secondary item, this time for the jingoistic soldier. Replacing the soldier’s shotgun, the buff banner instead moves that damage to a short burst of minicrits that affects all targets in a radius. By dealing damage in any way, including telefragging, the soldier can fill up a rage meter that, when full, can be used to gain an aura that grants minicrits to all allies within 450 units.
While there are many ways to play soldier, this item is the holy grail for anyone who sticks close to their team. While you do sacrifice the ability to fall back on your shotgun when your rocket launcher isn’t a good idea, the banner becomes your own personal Drano, allowing you and your team to clear any tough blockages on your route. The downside as mentioned is that this requires a good team. The damage potential of the banner is much greater than the shotgun, but only if your team can capitalize on it so maybe be careful using it in pugs.
Summary:
- Allows the soldier to increase their team’s damage output
- Gives the soldier a way to push through enemy blockages
- Makes the soldier a juggling expert
8. Thermal Thruster
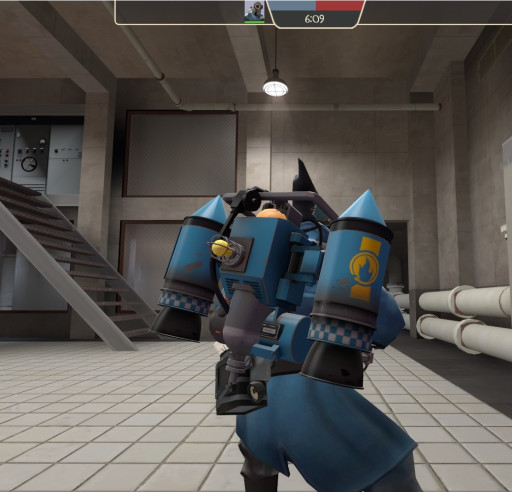
One of the more recent additions to the game, the Thermal Thruster is a secondary weapon for the pyro. This item is one of only two items for the pyro whose sole purpose is not directly dealing damage and instead provides an interesting new ability; flight. Along with a bunch of minor changes, the Thermal Thruster will launch the player upwards and then in the direction they are facing. This item also extinguishes nearby allies, knocks back nearby enemies, and can deal damage to enemies you land on.
Pyro can be a terrifying class to come up against in the right players hands, but like adding wings to a spider, this turns terror into a nightmare. The pyro is often limited by the short range of the flamethrower but with the Thermal Thruster, the pyro can now cross distances quickly and through the air, limiting the effectiveness of countering with projectiles. The pyro can also take routes usually restricted to scouts, soldiers, and demomen, sneaking up on enemies from unpredictable paths.
Summary:
- Gives the pyro incredible versatility of travel
- Compensates for the pyros lack of effective ranged options
- Paired with the backburner makes you an unholy abomination
7. Iron Bomber
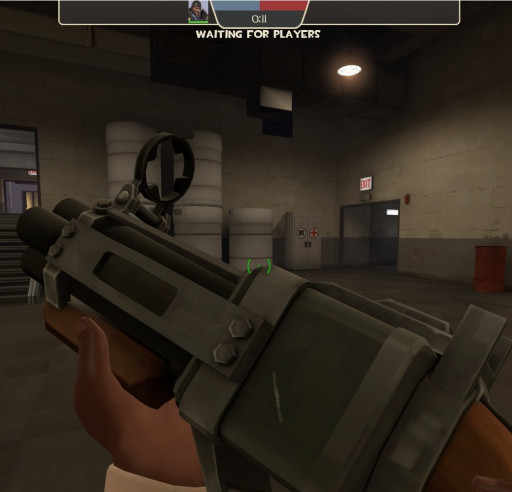
For any projectile class, one of the greatest frustrations is when your projectile doesn’t go where you want it because physics insists on existing. For the demo, the solution is the Iron Bomber. A replacement to the primary grenade launcher, the Iron Bomber makes one important change, grenades that stay put. All grenades fired by this launcher will follow an arc that is much more consistent than the regular launcher and the grenades don’t move much at all after landing. Though the explosive radius is only 85% of the normal radius, the fuse time is 30% quicker, making it very rewarding for those with better aim.
Demomen, especially those newer to the class, can fall into a bad habit of relying too much on the splash range of their bombs and forgo careful aim. Not only does this weapon provide benefits for taking the time to carefully aim, it serves as an excellent weapon for one of the demoman’s main tasks, helping to deal with sentry nests. Since the grenades don’t roll, even missing the engineer’s buildings by small amount won’t waste your attack.
Summary:
- Encourages and rewards good projectile aim
- Makes taking out sentry nests easier
- Teach bounce physics whose boss
6. Second Banana
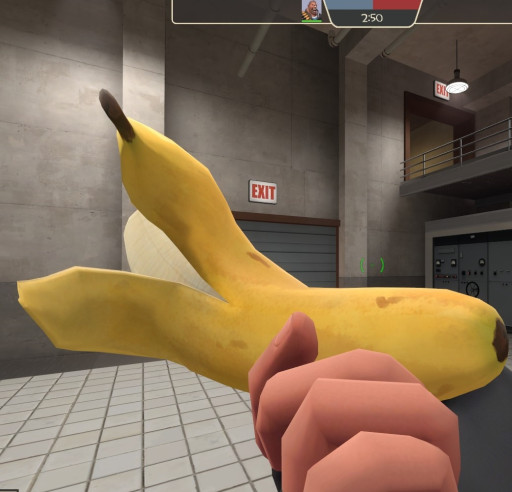
A pity reward from the Meet your Match competition between heavy and pyro, the Second Banana is a secondary item for the heavy, replacing his shotgun and often used sandvich. This item heals for 200 health over 4 seconds and recharges in 11 seconds. Though the item description states it recharges 50% quicker than the sandvich, this is 63.3% quicker. The Second Banana can also be thrown for other players to pick up as a small med-kit.
Many players see the Second Banana as useless as it heals less than the sandvich however this is the perfect weapon to take when you want to be a bit more independent as a heavy. Having a significantly reduced recharge, it can be used more often and though it heals 33% less, 200 health is still a significant portion of the heavy’s total health pool. While it is less useful to your teammates, if you’re lacking a healer or need to push forward without one, the Second Banana should always be your go-to.
Summary:
- Gives heals more frequently than the sandvich
- Great for when you don’t have reliable access to a medic
- Allows you to play more independently riskily
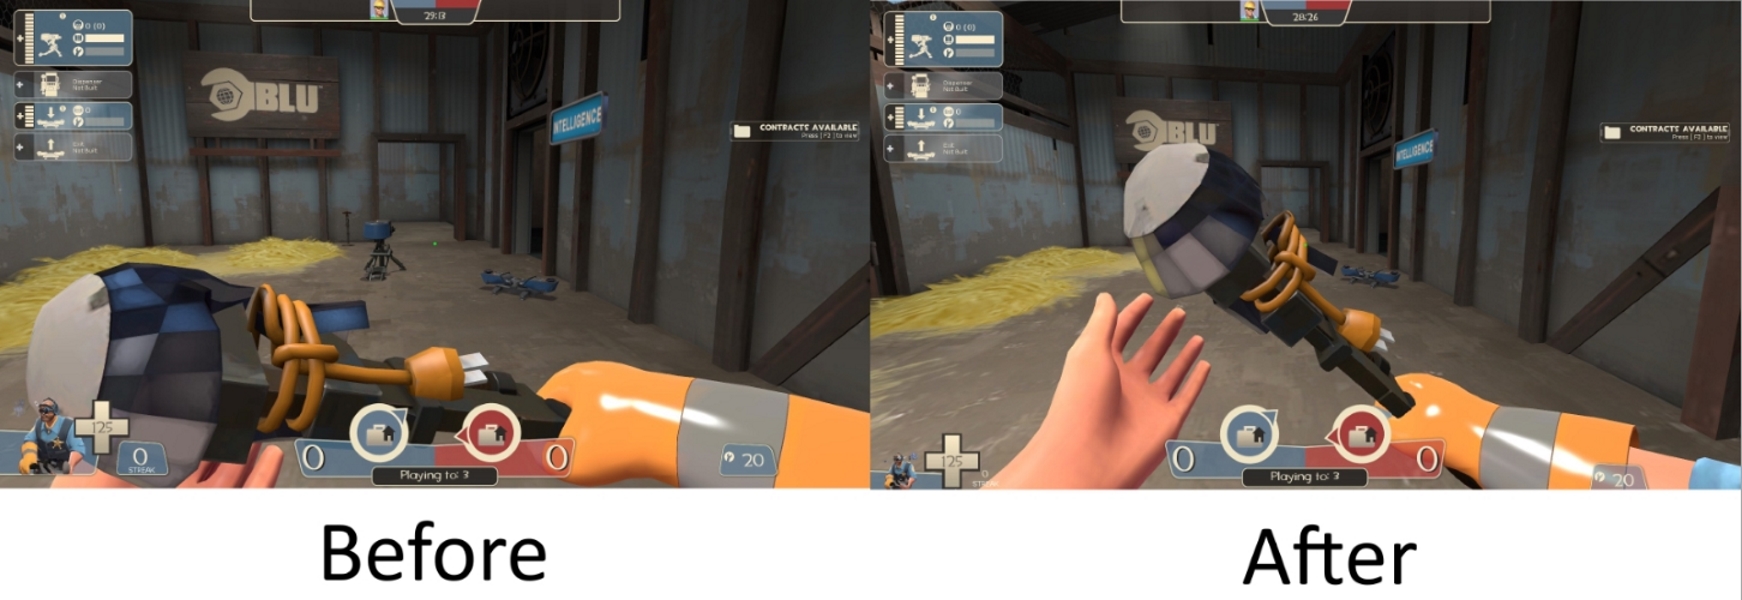
5. Rescue Ranger
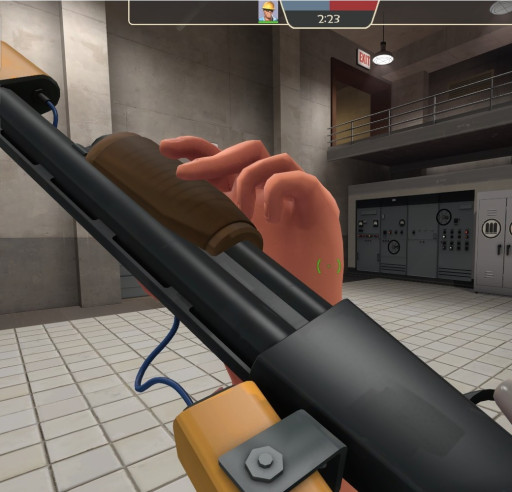
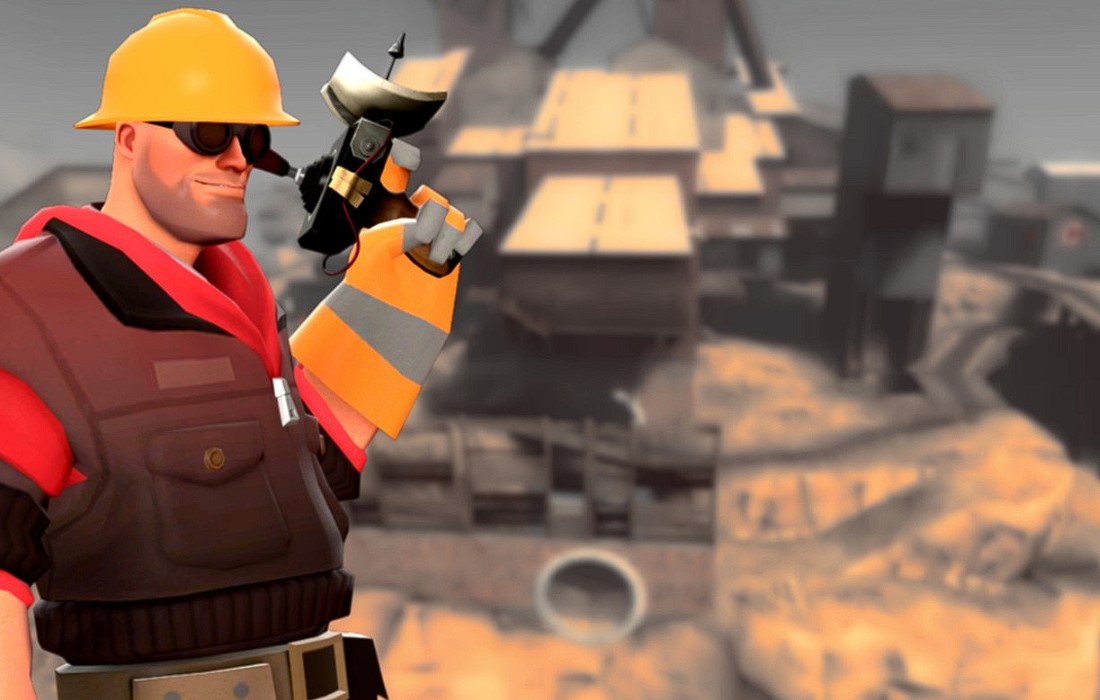
Although the Rescue Ranger is classified as a shotgun, its function seems nowhere close to what you’d expect from one. Rather than firing buckshot or shells, this shotgun fires darts of mechanical magic, each one able to repair up to 60 health of a friendly building at a cost of 1 metal for every 4-health restored. The engineer wielding this weapon is also able to pick up building from a distance, so long as they are in line of sight, though this comes at the cost of 100 metal.
The Rescue Ranger is the go-to weapon of many skilled engineers and for good reason. Your sentry can always output more damage more consistently than you can so being able to keep it alive at a distance is a major bonus. It allows you to main riskier placements of your buildings without having to risk yourself and always allows you to keep a rapid exit ready. Though the downside means that you are a lot more vulnerable without your sentry, especially as it is commonly paired with the wrangler, a clever engineer who keeps his nest on the move will hardly ever be without some heavy firepower.
Summary:
- Excellent for unpredictable placements
- Lowers the risk of maintaining buildings
- Can turn skilled engineers into a mobile madman with a machinegun
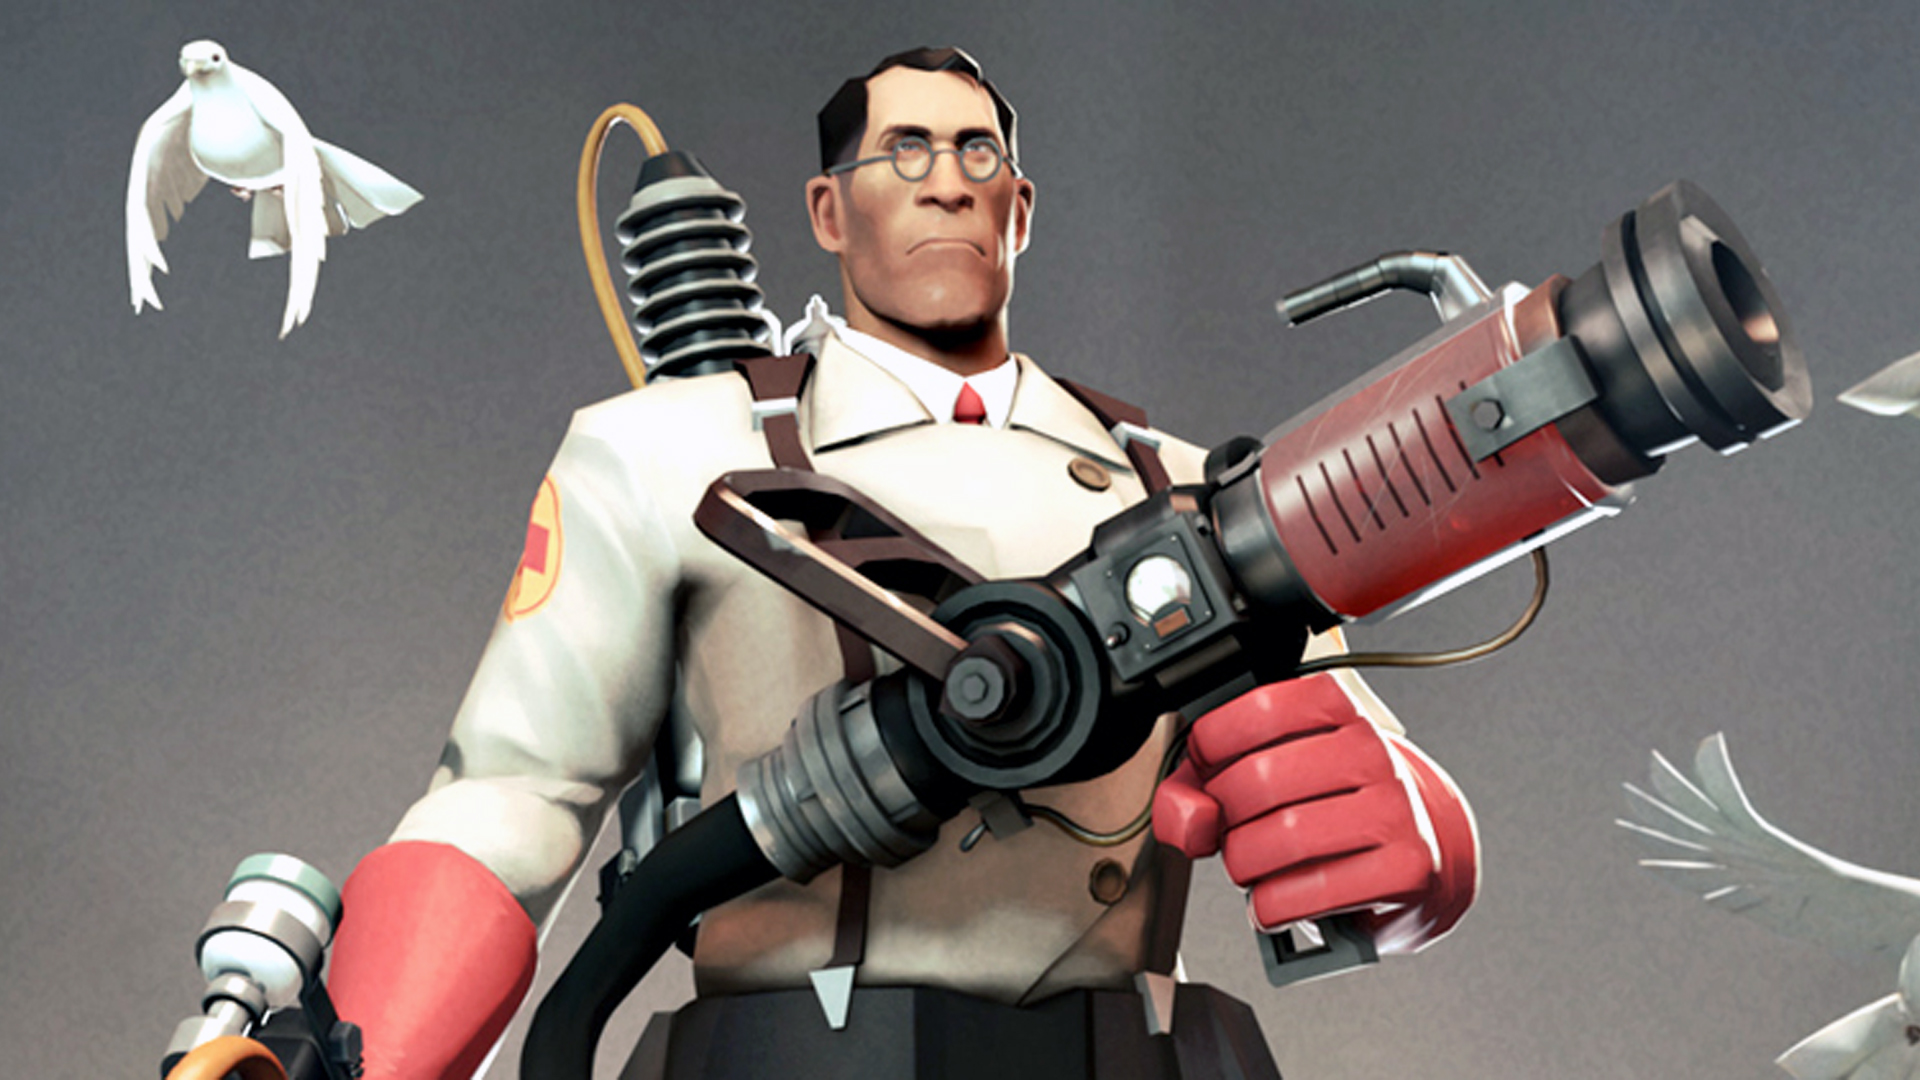
4. Quick Fix
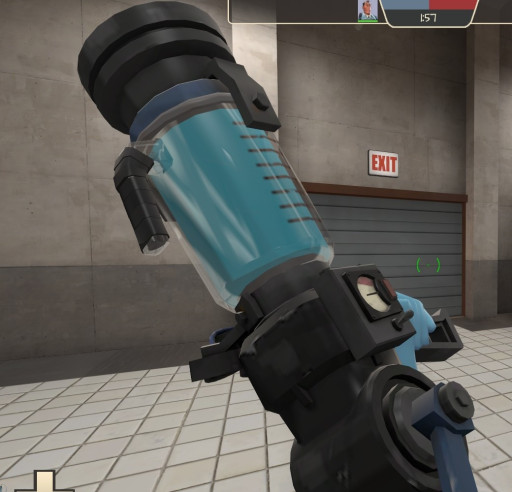
An often-underrated weapon, the medic’s Quick Fix is an exceptional toll in the right hands and of great value in pugs. The Quick Fix heals 40% faster than the regular medigun however it can only overheal half as much, though it can maintain a higher overheal from a different medic. In addition, while all medi-guns allow the medic to move at the same speed as a heal target, the Quick Fix will also allow the medic to match rocket jumps, sticky jumps, and shield charges, keeping you at the side of even the most mobile of classes.
Despite its lack of overheal, the Quick Fix is much more effective at keeping large numbers of allies healed at the same time. The reason it is overlooked is that new players tend towards pocket healing and this medi-gun is awful at that. By using the quick fix to juggle healing between many people at the same time, you’ll be able to help more with large pushes against the enemy without anyone dying regardless of overheal. It also excels at getting you to the front lines when you have a soldier or demoman to latch on to.
Summary:
- Allows you to keep more people alive at once
- Great for large pushes
- Vicariously fulfills your insane dreams of flying with explosions
3. Bazaar Bargain
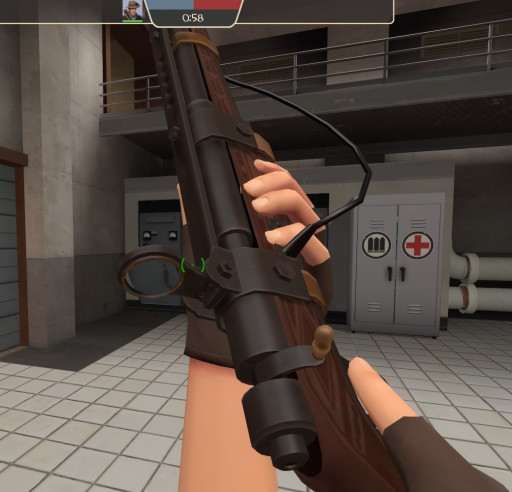
Though you would expect those playing sniper to be amongst the most skilled players in the game, there remains no shortage of players body-shotting their way through matches. The Bazaar Bargain is the weapon of those who have mastered headshots, granting a shorter charge time for consecutively relocating portions of your enemy’s brain matter. Though the Bazaar Bargain starts with a 50% slower charge time, after 2 headshots, the charge time is the same as the default rifle, and after 6 shots or more, the charge time is twice as fast.
The Bazaar Bargain is best used when you have a team to provide some covering fire. With a slower charge time initially, it can be a bit harder for you to get those few initial kills, especially if the enemy team spots you. With a team helping distract your enemies however, all you need is a few good shots in a row, and you can pick off targets with ease. With a decent stack of headshots under your belt, you also become a lot more mobile since a quicker charge means less time stood still. It is not uncommon to see a skill Bazaar Bargain sniper easily able to retreat from an approaching team while still taking out several of them in the process.
Summary:
- Rewards the thing you’re supposed to be best at as a sniper
- Grants you more mobility
- Attracts a lot angrier shouting about hacking
2. Diamondback
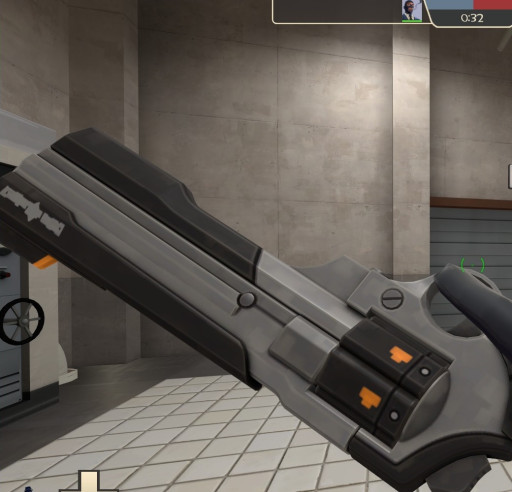
The spy is an interesting class to say the least, with a strange range of jobs that don’t always overlap nicely. The Diamond Back acts as the glue that ties engineer harassment, battlefield spinal surgery, and general back line harassment together. For every building destroyed while sapped and every enemy backstabbed, the Diamond Back stores one guaranteed critical hit up to 35 total. The weapon itself deals 15% less damage than stock and cannot get random crits.
The more skilled the players your up against, the harder it is to succeed as spy. Though this is true of all classes, it affects spy to a much more significant degree since you rely on stealth and deception, both of which are exponentially trickier to achieve with knowledgeable opponents. By rewarding you for succeeding, the Diamondback helps to negate some of the missteps that you’ll inevitably make against high level opponents by giving you some much needed crits to fight your way out of a tough spot.
Summary:
- Rewards you for performing the tasks you excel at
- Helps compensate for mistakes and missteps
- The closest you’ll get to a High Noon is when you pull three crit shots out of nowhere
1. Stock weapons
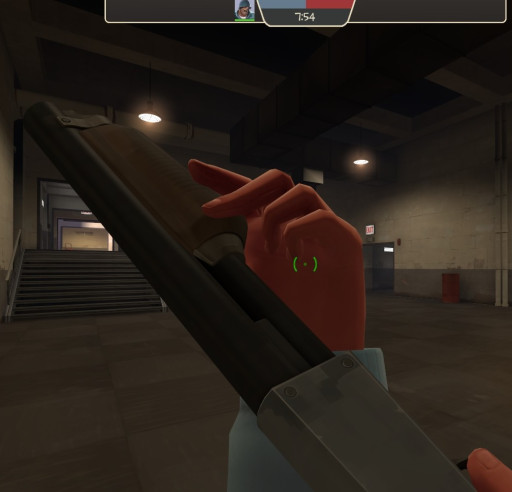
Though many weapons have been added over the years, nothing will ever come close to stock weapons. They may lack any special boosts or situational bonuses, but this also means they lack any of the drawbacks that come with those upgrades. Stock weapons are always the most versatile and reliable of any weapons in the game, providing an equal balance of use and function without leaving you out of luck when the tables turn.
Situational benefits are exceedingly powerful but, as the name suggests, only in certain situations. Whenever that situation doesn’t come up, you wind up somewhat weaker than you would normally be. Forgoing the situational benefits does sound like becoming less powerful but lacking a downside means that overall, you can come out on top by picking situations with enemies that leaves them dealing with their own downsides. Overall, you’ll find yourself a much better player focusing less on weapon benefits, and more on your situational awareness and teamwork.
Summary:
- If in doubt, go stock
- Unparalleled versatility
- Might get underestimated by fools who see stock as scrub

