What settings do I need to use in TF2 to ensure I'm always performing as best as possible?
Good settings don’t make a good player, but they do make a player better. These are the most important settings to change in order to improve your performance in Team Fortress 2, and most of them apply to other games too.
25. Turn Off Motion Blur
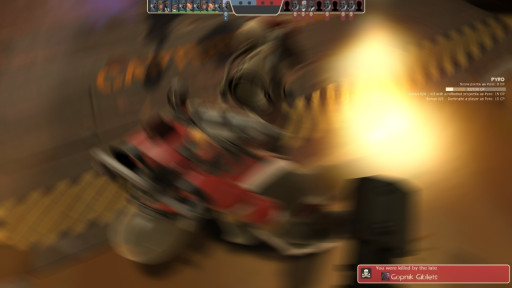
Motion Blur makes it so that everything gets blurry when looking around, which makes it harder to tell what’s going on. By turning this setting off, you’ll be able to get a clearer view when looking around. Also, this is subjective but everyone I’ve asked seems to agree that motion blur is ugly.
Advantages:
- Get a better view when turning.
- Looks better
How to apply:
- Go to settings
- Go to video
- Go to advanced
- Switch motion blur from enabled to disabled
24. Raise Your Field Of View
Your field of view is how wide your vision is. If your field of view is higher, you can see more, which means you can see more enemies, and it’s harder to get shot from off screen.
Advantages:
- You can see more
How to Apply:
- Go to settings
- Go to video
- Go to advanced
- Move the field of view slider all the way to the right
23. Disable Mouse Acceleration
Mouse Acceleration makes your mouse speed up the longer you move it. This means that with it turned on you could end up missing a shot because your mouse moved faster than you want, because you don’t actually have direct control of your mouse. By turning this off you have that direct control.
Advantages:
- More control over your mouse
- Better aim
How to apply
- Go to settings
- Go to the mouse tab
- Uncheck mouse acceleration
22.Turn Mouse Sensitivity Down
This one is kind of counter-intuitive. Most people’s understanding of mouse sensitivity is that higher means faster, which means you can get to what you wanna shoot faster, the problem is how the game makes your mouse faster. Higher mouse sensitivity moves faster by skipping pixels, what you actually want to do is turn your sensitivity all the way down, then set your mouse’s DPI higher instead. If you turn your mouse’s dpi all the way up and it’s still too slow, then that’s when you should start raising your sensitivity.
Advantages:
- Won’t skip any pixels
- Better aim
How to apply
- Go to settings
- Go to the mouse tab
- Move the mouse sensitivity slider down
21.Enable Raw Mouse Input
By default Windows (or whatever OS you use) will grab your mouse input before the game gets to it, and mess with it. This leads to lag, and depending on what settings you have on your mouse, it can enable higher sensitivity and acceleration despite you having those turned down and off respectively.
Advantages:
- Ensures the previous 2 settings work properly
How to apply:
- Go to settings
- Go to the mouse tab
- Enable Raw Input
20.Turn On Fast Weapon Switch
This setting is really straightforward, it switches your weapons faster. By default you have to confirm you wanna change your weapon before it actually changes, however with this enabled there’s no confirmation needed.
Advantages:
- Switches your weapons faster
How to Apply:
- Open the advanced options menu
- Enable fast weapon switch
19.Enable Hit Sounds
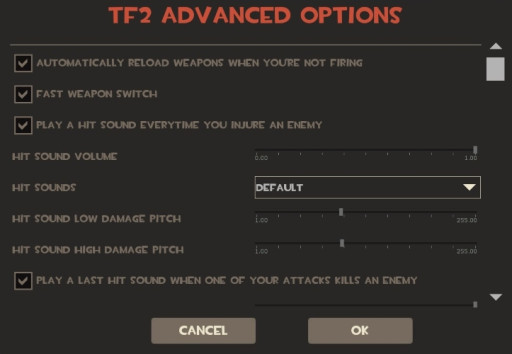
Hit sounds are a sound that plays when you hit someone, giving you confirmation your shot landed. They’re especially useful on Engineer and Pyro, enabling you to know when your sentry or afterburn is hitting someone.
Advantages:
- Know when your shot hits
- Know when your sentry is hitting someone
- Know when your afterburn is hitting someone
How to apply:
- Go to advanced options
- Enable “Play a hit sound every time you injure an enemy”
- (optional) pick your favorite hit sound
18.Display Damage Done As Text Over Your Target
Knowing how much damage you’re doing to someone is important, because it’ll let you know how close you are to killing them. Luckily Team Fortress 2 has an option to display this when you hit someone.
Advantages:
- Know how much damage you’re doing
- Know how close your enemy is to dying
How to apply:
- Open advanced options
- Enable “Display damage done as text over your target”
- Also enable “Damage text doesn’t prevent overhead effects (e.g. ‘crit!’)”
17.Medic: Medigun Continues Healing Without Holding Down Fire Button
This one is probably more convenient than advantageous, but you should use it anyway. Most of your time playing medic will probably be spent healing allies, and after a while holding down left click gets annoying. By turning on this option on you only have to click once.
Advantages:
- You don’t have to hold left click
How to apply:
- Go to Advanced Options
- Enable “Medic: Medigun Continues Healing Without Holding Down Fire Button”
16.Medic: Injured Teammates Automatically Call Out
Knowing who to heal as Medic can be hard when you have teammates whose smooth brains cave too far inward to press E at low health. Luckily, Valve made an option to press E for them.
Advantages:
- See who needs to be healed
How to apply:
- Open advanced options
- Enable “Medic: Injured Teammates Automatically Call Out”
- (optional) set your preferred level of health for teammates to call out
15. Turn off V-Sync
Do you remember when I said “most of them apply to other games too”? This is the biggest piece of advice I can give for every game. V-Sync is an outdated option in every game that’s supposed to prevent screen tearing, but all it really does in most modern games is add input delay.
Advantages:
- Less input delay
How to apply
- Go into settings
- Go to video
- Go to advanced
- Disable “wait for vertical sync”
14.Use Glow Effects
Glow effects show you an outline of objectives when you respawn, allowing you to get an idea of where to go and what’s going on.
Advantages:
- Know where the objective is on respawn
How to apply:
- Go into advanced options
- Enable “Use Glow Effects”
13.Enable Teammate Glow Effects After Respawn
Have you ever respawned and not known where your team was and/or what they were doing? That’s what this setting is for, giving you wallhacks on respawn to see where your team is.
Advantages:
- See where your teammates are on respawn
- See where engineer buildings are on respawn
How to apply:
- Go into advanced options
- Enable “Enable Teammate Glow Effects After Respawn”
12. Enable Minimal HUD
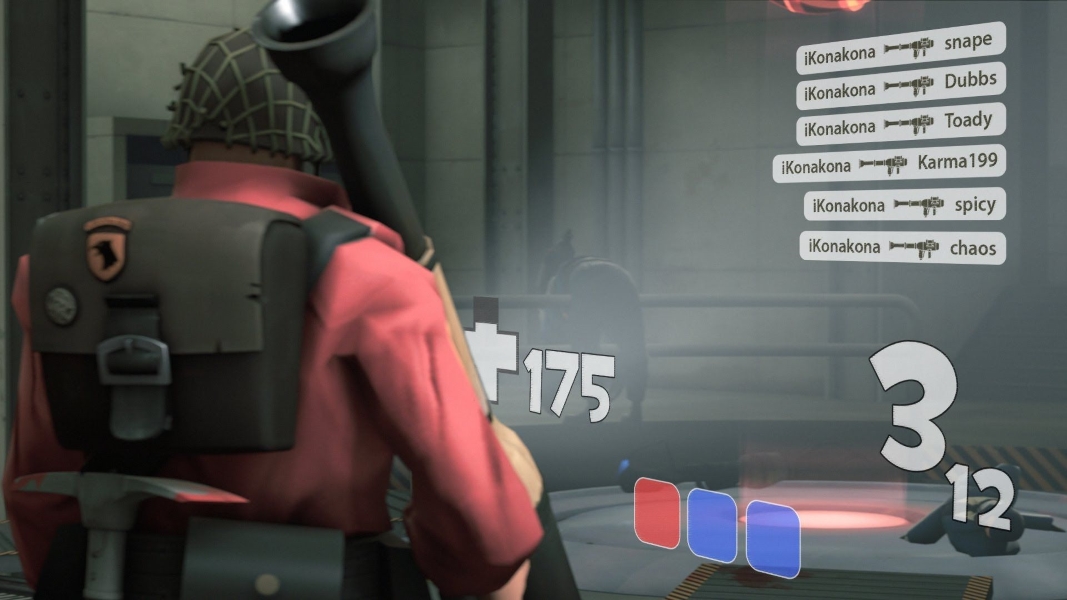
The Team Fortress 2 HUD is notoriously large. This is enough of an issue that there are several user made HUD replacements, however I’m here to tell you that you don’t actually need one. This setting is surprisingly obscure, and does what it says, makes the HUD minimal.
Advantages:
- Less garbage cluttering your screen
How to apply:
- Go into advanced options
- Check the box that says “Enable Minimal HUD”
11. Lower Your Graphics
By default the game will optimize itself for whatever framerate your monitor is, however it won’t take into account that you may have other programs open in the background, or that in some scenarios there will be too much going on to hold that framerate. I’d recommend lowering the graphics settings until you hit double your monitor’s refresh rate.
Advantages:
- Get a higher framerate
How to apply:
- Go into settings
- Head over to video
- Go into advanced
- Lower everything
10. Set a custom crosshair
I actually don’t remember what the default crosshair is, but I remember it wasn’t that good. What you set your crosshair to is up to personal preference, but as a general rule it should be a color that shows up on everything (like lime green), and it should be small.
Advantages:
- Better aim
How to apply:
- Go into settings
- Go to Crosshair Appearance
- Change as desired
9.Enable the developer console

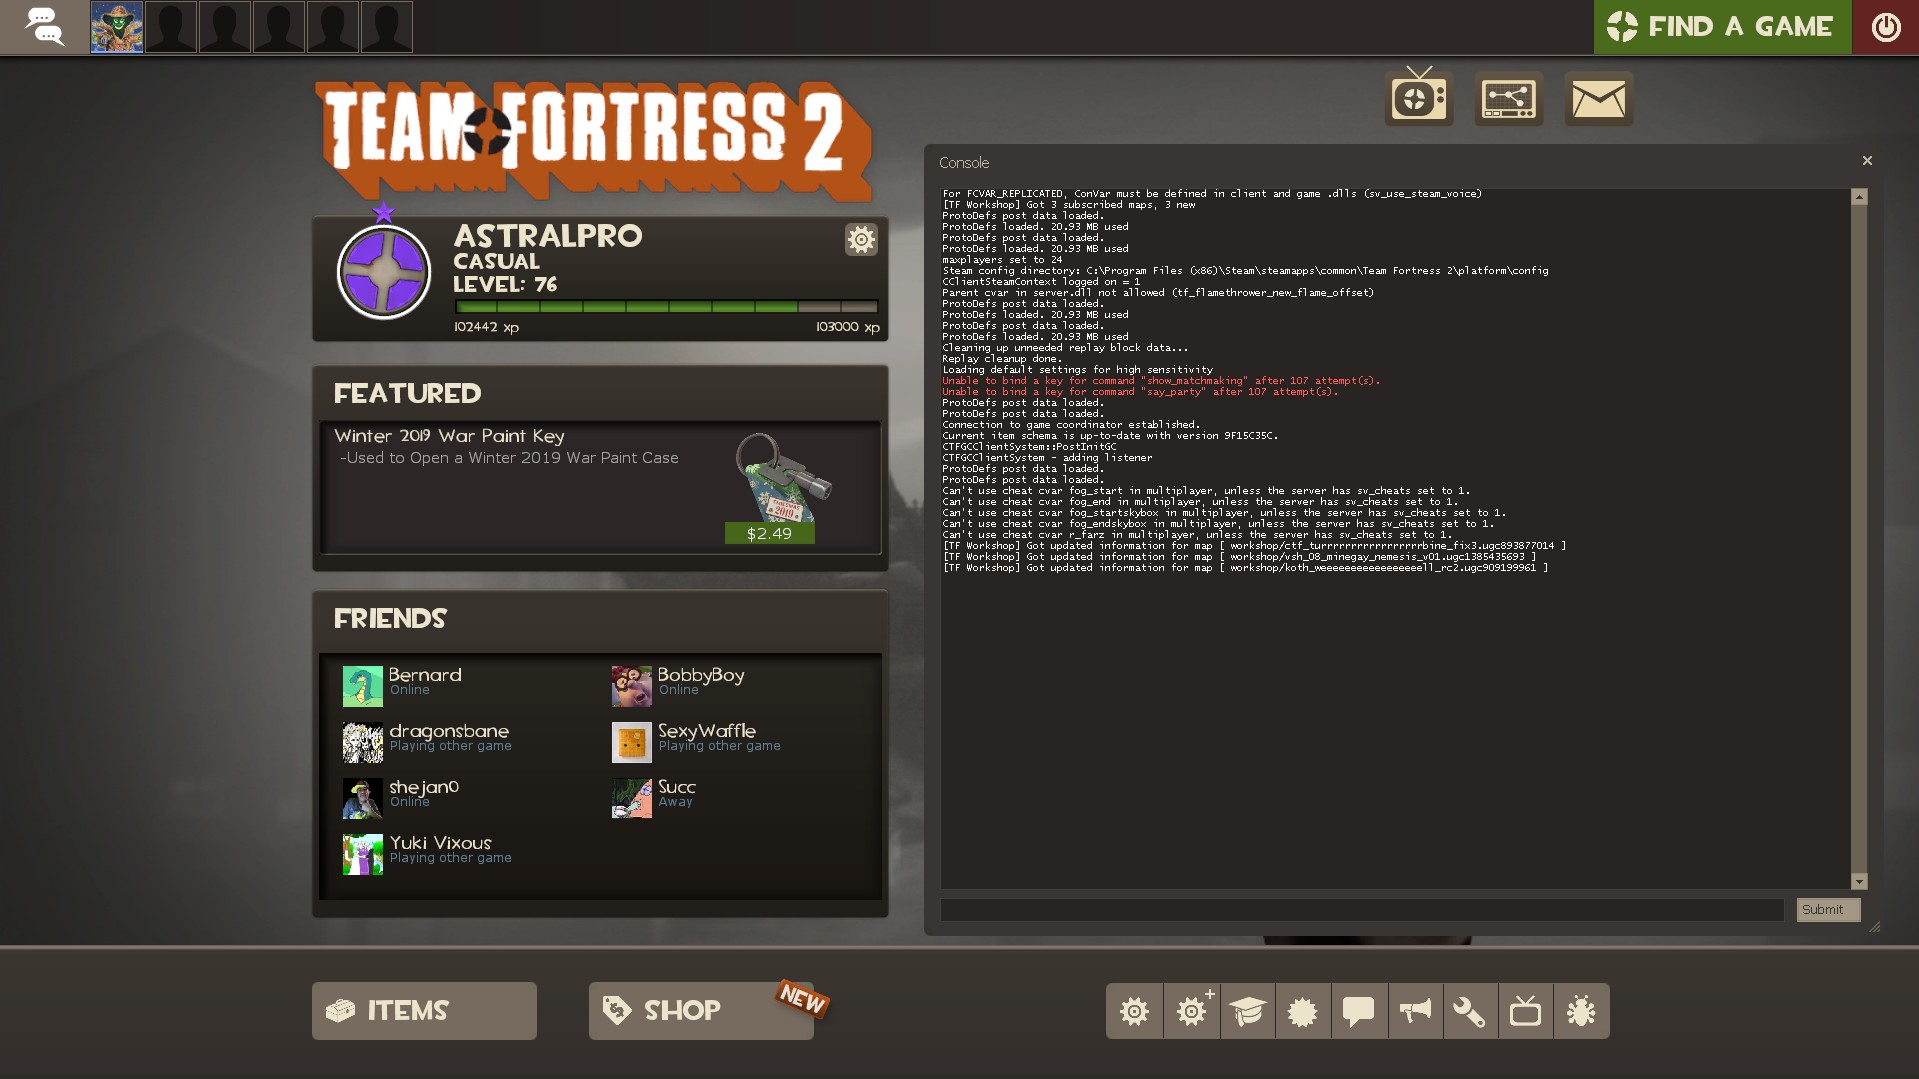
The developer console is a really useful tool that sounds a lot more intimidating than it actually is. It allows you to mess with settings that you can’t otherwise, some of which I’ll be telling you to change later in this guide.
Advantages:
- More control over your game
How to apply:
- Go into settings
- Go to keyboard
- Click on advanced
- Click on enable developer console
8.Set A Kill Bind
This isn’t used much, but when you find yourself in a situation where you need it, you’ll feel good for having it. A kill bind is a key binded to the console command ‘kill’ which kills the player, effectively making it a suicide button. I personally keep mine on p because it’s away from my other keys.
Advantages:
- Die at will
How to apply:
- Open the developer console
- Type in ‘Bind “[key you want]” kill’
- Press enter
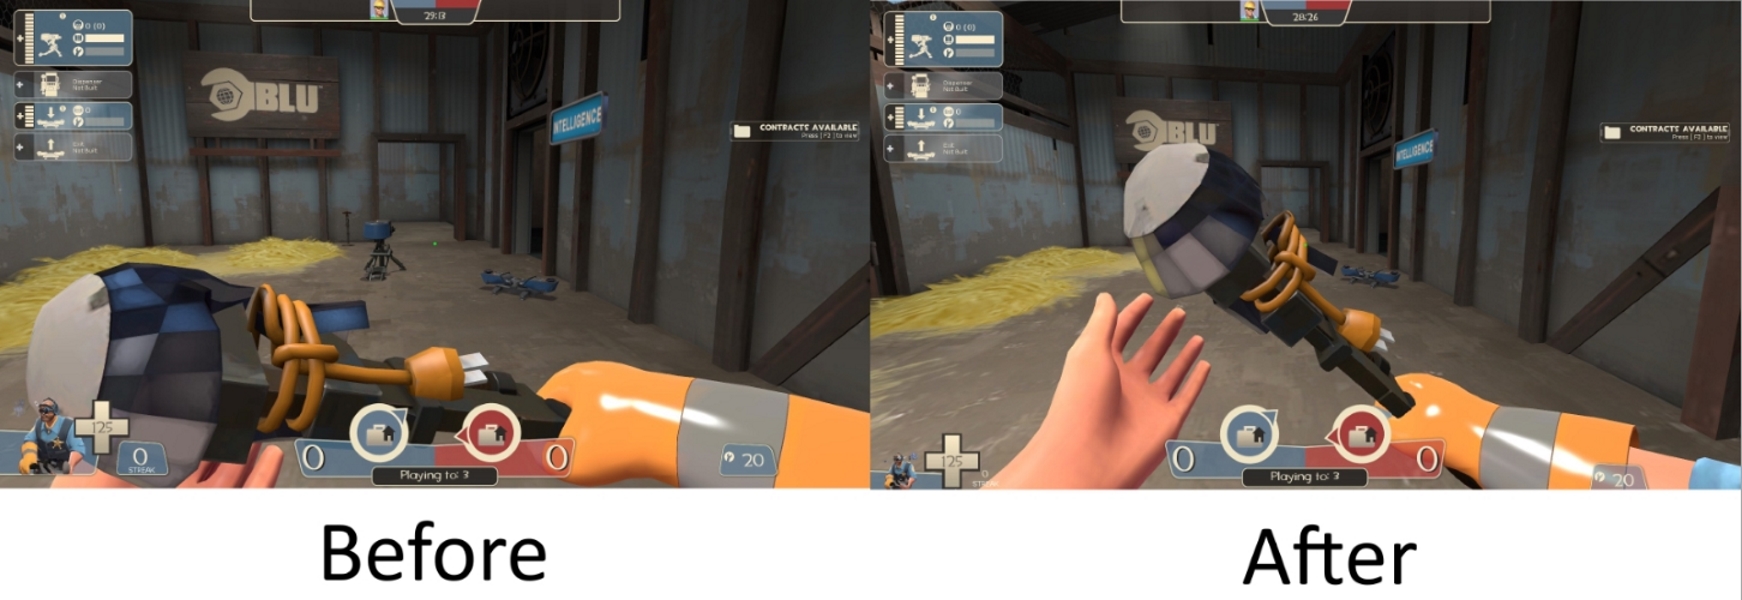
7. Use Minimized Viewmodels
Your viewmodel is the model you view of your character holding his weapon. By using a minimized version you’ll have less obstructing your view.
Advantages:
- Less obstructed view
How to apply:
- Go into advanced settings
- Enable “Use minimized viewmodels”
6.Set Building Binds
You can skip having to go into the build menu to make stuff as engineer using these binds, this is especially useful if you have extra buttons on your mouse, but it also works pretty well on the numpad.
Advantages:
- Less time spent to build
- Screen doesn’t get covered by build menu
How to apply:
- Go into developer console
- Type in ‘bind “[key you want]” build 0’
- Press enter then repeat the steps through build 3
5.set destroy binds
This is the same thing as the last one, but for destroying buildings instead.
Advantages:
- Less time spent to destroy
- Screen doesn’t get covered by destroy menu
How to apply:
- Go into developer console
- Type in ‘bind “[key you want]” destroy 0’
- Press enter then repeat the steps through destroy 3
4.Sniper Rifle Will Re-Zoom After Firing A Zoomed Shot
It can be pretty bad if you miss a shot or a bunch of enemies are near each other and you have to zoom back in and find where you were aiming again. Using this setting you automatically re-zoom.
Advantages:
- Get right back to sniping after firing
How to apply:
- Go into advanced options
- Enable “Sniper: Sniper Rifle Will Re-Zoom After Firing A Zoomed Shot”
3.Automatically Respawn After Loadout Changes In Respawn Zones
Sometimes you jump the gun on picking your class, and forget to switch loadouts, or you wanna change mid match. By using this option the loadout will change provided you’re in the respawn zone.
Advantages:
- Faster loadout changes
How to apply:
- Go into advanced options
- Enable “Automatically Respawn After Loadout Changes In Respawn Zones”
2.Play A Sound When The Sniper Rifle Is Fully Charged
Spending time watching the charge on your sniper rifle is a waste when you could be watching the head you wanna hit, this setting plays a sound when it’s charged so you don’t have to watch.
Advantages:
- You can focus more on sniping
How to apply:
- Go into advanced options
- Enable “Play A Sound When The Sniper Rifle Is Fully Charged”
1.Automatically Reload Weapons When You’re Not Firing
This one is more for convenience than getting a competitive edge, it makes it so you don’t have to manually reload.
Advantages:
- Don’t have to manually reload
How to apply:
- Go into advanced options
- Enable “Automatically Reload Weapons When You’re Not Firing”
You may also be interested in:
Team Fortress 2 Best HUDs (2020 Edition)
Team Fortress 2 Best Crates To Unbox [Top 5]
25 Best Team Fortress 2 Settings That Give You An Advantage
Team Fortress 2 Best FOV Settings That Give You An Advantage

