As is the tradition with every competitive game out there, tweaking the settings to give you the best performance is as important as playing the game itself. Not only will the visual performance increase, but the clarity and quality settings can be modified to fit the player’s standards. This article will go over the best Overwatch 2 settings to change that will either improve your FPS, give you better visual clarity, or be more convenient overall.
First off, check if your PC can handle the minimum requirements needed to run Overwatch 2 at Blizzard’s official website: https://us.battle.net/support/en/article/65159
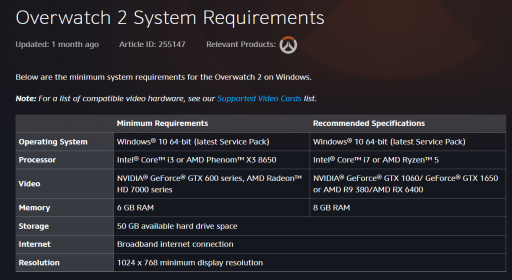
The default Overwatch 2 video settings are subpar and need a little fixing. Here are some of the popular settings to change to improve performance and FPS:
Under Video Settings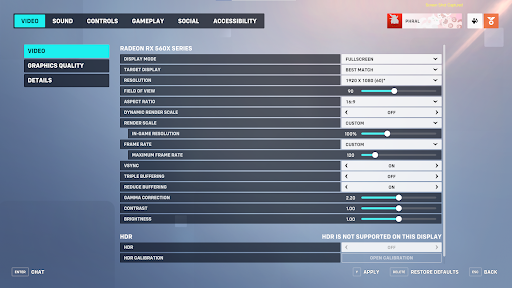
Display Mode: Full Screen
Always run competitive games in exclusive fullscreen mode for the best performance and less input delay compared to windowed or borderless windowed.
Resolution: Native Resolution
Every modern game functions best at native resolution. If you struggle meeting an FPS benchmark, it’s better to squeeze out performance from other settings rather than tweaking the native resolution.
Field of View: 90 or personal preference
The range of the field of view (FOV) in FPS games falls under the 75–100 mark, with popular titles defaulting to 90. The lower the FOV, the less you see, but your PC can output a few extra frames per second.
Render Scale: Custom at 100%
For some reason, the dynamic render scale is on by default and will render the game world depending on the FPS and spare GPU power that a PC has. If you're hitting over 60 FPS, it’s best to turn this setting off, whereas if you have a weaker machine that struggles to hit the 60 FPS mark, experiment between the 50%-100% range.
Frame Rate: Custom at your monitor’s refresh rate (60, 120, 144, etc.)
The frame rate is uncapped by default, which can lead to issues where your PC uses up all its available GPU power to output an unnecessarily high FPS and leads to heat buildup. Set the maximum frame rate to your monitor’s refresh rate to prevent this issue.
VSync: On if experiencing Screen Tear
VSync solves the screen tearing issue that certain players experience. Screen tear occurs when the top half of your monitor runs a frame out of synchronization with the bottom, causing a visible line or tear to appear. Turning it on will solve the issue at a small performance cost.
Triple Buffering: Off
Triple buffering can smooth out the frame rate and reduce screen tearing, but it can also cause noticeable input lag in some situations. Triple buffering also often requires a fairly powerful PC to run properly; hence, unless you're a professional player, it is best to leave this setting off.
Reduce Buffering: Preferably On
Reduced buffering reduces input delay by reducing the number of pre-rendered frames. If you have spare processing power, turning this setting on will make your game much smoother. If not, it’s better to leave this setting off.
HDR: Personal Preference
HDR may make Overwatch look better in some cases, but players report many problems and a washed-out aesthetic. Turning HDR on or off is a matter of personal preference.
Graphics Quality Settings
The quick TLDR is to leave every setting at its lowest possible configuration, except for anti-aliasing, which is up to personal preference.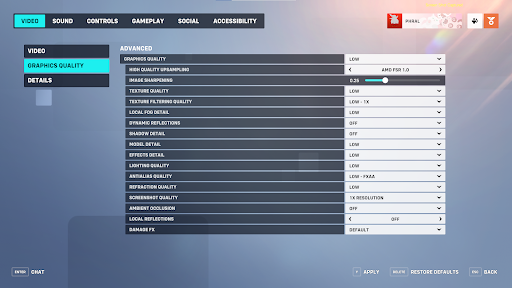
The graphical settings under this page will affect the visual quality of your game the most. Most streamers and pro-players leave everything on this page at its lowest graphic setting for maximum performance and to prevent GPU power from being wasted on aesthetics.
The only debatable setting here is Antialias Quality, as that setting dictates how diagonal lines will be rendered in the world. Leaving it off will have better performance at the cost of reduced visual clarity, so having it on is a necessity.
Details Setting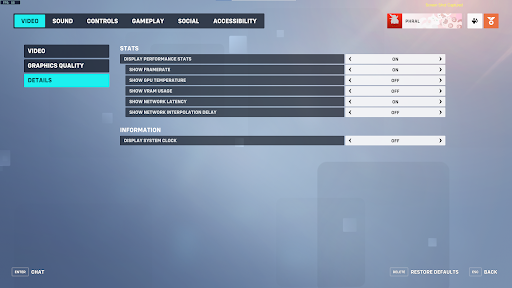
For 99% of the playerbase, having the FPS and network latency appear on the top left of the screen are invaluable tools for adjusting the visual settings and server latency.
Sound Settings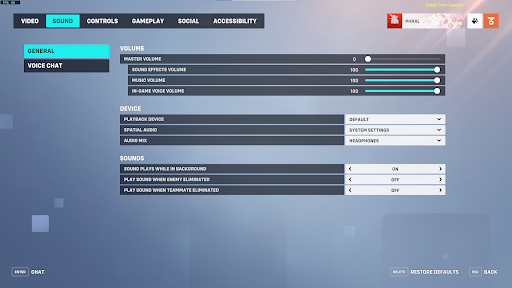
The only setting that may improve your gameplay is turning on sounds when an enemy or teammate is killed. This helps with awareness a bit but can be a tad annoying, plus consistently looking at the killfeed and scoreboard are options to help gather who’s alive and not.
Gameplay Settings
General Settings
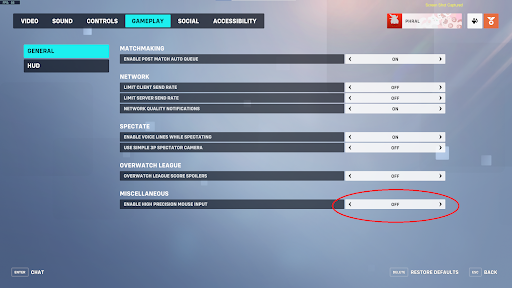
Enable High Precision Mouse Input: Off
Certain users reported that their aim feels sluggish and inconsistent compared to other games, and this is most likely due to the “High Precision Mouse Input” setting being turned on by default.
HUD Settings
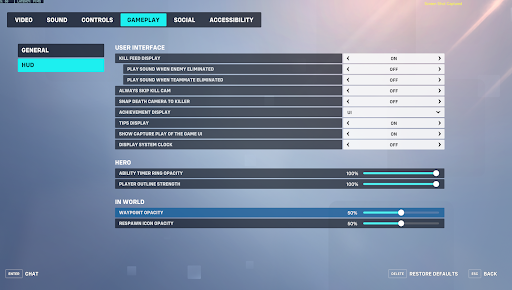
All of the settings here are up to personal preference, and I will explain the quality of life settings or settings to improve your awareness in the game below.
Play Sound When Enemy Eliminated: Personal Preference
A distinct ring will be played whenever an enemy or teammate is eliminated. It is up to personal preference depending if you wish to increase your awareness or if you have enough awareness that an audio cue would be overkill.
Waypoint Opacity: 25%-75%
Respawn Icon Opacity: 25%-75%
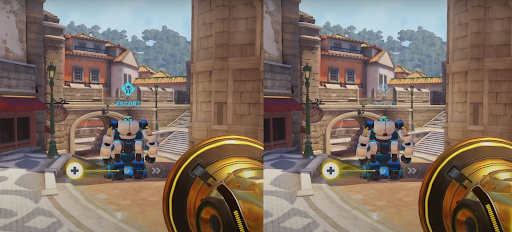
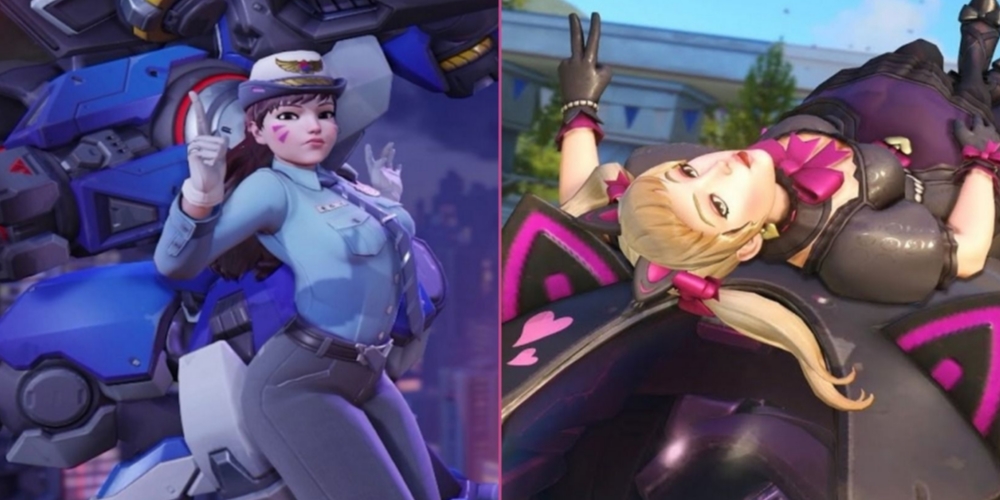
The left picture shows the default 100% opacity of the objective, and the right shows it at 25%. The lower the setting, the more enemies appear behind the icon, so this is an excellent setting to experiment with.
Accessibility Settings:
General Settings 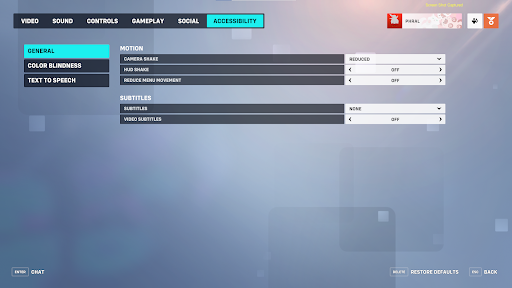
Camera Shake: Reduced
HUD Shake: Off
Reduce Menu Movement: Off
These 3 settings reduce unnecessary visual clutter and screen shaking that occurs whenever your character falls, gets knocked back, is crowd controlled, or experiences other forms of displacement.
Color Blindness
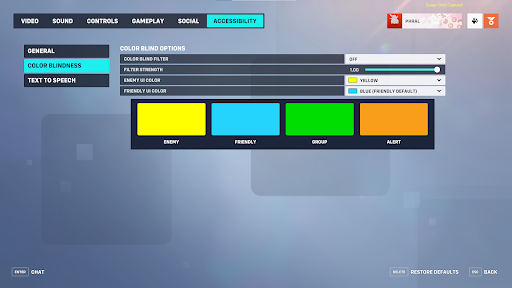
The ability to change your enemy outline to a more clear color or to turn the setting off completely by sliding the Filter Strength down to 0.01 are both options to tweak if you’re experiencing a hard time visualizing the enemy due to the outline.
Controls Settings:
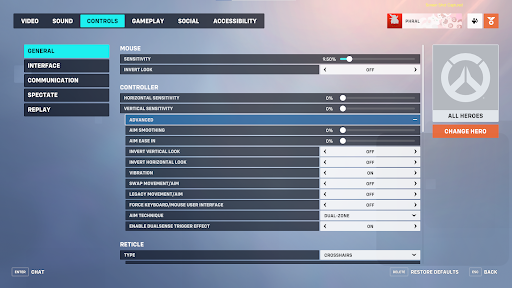
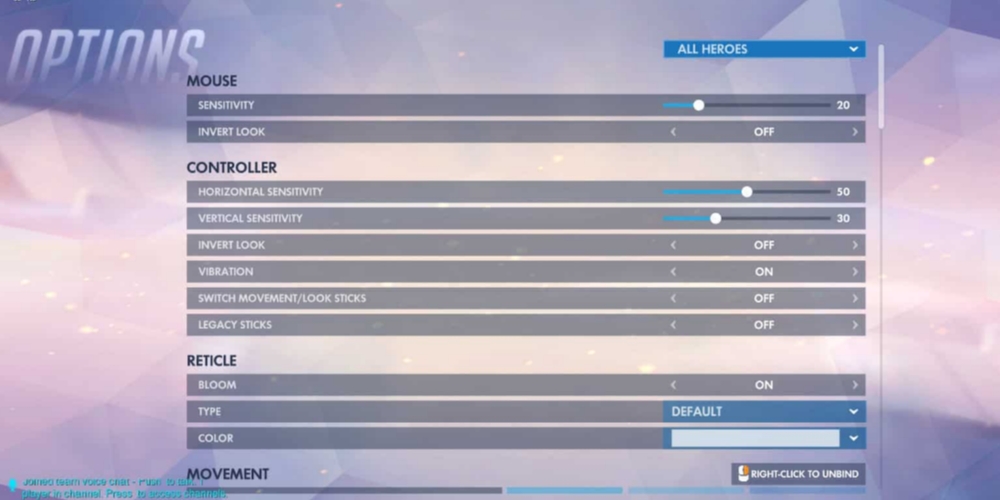
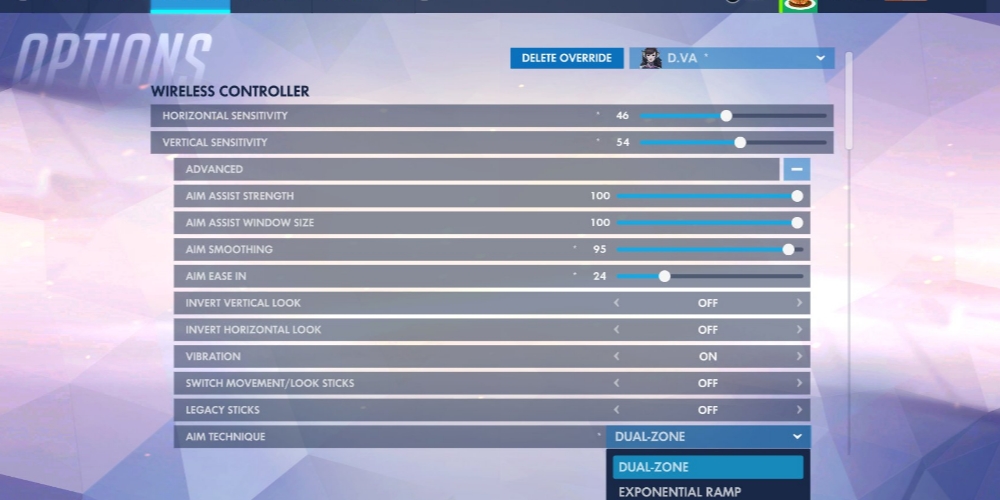
Controller: Aim Smoothing: 0%
A very small subset of keyboard and mouse users reported a bug where their cursor and gameplay felt robotic and sluggish. This is due to the Aim Smoothing setting in the Controller section being turned to 100%.
Show Friendly Outlines: Always
An extremely important setting that must always be enabled in order to increase your awareness of your allies' positions. This will decrease performance a bit, but every streamer and pro player has this setting on.
Every other setting in this page are up to personal preference, but I will share some of my recommended settings to change
Jump: Mouse Wheel Down
Bunny Hopping and Air Strafing are movement options that are available in this game, and binding jump to mouse wheel down makes the advanced movement options possible. This setting also helps with Lucio’s wall running.
Quick Melee: Mouse Side Button
By default, the melee key is bound to V, which can be inconvenient for players, and with how essential melee attacks are to certain heroes, binding it to one of your side buttons can shave off a few milliseconds.
Voice Chat: Mouse Side Button
Communication is a key aspect of playing competitive FPS games, and Overwatch 2 is no exception. Over the years, I've found that binding the voice chat to the mouse side button is significantly more convenient than pressing a key on the keyboard.
Also be sure to read:
- Overwatch 2 Top 10 Powerful Beginner Heroes
- Overwatch 2 All Tank Heroes Ranked
- Overwatch 2 Best Flanking Heroes
- Overwatch 2 Top 10 Attackers Ranked By Power
- 10 Reasons Why Overwatch 2 Is Bad And How To Make It Better
- Overwatch 2 Most Annoying Heroes
- Overwatch 2 Most Popular Heroes And Why They're Popular

