Welcome to the Shadow lands

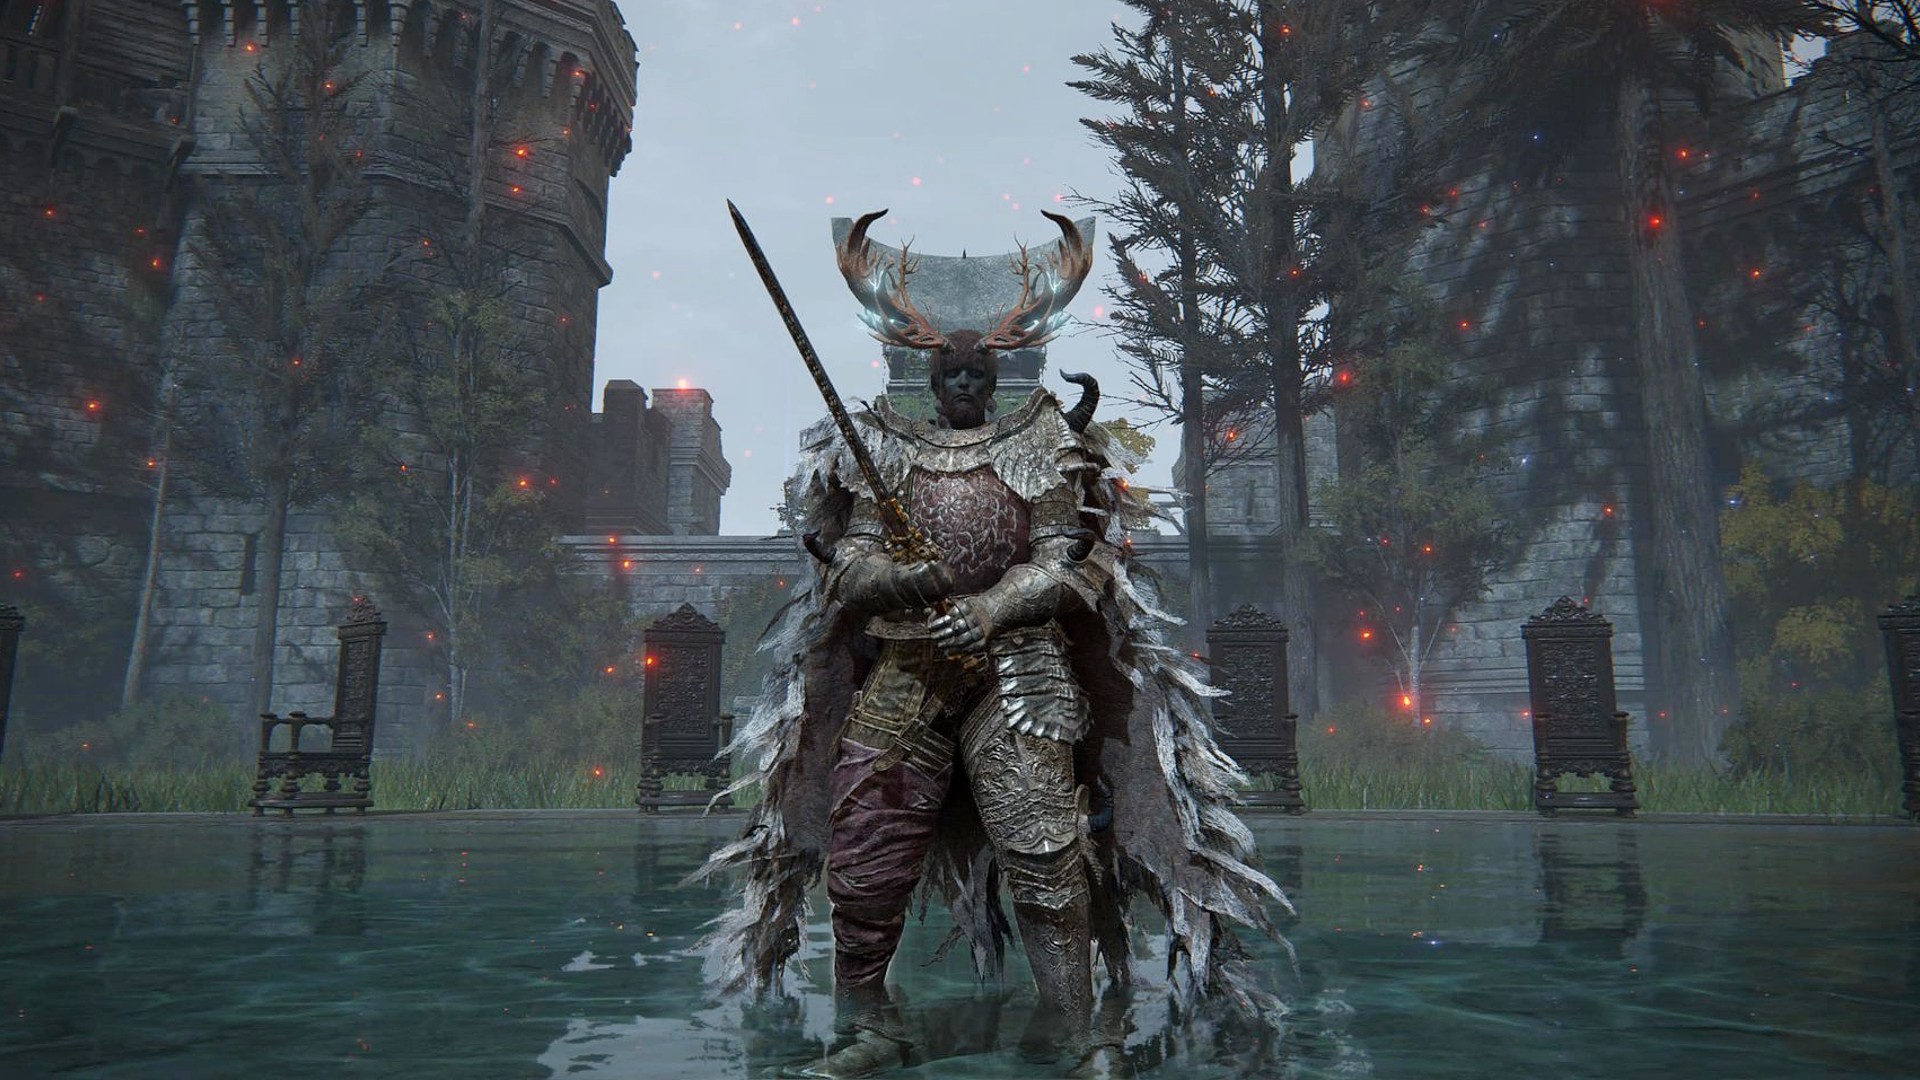
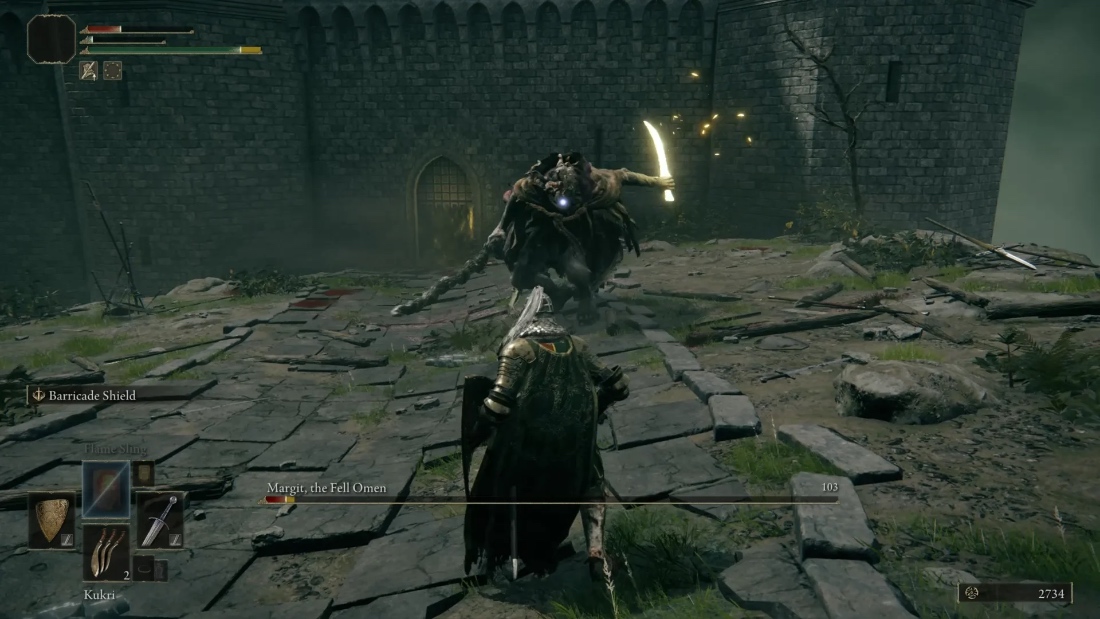
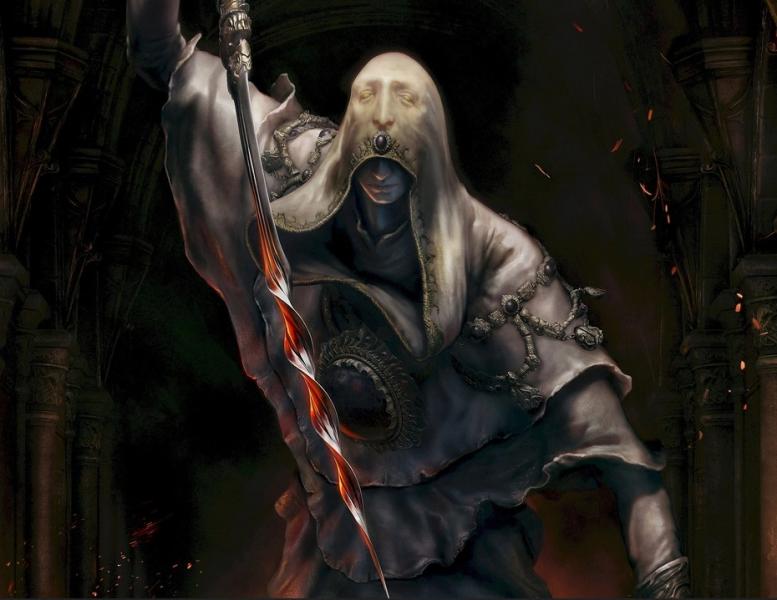
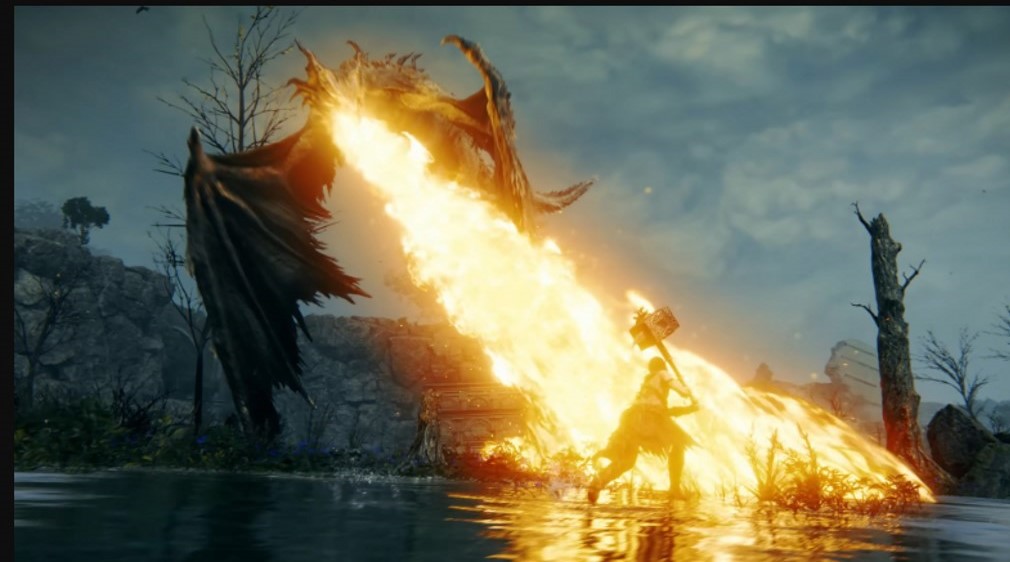
The Shadow of the Erdtree more than lived up to the original game by giving Elden Rings fans a whole new host of tough bosses, plenty of new adventures, some great new lore, and of course, a whole host of new weapons and armor. This new gear has brought with it, the inevitable creation of dozens of new builds to match the new prizes that we gather and use.
Playing the Shadow of the Erdtree and Picking your Build
The Shadow of the Erdtree brought to us so much great new content that it was hard not to be sucked in, down the rabbit hole. On top of that, we saw whole new play styles come in with some amazing new weapons that turned the old game on its head. Right off the bat, we have some powerful new additions in the form of the Smithscript weapons, and the new Messmer spells. Fire builds saw a huge buff to their arsenal as well with the Messmer flame options. That's not even accounting for the new bows with their exciting new variations on skills, the creation of the new Great Katanas, Backhand Blades, Hand to Hand Arts, Thrusting Shields, and so much more.
So how do you go about picking your builds? We all know the basics: The sword-and-board, the samurai, the paladin, the spellblade, archers, berserkers, barbarians, and rogues. These collectively make up a covering of your dual wielding players, range players, magically inclined players, your big-and-heavy players, and your sneaky players. These all got their boosts in the new game, and in some cases we even see a bit of a hybrid between the samurai and the sword and board if the player decides to get the decidedly Sauron-themed Armor of Night. On top of that, we see some blends into what can only be called a play on the zanbato-player, and if that doesn't top it off, we even get to turn into dragons now.
Picking your build really will come down to how much of a blend you really want to have between your old player and an all new experience. But if you're really looking for something interesting, why not try the new ninja builds? Or if you've had a hard time choosing between sorceries and incantations, maybe you'll be relieved to hear there's now a staff that does both. There's so much, it's hard to not get lost in the shuffle, but remembering to stick to your strengths and your stats can be a big factor.
Choosing your Top 5
There's no real right answer to the best of the new builds quite yet, because we are all waiting for the last of the infamous nerf hammers to fall. They have to, otherwise the number one build on this list would probably be the Carian Thrusting Shield video. The build was essentially stacking enough armor for poise, and then two handing the new thrusting shield to get an excessive amount of blocking power while being able to stab the opponent for overwhelming damage repeatedly.
There have already been two updates since the initial build posting showed up on youtube, and had several articles written about it already, which is how I found out about it myself. But even now, my once OP Carian Thrusting Shield build has suffered some hits on the hyper armor and damage dealing, and there are sure to be more to come. That being said, the Carian Thrusting Shield is literally so good that it's likely to make several hoplite builds in the near future for intelligence players and strength players alike.
For the purpose of these Top 5, I focused on the best builds that I've seen that have withstood the power of the nerf hammer so far, and will likely get buffs in the near future as well. We inevitably see weapons get faster cooldown rates and slight damage increases, and on top of that, we almost always see some note that says as of some patch or another, the damage for spells has been increased while the FP cost has been decreased. That primes up any of the spell heavy builds for a bright future. Will this list stay constant? No doubt it will be interesting to see how well it ages. But without further ado, I give to you, my top 5 new strong builds of the DLC!
5. Storm Samurai
What is the Storm Samurai
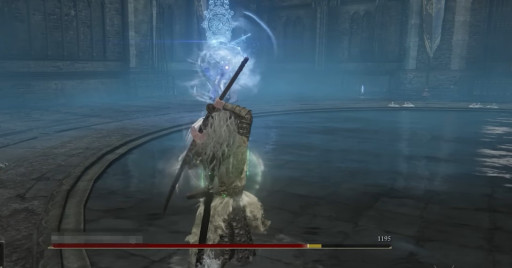
The Storm Samurai is the name given by Fextralife to a build that focuses around the use of the new katanas and great katanas, along with the new storm warrior armor. We get to deal with some Divine Beast enemies in the shadow lands that bring back fond memories of Breath of the Wild, and it gives us the Divine Beast armor, as well as the Enraged Divine Beast Talisman. These couple with a few ashes of war that end up making a samurai build with extra bow damage, and a new katana that can pummel enemies for all kinds of different types of damage.
Why to Play the Storm Samurai Pros and Cons
- We all love a good Samurai build, and they usually have at least one that can make the top of the list, just because they have all around good utility. The Storm Samurai is no exception, because it's a natural evolution of the main base Samurai concept and the storm build.
- Most of the gear can be found early in the DLC, with the exception of the Divine Beast Helm which requires some story work. That said, there is another helm option fairly early in the game, although its a bit clunky and definitely heavy armor status.
- One of the great things about this build is the ability to just deal straight damage in one way or another. If we double up on the Cross-Naginata it can get even more interesting
- This build isn't the hardest hitting of the new DLC builds, and sometimes it can feel like it falls short until you get the hang of it. It still gets the job done, but even at its strongest, it's tricky to crank out those 20k screencaptures we see in the videos. I often see mine land somewhere about 2k, which is still really formidable in most cases.
Weapon Loadout:
1. Great Katana
- Requirements: 14 Strength, 18 Dexterity
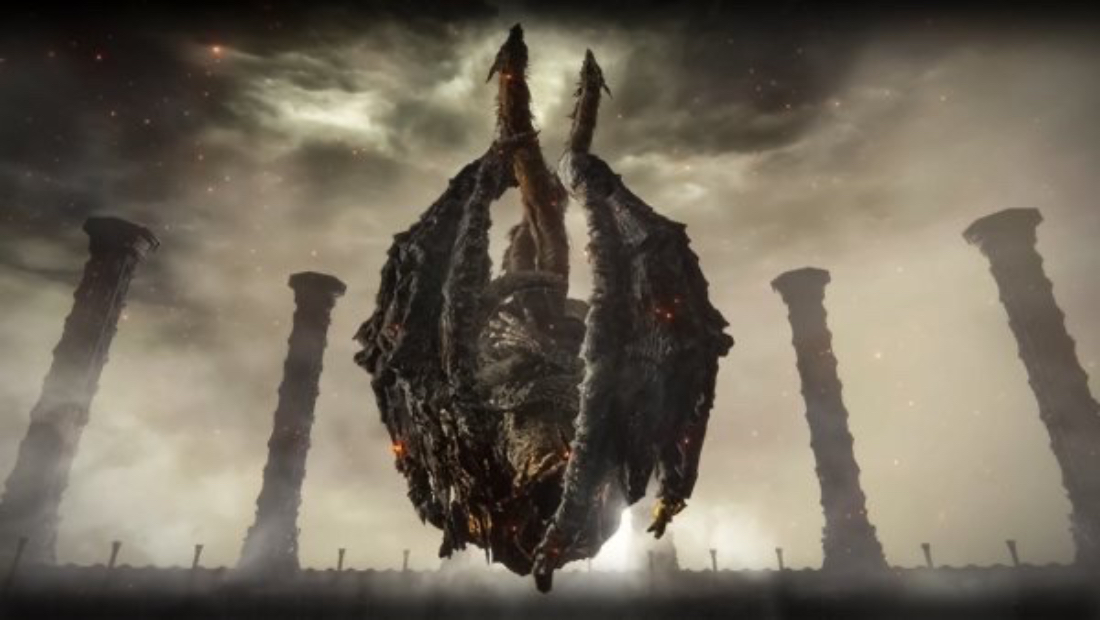
This is one of the newer weapons in the game and it can actually be picked up fairly early in the DLC starting area. Granted, there is a giant undead dragon around, but hey. Nothing ventured, nothing gained. That's definitely true in the Lands Between and the Shadow Lands, with a really strong new katana as a prize.
Not only is the Great Katana a bigger, meaner, greatsword version of a Katana, it hits a whole lot harder than the Flamberge does as well. The reason that's important, is because this build is the all new Samurai version of an old storm build that used to exist. For this build we give the Great Katana the Storm Blade ability and then tweak the affinities for whatever we need in the part of the game that we're in. This is great because a lot of the new DLC bosses are actually weak to holy damage which means that we have a reason to use this elemental damage at last. But that also means we can give the blade fire, lightning, and bleed if we need to. The point is that storm attacks will get a 14% buff thanks to the new talismans and armor, on top of the fact that this weapon gets buffs from talismans like Shard of Alexander.
The Storm Blade is also a pretty wicked and fast paced skill that can shred even tough bosses pretty easily, as seen in the Golden Hippo demonstrations floating around on Youtube that serve to make the rest of us wonder how we had such a hard time with the boss. Luckily, this is one tool that seems to be suited for the job. And the fire affinity can prove to make for a powerful duo with the Zamor Curved Sword.
2. Albinauric Bow
- Requirements 7 Strength, 18 Dexterity
Normally I'm a fan of the Black Bow for most builds, but in this case we're really trying to get the most bang for our buck with each shot. The Albinauric bow can be enchanted with multiple ashes off war, which makes it more diverse than the Pulley bow, and it's also harder hitting than any other bow. That just makes it good for what we need, here.
The Albinauric bow is always something of a disappointment to me in how late in the game it appeared, but with the new DLC, I finally feel like I'm getting some much deserved mileage out of it. Since it pairs well with the Stormwing Bone Arrows here, it makes for a good main bow to our build.
3. Pulley Bow
- Requirements : 11 Strength, 11 Dexterity
If you're going to turn this into a sniper build at all, the Pulley Bow is the best choice for the job. Not only does it have pretty much the longest range of any bow in the game, it also is one of the hardest hitting too. That puts it pretty much 2nd after the Albinauric bow in terms of damage with a longer range that can be boosted even further by the new talismans. Since this is a good build for getting that sniping in, the Pulley bow with its +5 range on other bows, also gets an extra 10% arrow flight, 50% total range increase, and 28% damage increase with the full archery loadout for this build. That's nothing to sneeze at when you realize that's not accounting for precision aiming those headshots with the 12% bonus that comes from that.
4. Zamor Curved Sword
- Requirements: 16 Strength, 18 Dexterity
We love the Zamor Curved Sword for a lot of reasons. It's already a great sword for a lot of builds, but it comes with a special ability, Zamor Ice Storm. This skill sees a boost in damage from the Enraged Divine Beast talisman, but on top of that, the player can use this skill twice for every once that a mage can cast it. That just makes it so convenient.
On top of that, this is a weapon that deals frostbite. The new Great Katana is also conveniently a weapon that can be given flame affinities pretty easily. It makes for a pretty sweet combo to be able to get up close and freeze the enemy before stepping back to shred them with blows from Stormcaller.
5. Cross-Naginata
- Requirements: 16 Strength, 20 Dexterity
The Cross-Naginata is a weapon that is pretty much a staple in every good samurai build, and it sees some use here because it can be given storm abilities that receive a buff from the Enraged Divine Beast talisman and the Divine Beast Helm. It can be left off the build pretty easily, but given the fact it can be given powers like Seppuku as well as storm abilities, it can always be used for that much needed edge in the boss fights.
Gear Loadout:
Helms
- Divine Beast Helm- Increases strength, dexterity, and the power of storms by 4%
- Rakshasa Helm- Increases damage dealt and received by 2%
Armor
- Divine Beast Warrior Armor- the armor that is included in the set with the Divine Beast Helm
- Rakshasa Armor- Increases damage dealt and received by 2%
- White Land of Reeds Armor
Gauntlets
- White Land of Reeds Gauntlets
- Fingerprint Gloves
- Horned Warrior Gauntlets
Greaves
- Fingerprint Greaves
- Blaidd's Greaves
- Radahn's Greaves- Heavy armor boots with good poise
Extra Essentials Loadout
Ammunition
1. Stormwing Bone Arrows
- 58 Physical
Stormwing Bone Arrows are an arrow that I already favor thanks to the fact that they fly 10% farther than normal arrows and they do double the poise damage. However, on top of that, Fextralife has the Stormwing Bone Arrows as now doing 58 physical damage instead of 55, which was already 10 higher than normal arrows. On top of that, these arrows are specifically buffed by the Enraged Divine Beast talisman and the Divine Beast Helm which were both released in Shadow of the Erdtree.
Since Samurai builds all make use of a main katana, a main polearm, and a main bow, for this build we're going to just pick the bow that works the best for us.
Spells
1. Golden Vow
- Requirements: 25 Faith
- Spell Description – Boosts damage dealt by 15% and reduces damage received by 10% for 80 seconds
Talismans
- Two-Handed Sword Talisman
- Shard of Alexander- Increases the damage of skills by 15%
- Enraged Divine Beast Talisman- Increases the damage of storms by 10%
- Arrow's Soaring Sting Talisman- increases the range of bows by 50% and the damage of arrows by 8%
- Sharpshot Talisman- Boosts the attack power of precision aimed arrows by 12%
- Arrow's Sting Talisman- boosts the damage of arrows by 10%
- Talisman of Lord's Bestowal- Increases poise by 54% after using a flask of tears
- Verdigris Discus- Raises defense with higher equipment load
- Blade of Mercy- Raises attack power by 20% after each critical hit
- Erdtree's Favor- Raises maximum HP, Stamina, and equip load
Stats
- 50-60 Vigor
- 28-35 Mind
- 35 Endurance
- 18-25 Strength
- 80 Dexterity
- 16-25 Intelligence
- 9-25 Faith
- 9-18 Arcane
Credits for the Build:
Samurai Build Fextralife
https://fextralife.com/elden-ring-samurai-build-guide/
Storm Archer by Fextralife
https://fextralife.com/elden-ring-ansbachs-longbow-build-storm-arrow-shadow-of-the-erdtree/
Storm Samurai by Fextralife
https://fextralife.com/elden-ring-storm-build-guide-storm-blade-samurai-shadow-of-the-erdtree/
Dragon Destroyer by Fextralife
4. Colossal Devastator
What is the Colossal Destroyer
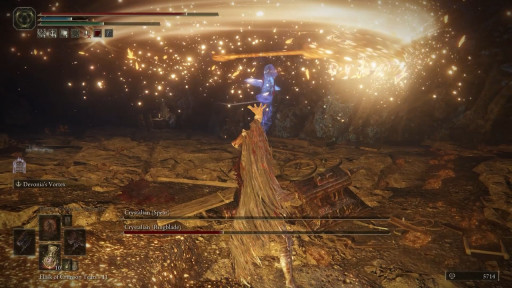
There's no complete list without a big heavy damage dealer floating around on it. For that list, this is basically the build that runs around with the new hefty crucible knight build inspired by Devonia. We once again see the return of some of the Aspect of the Crucible spells, as well as some new options from Shadow of the Erdtree such as the Thorns and Bloom incantations. We also see some range in the Land of Shadow incantation but for the most part, the Aspect of the Crucible is our bread and butter offensive.
Why to Play the Colossal Destroyer Pros and Cons
- This build hits hard, and I do mean hard. We see some showcase videos hitting upwards of 20K when using the special attacks for this build. So it's great for the damage dealing, it really is. No matter how you look at it, even in lighter armor you're likely to shred your opponent.
- The downside to this build is you're not going to make it work without taking hits. If you're not an aggressive player, this really isn't the build for you. There's a lot of damage trading, which means you're going to need heavier armor, or you're going to need to be very very clever about the jump attacks.
- This is also a build that requires a deceptive amount of precision. Even in the original build videos, you hear most of the players talking about trading damage and ending up, quite often, on the wrong side of it. This makes it a skill build for sure, but it's fun.
- The Crucible spells and skills are all fantastic, just in general, and they make a big comeback here. Now that we have an even stronger armory, this just becomes a fun way to play with a boost to old favorites.
- The new weapon options for this build are pretty powerful and offer a bunch of aggressive, but diverse ways to go after an opponent. If you're looking to figure out different approaches, this definitely has a few flashy ways to deal with tough foes.
Weapon Loadout:
1. Greatsword
- Requirements: 31 Strength, 12 Dexterity
This weapon is back at the top of the list thanks to the new Spinning Gravity Thrust ash of war. It's like someone gave Guts a magical gravity damage pile drive and told him to go wreck gods. This isn't the original weapon of the build, but it sure makes for a great showcase in a build like this.
2. Devonia's Hammer
- Requirements: 30 Strength, 13 Dexterity, 19 Faith
This is the original bread and butter of the build, coming to us from the Devonia Devastator build by Fextralife. It has a powerful hammer charge up ability called Devonia's Vortex and essentially annihilates large foes with huge amounts of damage. That being said, this does have a long wind up time, which means being able to take hits and trade damage is vital for this build.
We also see the added benefit that the Crucible Axe armor set actually does boost this skill, on top of the power of the Godfrey Icon, Shard of Alexander, and any number of skill boosting talismans in this build.
3. Ancient Meteoric Ore Greatsword
- Requirements: 35 Strength, 10 Dexterity, 19 Arcane
The Ancient Meteoric Ore Greatsword is the fun new charging weapon that gets boosts from a two-handed talisman and the spear talisman. On top of that it scales well with both Strength and Arcane, which opens up this build just a little bit for some Dragon Communion incantations or just some straight, Bayle's Tyranny.
On top of that we get a fun new ability called White Light Charge which gives us a long charging attack. This attack hits more than once, and even creates an explosion of white light that can be pretty devastating to the enemy and costs only 10 FP to use.
Gear Loadout:
Helms
- Crucible Axe Helm- Increases damage from Aspects of the Crucible incantations by 4%, while weighing less than other Crucible options.
- Rakshasa Helm- Boosts all damage dealt and received by 2%
- Royal Remains Helm- Slowly increases health when depleted.
- Fire Knight Helm- Increases Maximum HP 2%, Stamina 5%, and Equip Load by 4%
- Curseblade Mask- Increases Dexterity +5, but reduces flask value by 7%
Armor
- Rakshasa Armor- Boosts all damage dealt and received by 2%
- Crucible Axe Armor- Boosts all damage from Aspects of the Crucible Incantations by 4%
- Young Lion Armor
Gauntlets
- Rakshasa Gauntlets- Boosts all damage dealt and received by 2%
- Crucible Gauntlets- Strengthens Aspect of the Crucible Incantations
- Radahn Gauntlets
Greaves
- Rakshasa Greaves- Boosts all damage dealt and received by 2%
- CrucibleGreaves- Strengthens Aspect of the Crucible Incantations
- Radahn's Greaves
Extra Essentials Loadout
Spells
1. Golden Vow
- Requirements: 25 Faith
- Spell Description- Increases damage dealt by 15% and reduces damage taken by 10%
2. Flame, Grant Me Strength
- Requirements: 15 Faith
- Spell Description: Increases physical and fire attack by 20% for 30 seconds.
3. Aspect of the Crucible: Thorns
- Requirements: 27 Faith
- Spell Description: Creates a mass of bristling thorns on the back to fire across the area.
4. Aspects of the Crucible: Horns
- Requirements: 27 Faith
- Spell Description: Summons large shoulder horn to charge and gore enemies
5. Aspects of the Crucible: Tail
- Requirements: 27 Faith
- Spell Description: Creates a large tail to sweep the area around the caster for physical damage.
Talismans
- Two-Handed Talisman- Enhances attacks with two-handed weapons by 15%
- Shard of Alexander- Increases skill damage by 15%
- Godfrey Icon- Increases charged spells and skills by 15%
- Great-Jar's Arsenal- vastly increases equip load
- Dragoncrest Greatshield Talisman- reduces physical damage taken by 20%
- Spear Talisman- increases damage dealt by thrusting attacks
- Claw Talisman- Increases the damage of jumping attacks.
- Verdigris Discus- Raises defense with higher equipment load
- Blade of Mercy- Raises attack power by 20% after each critical hit
- Erdtree's Favor- Raises maximum HP, Stamina, and equip load
- Holy Scorpion Talisman- Increases holy damage dealt by 12% and damage taken by 10%
Stats for the Build
- 50 Vigor
- 25-35 Mind
- 35-60 Endurance
- 80-99 Strength
- 13- 35 Dexterity
- 16-25 Intelligence
- 25-65 Faith
- 19-22 Arcane
Credits for the Build:
Devonia Devastator by Fextralife
https://fextralife.com/elden-ring-devonias-hammer-build-devonia-devastator-shadow-of-the-erdtree/
3. Rellana's Carian Spellknight
What is the Rellana Carian Spellknight
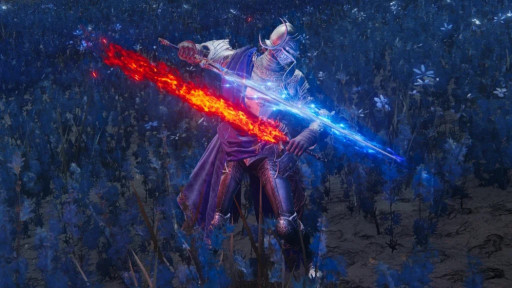
We had the Sword Sage, and now with the Shadow of the Erdtree, Rellana has given us an all new boost in the Carian Spellknight. The Shadow of the Erdtree introduced us to a lot of new weapons and weapon types, and that included the Light Greatsword. All they really are is an upgrade of the Heavy Thrusting Sword into a new greatsword hybrid that functions more like a straight sword original move set. It's a bit strange at first, but it's overwhelmingly powerful and it wipes enemies off the board fast.
Not only that, we get a new version of the Night and Flame stance, which gives us a rapid slicing magic ranged attack, and an overwhelming inferno in the flame attack that clears out trash mobs fast. Rellana's blades are overwhelmingly powerful for the most part, and I found myself using them throughout most of the DLC, even when I was trying to get a feel for new builds along the way. When in doubt? Rellana's Twin Blades served the way.
This is also a Spellblade build, and with that we saw a bunch of new sorceries, and the addition of a new staff that casts both Incantations and Sorceries. It suddenly got a whole lot easier to transition from Golden Vow, and Flame, Grant Me Strength, to Comet Azur, Terra Magica, and Carian Phalanx. That means that Spellblades have all the power of the Paladins, and the Paladins now have access to their forbidden sorceries. Radagon would be pleased to see so many learning both like he did.
Why to Play the Rellana Spellknight Pros and Cons
- If you're familiar with the sword sage and the death mage builds that were some of the tougher spellblade builds that Fextralife produced, then you're familiar with all the necessary play style notes you need for this build. Rellana's Twin Blades is just a light greatsword version of the Sword of Night and Flame, with the added bonus that it can be dual wielded while only taking one hand slot.
- I can't emphasize how much I love the fact that you get two light greatswords for the price of one weapon slot. The two handed version of the blades pulls the extra sword off the back, but it also means that you can easily run a secondary weapon in the offhand. When I originally worked on this build, I actually ran the Sword of Night and Flame as my primary hand weapon and my Rellana Twin Blades as my offhand weapon, just because I could two hand but access the Sword of Night and Flame whenever I wanted access to the Comet Azur skill.
- The sword style for the light greatsword actually functions more like the thrusting blades than it does the normal swords or the greatswords. That isn't actually a problem, but it can make it a bit of a transition in play styles.
- When in doubt this build actually comes equipped with it's own backup in the M'lady sword. Tip your fedoras now, because this sword does some great physical damage and powerstances with the Twin Blades. That means that it can be swapped around cleverly to allow the weapons their own special attacks, which adds one more skill to the arsenal in tough situations.
Weapon Loadout:
1. Rellana's Twin Blades
• Requirements 12 Strength, 16 Dexterity, 16 Intelligence, 16 Faith
Rellana's Twin Blades are the star of this build, because they basically function as the stronger version of the Sword of Night and Flame. It also comes with a new stance special ability called the Moon-and-Fire stance which gives us an AOE fire special heavy attack, and a multiple slashes magic attack that does range and has good stopping power too.
These blades are even more interesting because they build around the scaling that is used on them. Each of the swords is always wielded in one hand or the other, always the left for the Fire blade, and the right for the Magic blade. This is actually relevant to which hand you carry them in, because the blades scale based on what hand they are dominantly equipped. The fire blade scales with faith, while the magic blade scales with intelligence. This matters a lot depending on which build you equip them in, but since we scale both of them equally for the Staff of the Great Beyond, it balances out for this build.
2. Sword of Night and Flame
• Requirements: 12 Strength, 12 Dexterity, 24 Intelligence, 24 Faith
The Sword of Night and Flame is the original weapon for the sword sage build, and that's still a legacy weapon in this build. The reason for it is because this build benefits greatly from magic and fire damage, which this sword does both of. On top of that, it gives us the Comet Azur on a stick, and we get to add it and a concentrated flame damage option to our bag of tricks. We already scale Faith and Intelligence equally in this build, so this sword sees the dame benefit here.
3. MiLady
• Requirements: 12 Strength, 17 Dexterity
The Milady is another light greatsword and it pairs great with the Rellana's Twin blades. Granted, this blade is the only real reason to scale Strength and Dexterity much, but it serves as a really good balance weapon. It can be given any type of Ash of War to buff it up which means it can be scaled with magic or fire damage pretty easily. However it can also be used as a pure damage weapon against bosses that are resistant to elemental damage.
4. Staff of the Great Beyond
• Requirements: 7 Strength, 27 Intelligence, 27 Faith
The Staff of the Great Beyond makes the list for two major reasons. The first, and more mundane reason is that it scales really well with both Intelligence and Faith. That makes it a great fit for this build.
The second reason, and the most important one, is that this is the staff that finally gives us the option to cast both Sorceries and Incantations. That makes it ideal for bridging the gap on a lot of builds that used to have to carry extra equipment if they wanted Golden Vow and Flame, Grant Me Strength for their builds. But now, we get to blend our Sorceries and our Incantations at will, which gives us access to all the great fire incantations that went well with this twin stance build
This isn't the strongest of the seals, or the fastest of the staffs. It is, however, useful on both fronts. However if you really want to focus more on sorceries, you might try Carian Regal Scepter. If you want incantations, the new Fire Knight's Seal or the Erdtree Seal are both fantastic options.
Gear Loadout:
Helms
- Queen's Crescent Helm- +3 Intelligence
- Rellana's Helm
- High Priest Hat- Increases Intelligence and Arcane +1
- Rakshasa Helm- Boosts all damage dealt and received by 2%
- Fire Knight Helm- Increases Maximum HP 2%, Stamina 5%, and Equip Load by 4%
- Death Knight Helm- Enhances skills and incantations of the Ancient Dragon Cult by 2%
- Gravebird Helm- Enhances spells which summon rings of spectral light by 15%
Armor
- Rellana's Armor
- Black Knife Armor
- Death Knight Armor- Enhances skills and incantations of the Ancient Dragon Cult by 2%
- Rakshasa Armor- Boosts all damage dealt and received by 2%
Gauntlets
- Death Knight Gauntlets- Enhances skills and incantations of the Ancient Dragon Cult by 2%
- Rakshasa Gauntlets- Boosts all damage dealt and received by 2%
- Fingerprint Gloves
Greaves
- Death Knight Greaves- Enhances skills and incantations of the Ancient Dragon Cult by 2%
- Rakshasa Greaves- Boosts all damage dealt and received by 2%
- Fingerprint Greaves
- Young Lion's Greaves
Extra Essentials Loadout
Spells
1. Rani's Dark Moon
- Requirements:68 Intelligence
- Spell Description: Invokes a great dark moon that flies towards the enemy and sucks in all spells to negate them. This spell then does a considerable amount of magic and frostbite damage.
2. Flame, Grant Me Strength
- Requirements:15 Faith
- Spell Description: Boosts all physical and fire damage by 20% for 30 seconds.
3. Carian Phalanx
- Requirements: 34 Intelligence
- Spell Description: Produces a host of floating magical swords above the player that attack any enemies that get too near.
4. Rykard's Rancor
- Requirements: 40 Intelligence, 18 Faith
- Spell Description: Summons a host of flaming skulls that fly towards the enemies, and then explode.
5. Loretta's Mastery
- Requirements: 46 Intelligence
- Spell Description: Summons a great chargeable magic bow that fires off multiple arrows at the enemy.
6. Golden Vow
- Requirement: 25 Faith
- Spell Description: Increases damage dealt by 15% and reduces damage taken by 10% for 80 seconds
7. Terra Magica
- Requirements: 20 Intelligence
- Spell Description: Increases all magic damage done from within the circle by 22.5% for 30 seconds.
8. Cherishing Fingers
- Requirements: 36 Intelligence
- Spell Description: Summons a host of large of impenetrable fingers
9. Stars of Ruin
- Requirements: 43 Intelligence
- Spell Description: Fires a volley of twelve dark shooting stars that pursue foes
10. Land of Shadow
- Requirements: 58 Faith
- Spell Description: Fires a volley of golden projectiles towards foes that have a delayed explosion. This incantation can be cast on horseback.
Talismans
- Rellana's Cameo- Enhances attacks by 15% after holding the same stance for 2 seconds.
- Magic Scorpion's Talisman- Increases magic damage by 12%
- Fire Scorpion's Talisman- increases fire damage by 12%
- Radagon Icon- provides +30 virtual Dexterity when casting spells
- Two Handed Sword Talisman- Enhances attacks with two handed weapons 15%
- Shard of Alexander- enhances damage of skills by 15%
- Talisman of the Dread- boosts the potency of magma (including incantations and sorceries both) by 14%
- Talisman of Lord's Bestowal- Increases poise by 54% after drinking from a flask of tears
- Blade of Mercy- Raises attack power by 20% for 20 seconds after each critical hit
- Marika's Soreseal- Raises Mind, Intelligence, Faith, and Arcane, but increases damage taken
- Dragoncrest Greatshield Talisman- Reduces physical damage taken by 20%
Stats for the Build
- 30-50 Vigor
- 25-35 Mind
- 25-35 Endurance
- 35-50 Strength
- 35-50 Dexterity
- 65-80 Intelligence
- 65-80 Faith
- 27-50 Arcane
Credits for the Build:
Rellana Carian Spellknight by Fextralife
2. Claws of Bear

What is the Claws of the Bear
This is one of my favorite straight damage builds in the game, thanks entirely to the new DLC. Claw builds have always been a fairly decent build on their own, but this really took the cake as a standout. Not only do we get powerful new weapons, and even a new 'bear communion' we also get claws that are literally made for several of the talismans out there. In a way, this is really one of those viking inspired builds, or at the very least it falls under the category of a shifter inspired build.
Why to Play Beast Claw Pros and Cons
- This is one of the strongest builds out there in terms of pure damage, and it consistently can be shown landing huge amounts of damage thanks to the six strike special skill that it has. Catching an enemy is enough to shred most foes without much effort.
- This is not a build that has a whole lot of coverage. There's some good armor out there, but by and large it didn't get quite as dedicated a build as other ones like Rellana's Spellknight and Death Knight builds. Even without all the adjustments, this is still one of the strongest builds out there.
- Not only is it strong, but it's fast as well. Most of the claw builds could even be cut down just enough to use the Blue Dancer's Charm talisman, by meeting the weight requirements. Do I recommend going full berserker for the sake of a talisman? For this build? Absolutely, I do.
- This is a build that focuses a little bit on timing and making sure you get your strikes in to disrupt the enemy. It isn't that terribly hard to do, but it does require some timing since this build doesn't have the most armor.
Weapon Loadout:
1. Beast Claw
- Requirements: 13 Strength, 11 Dexterity
The Beast claw is the best weapon of the build just for the fact that it's special ability is able to deal out six back to back strikes, all of which deal a hefty amount of physical damage. That makes it perfect for most builds, including the builds that focus around taking down the Elden Beast. What makes these claws even better is the hyper-armor whenever they go into their special animations. It's enough to grant some serious invulnerability during a fight if you know how to get off the attacks in the right sequence.
On top of that, these claws can be infused with an ash of war. While I might not change the ash currently on the claws, that does mean it's open to being given bleed or occult affinities which can even further boost the build.
2. Claws of Night
- Requirements: 8 Strength, 20 Dexterity
Claws of Night are a new set of claws that have the ability to throw projectiles. This isn't a build where there is a whole lot of range, and it might be that it's just easier to use the Beast Claw and other incantations for range. But these are claws and they can be fairly useful.
3. Bloodhound Claws
- Requirements: 10 Strength, 15 Dexterity
Every good weapon needs a solid backup and if the Beast Claw is the right option for this loadout, then the Bloodhound Claws are a close second. They come with Bloodhound's Step, which is great on its own, and they also can be infused with ashes of war and given affinities. That means that suddenly these claws are perfect for handling pesky enemies, and giving us alternatives to our powerful main weapon.
4. Clawmark Seal
- Requirements: 4 Strength, 10 Faith
The Clawmark Seal is the seal that we use for buffing our incantations up with extra damage. It grants us a 10% increase to Bestial Incantations, which makes it a solid choice. It's weaker than the Erdtree Seal at high levels, but since we aren't really sinking that much into faith for this build, it's better to just stick with the Clawmark Seal to get the most out of the build.
5. Cinquedea
- Requirements: 10 Strength, 10 Dexterity
We dont really use this dagger for much, but it does give a boost to Bestial incantations which makes them even more powerful in this format.
Gear Loadout:
Helms
- Rakshasa Helm- Boosts all damage dealt and received by 2%
- Thiolliers Mask- Boosts arcane +3
- Pelt of Ralva- Enhances incantations of the bear communion by 15%
- Horned Warrior Helm- increases Strength +5 but reduces healing from flasks by 7%
- White Mask- Increases damage when there is bleed in the vicinity
Armor
- Rakshasa Armor- Boosts all damage dealt and received by 2%
- Champion Pauldron
- Leda's Armor- Slightly strengthens attacks following dodge roll, backsept, and dash attacks by 10%
- Gravebird's Blackquill Armor- Increases jump attacks by 10%
Gauntlets
- Rakshasa Gauntlets- Boosts all damage dealt and received by 2%
- Fingerprint Gloves
- Young Lion Gauntlets
Greaves
- Rakshasa Greaves- Boosts all damage dealt and received by 2%
- Fingerprint Greaves
- Radahn's Greaves
- Young Lion Greaves
Extra Essentials Loadout
Spells
1. Golden Vow
- Requirements: 25 Faith
- Spell Description: Increases damage dealt by 15% and reduces damage taken by 10% for 80 seconds
2. Bestial Vitality
- Requirements: 12 Faith
- Spell Description: Slowly heals HP over time
3. Bestial Constitution
- Requirements: 9 Faith
- Spell Description: Relieves blood buildup and frostbite damage
4. Beast Claw
- Requirements: 8 Faith
- Spell Description: Creates claws that tear through the land in a forward shockwave
5. Bestial Sling
- Requirements: 10 Faith
- Spell Description: Throws multiple hard rocks at the enemy
6. Gurranq's Beast Claw
- Requirement: 15 Faith
- Spell Description: Creates a 360 shockwave of claws that tear through the surroundings
7. Roar of Rugalea
- Requirement: 14 Faith
- Spell Description: Channels the roar of a great red bear, that can be charged
8. Bayle's Tyranny
- Requirements: 49 Arcane
- Spell Description: Summons a dread dragon roar followed by a heatwave blast.
Talismans
- Rotten Winged Sword Insignia- Increases damage on consecutive attacks
- Shard of Alexander- Increases damage from skills by 15%
- Lord of Blood's Exultation- increases damage dealt when an enemy is
- Millicent's Prosthesis- increases damage on consecutive strikes
- Two-Headed Turtle Talisman- Increases stamina regeneration by 22.2%
- Talisman of Lord's Bestowal- increases poise 54% after drinking from a flask of tears
- Godfrey Icon- Enhances damage dealt by charged skills and spells by 15%
- Radagon Icon- Grants a virtual +30 to spellcasting speed.
- Bull-Goat Talisman- Increases poise by 33%
- Godskin Swaddling Cloth- Increases hp on successive hits
Stats for the Build
- 50-60 Vigor
- 25-35 Mind
- 25-35 Endurance
- 13-60 Strength
- 12-60 Dexterity
- 16-25 Intelligence
- 25-35 Faith
- 65-80 Arcane
Credits for the Build:
Bloody Beast Claw by Fextralife
https://fextralife.com/elden-ring-beast-claw-build-bloody-beastclaw-shadow-of-the-erdtree-guide/
1. Death, Lord of Lightning
What is Death, Lord of Lightning
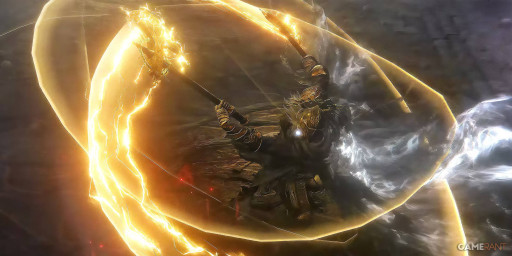
Lightning has always been one of the more powerful builds in the game, and with the new Death Knight Armor set, we have an all new upgrade to old builds that were already good. That also comes with all new weapons in the Death Knight Twin Axes and the Death Knight Longhaft Axe, which provide us a new bridge. Thanks to this all new release, we suddenly see a bridge between the Zeus, Lord of Thunder build, and the Stormhawk Lightning Rager builds.
Thanks to this hybrid build, we see lightning with access to some of the most powerful weapons and incantations in the game that crank out 50k damage with consistency. It's a fair thing to name this new Lord of Lightning build Death, after its armor. Once you have this build fully completed, death will surely come on your foes.
Why to Play the Death Knight Pros and Cons
- This is probably one of the most aggressive builds out there when you go in for the melee. It may not hit universally the hardest, but it definitely hits hard enough to rack up the damage and shred even bosses fairly fast. The original Stormhawk Axe builds made a point of showcasing being able to even take down Malenia with the minimum in armor and health, which only gets better now
- The new armor gives us a solid boost to a fair bit of our weaponry and our enchantments, even if it doesn't necessarily boost the axes quite as much as I would have liked. It doesn't need to, however, because we already see such a boost from the Storm damage that it's worth it in the end.
- This may be a build that feels like it needs a bit more management than some of the others. That was one of the reasons which landed Rellana at number 3 instead of higher on the list. The reason that the Lord of Lightning made it to the top was that it is just that much more an aggressive build than the Rellana Build, and it deals a bit more range as well with Bolt of Gransax
- This is really a build that just has a hand in every option you want. Even though it's not included in the primary, there is a bow option, and even spear options that allow this build to take a change for any kind of purpose.
- While Lightning is a great damage dealer, there's also some problems with it in the final boss fights of Elden Ring. Remember to find a way to beat the Elden Beast, or crank that lightning up enough to push it through either way.
Weapon Loadout:
1. Death Knight Twin Axes
- Requirements: 14 Strength, 12 Dexterity, 16 Faithful
The Death Knight Twin Axes are another dual weapon that we see pop up for a build in the DLC, and they. Are. Great. Blinkbolt on its own is enough to get you across the battlefield to beat on your opponents. But the strong attack blinkbolt whips you into a cyclone of lightning damage that gives you some lovely hyper-armor while you finish your animation.
On top of that, with the buffs of the armor and the Lightning Scorpion Talisman, and the Shard of Alexander, we see a base damage increase of 35%, not counting Millicent's Prosthesis or Rotten Winged Sword Insignia which buff up consecutive strike damage. All together, this weapon is enough to brutally shred most enemies, including bosses.
2. Stormhawk Axe
- Requirement: 19 Strength, 15 Dexterity
The Stormhawk Axe was the bread and butter of the Lightning Rager builds, and it still has a lot of uses here. The Death Knight Armor gives a solid boost to quite a few skills and incantations for this build, but it doesn't really include the Stormhawk Axe. That being said, the Stormhawk Axes are now boosted by a powerful new set of gear in the Divine Beast Armor Set, and the Enraged Divine Beast. Even if we only run the Divine Beast Helm and the Enraged Divine Beast Talisman we still see a good 14% increase in the Stormhawk Axe special ability. That's more than enough to make up for the lack of buff in the Death Knight Armor.
These are still my favorite axes for the build, although they don't synergize quite as well as the Ancient Dragon Cult skills do. But even without that, we see a lot of power ups in this weapon, and it's a worthy contender for the Lord of Lightning if you need to change out Blinkbolt for a different option.
3. Bolt of Gransax
- Requirements: 20 Strength, 40 Dexterity
The Bolt of Gransax is the range weapon for this build, and it hits with some devastating force. At the peak of what this weapon can do, we can easily see it delivering 5K damage per shot, and sometimes that's just before charging it up. On top of that, it's a solid spear and it does a decent amount of piercing damage up close.
Not that I really want to get up close most of the time if I'm using the spear. The best way to use this weapon is to hit the enemy from afar with the Bolt for as long as possible to wrack up damage, then when they get close enough to try their own tactics, we swap to the Death Knight Twin Axes and charge in to keep dealing the damage. By that point the Bolt of Gransax will have done the dirty work and you should have almost no trouble finishing off the more troublesome foes.
4. Gravel Stone Seal
- Requirements: 4 Strength, 18 Faith
The Gravel Stone Seal is the main seal for any Ancient Dragon Cult incantation build, just because it boosts all incantations of this type by 15%. It doesn't scale quite as well as the Erdtree Seal does, but it does scale well enough to get a fair bit of use out of it. On top of that we see extra damage dragons, and that's never a bad thing.
5. Erdtree Seal
- Requirements: 40 Faith
The Erdtree Seal is just one of the best seals in the game with the best scaling. The reason that it makes the list is that it's so good, and if you're needing to worry about weight requirements, it does the trick. We still like the Gravel Stone Seal for its ability to buff the actual lightning incantations, but if you're going the more generic spell route, then all you really need is the Erdtree Seal.
6. Dragonclaw Shield
- Requirements: 28 Strength, 12 Dexterity
The Dragonclaw shield can be really used well with the Verdigris Talisman to make this a heavy beater build. There are ways to get that equip load up, but in this case, we already have Blinkbolt for a charge ability to move us across the Arena, and a massive shield to trade blows while we switch to the Stormhawk Axe for the thunder damage. Or, even then, it makes a great pairing with the Bolt of Gransax and Death Knight's Longhaft Axe to deliver devastating amounts of damage from near and afar.
7. Death Knight's Longhaft Axe
- Requirements: 23 Strength, 10 Dexterity, 18 Faith
The Death Knight's Longhaft Axe is an axe that has the same ability as the Twinaxe does, only a bigger two handed version. This weapon benefits from the Two-Handed Sword talisman, the lightning damage, and the armor that is made specifically to boost this and the Ancient Dragon Cult incantations. So this axe does a massive amount of blinkbolt damage.
It's not usually my first choice for the build because I prefer to medium roll to my heart's content, but if you mix this Axe with the Dragonclaw shield you see a lightning tanking that can charge in and do devastating damage even when trading blows. It makes for a really solid heavy sword and board option for this build.
Gear Loadout:
Helms
- Death Knight Helm- Increases damage of Ancient Dragon Cult spells and skills by 2%
- Divine Beast Helm- Increases the potency of storms, Strength, and Dexterity by 4%
- Rakshasa Helm- Increase damage dealt and received by 2%
Armor
- Divine Beat Armor- Increases the potency of storms, Strength, and Dexterity by 4%
- Death Knight Armor- Increases damage of Ancient Dragon Cult spells and skills by 2%
- Rakshasa Armor- Increase damage dealt and received by 2%
Gauntlets
- Death Knight Gauntlets - increases damage of Ancient Dragon Cult spells and skills by 2%
- Rakshasa Gauntlets- Increase damage dealt and received by 2%
- Young Lion Gauntlets
Greaves
- Death Knight Greaves- Increases damage of Ancient Dragon Cult spells and skills by 2%
- Rakshasa Greaves- Increase damage dealt and received by 2%
- Fingerprint Greaves
Extra Essentials Loadout
Spells
1. Golden Vow
- Requirements: 25 Faith
- Spell Description: Increase damage dealt by 15% and reduce damage taken by 10% for 80 seconds
2. Lightning Spear
- Requirements: 17 Faith
- Spell Description: Summons a bolt of lightning which the player throws at the enemy
3. Ancient Dragon Lightning Strike
- Requirements:26 Faith
- Spell Description: Summons down a massive bolt of red lightning which deals a vast area of lightning AOE damage
4. Lightning Strike
- Requirements: 28 Faith
- Spell Description: This spell summons down a massive lightning strike which deals an area of damage. This is the more damaging version of the honed bolt spell.
5.Lannseax's Glaive
- Requirements: 40 Faith
- Spell Description: This is a strong attack and also creates a massive AOE lightning damage area after the initial strike.
Talismans
- Lightning Scorpion Talisman- increases lightning damage by 12% and damage taken by 10%
- Flock's Canvas Talisman- vastly increases faith
- Shard of Alexander- increases the damage of skills by 15%
- Blessed Blue Dew Talisman- slowly restores FP over time
- Rotten Winged Sword Insignia- increases damage on consecutive attacks
- Godfrey Icon- increases damage of charged skills and spells by 15%
- Enraged Divine Beast- increases the damages of storms by 10%
- Two-Headed Turtle Talisman- Increases stamina recovery by 22.2%
Stats for the Build
- 35-50 Vigor
- 30-35 Mind
- 25-30 Endurance
- 60-80 Strength
- 60-80 Dexterity
- 16 Intelligence
- 50-80 Faith
- 9-18 Arcane
Credits for the Build:
Death Knight Build by Fextralife
The Exploration Continues
There are so many places to see, and so many bosses to beat in the Shadow of the Erdtree expansion that you can see why they said they had no intentions of releasing more. It’s a game all on its own with the complex bosses and storylines. Of course, we all know that there are going to be several more patches before the game is at its final balanced resting place, but that doesn’t mean that we can’t explore the Shadow Lands. On top of that, with so many new weapons and styles, more and more builds are bound to arise. Just the most recent patches have made Perfume Bottles a force to be reckoned with, right as the clamor for the Thrusting Shields died down. All I can say is that I’m excited to keep exploring the Shadow Lands and coming up with the hundreds of options for new builds that this DLC has brought us.

