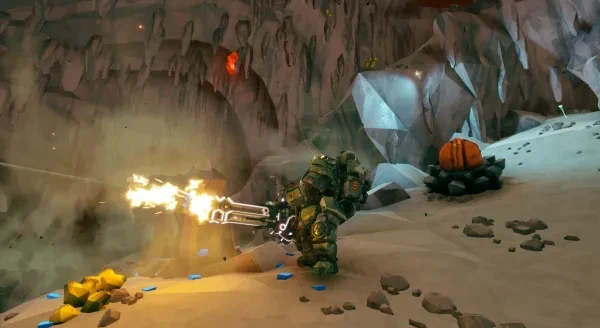
What are some of the most effective and fun builds in Deep Rock Galactic?
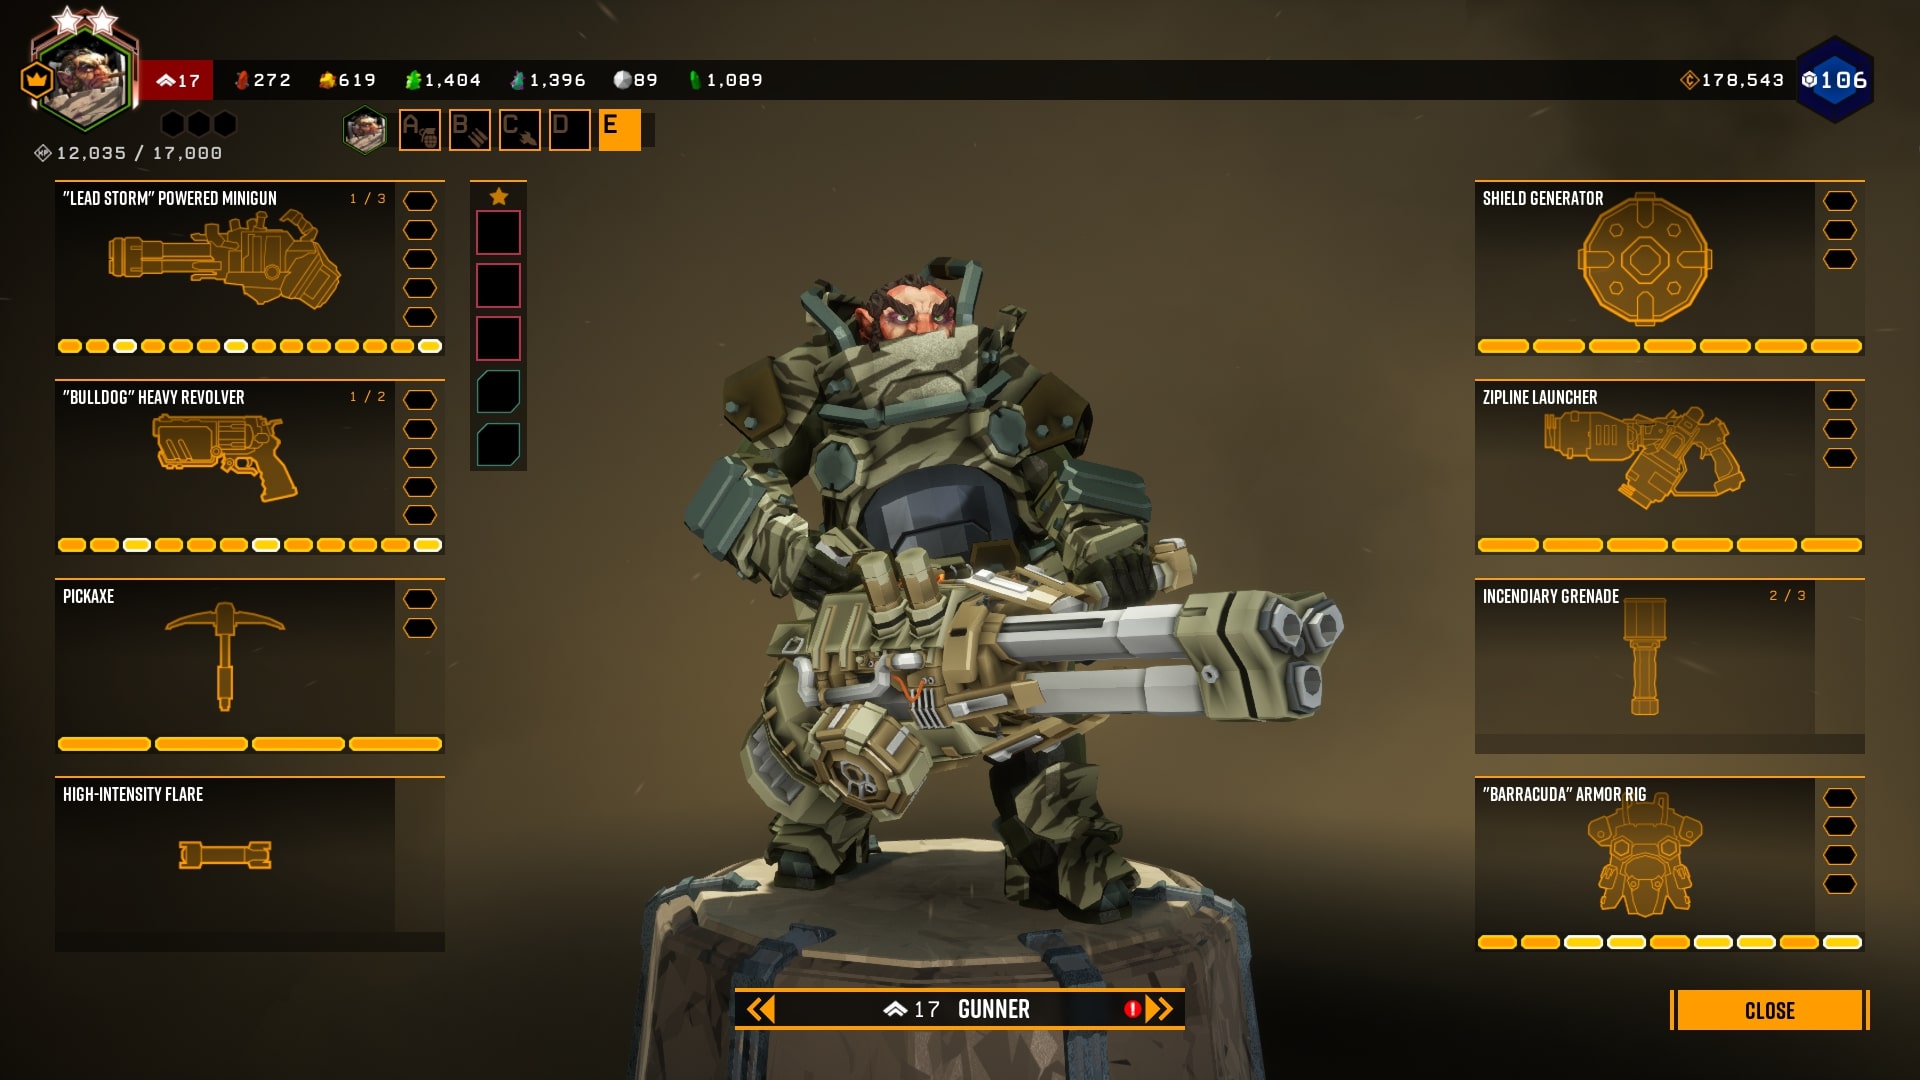
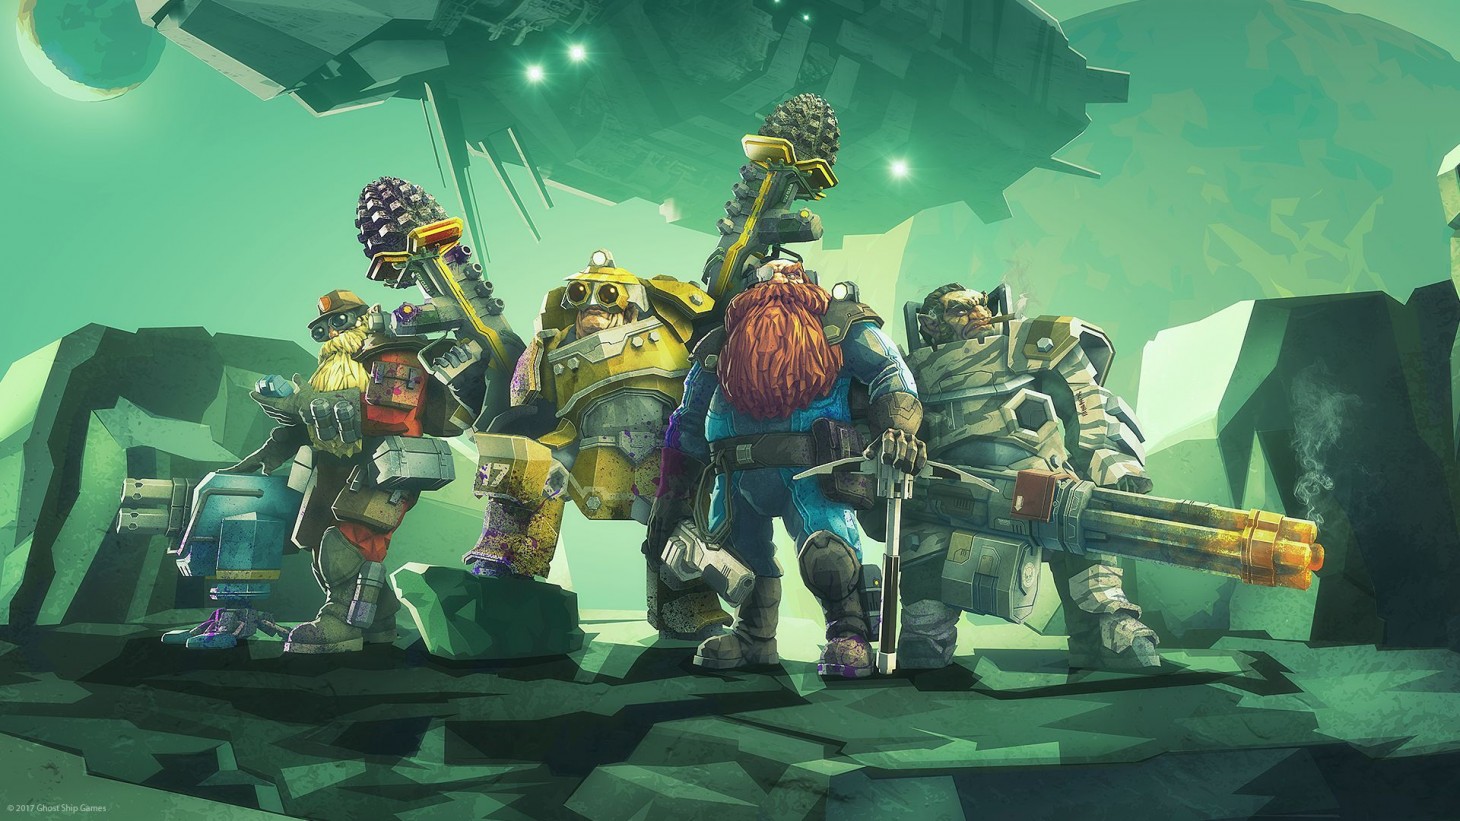
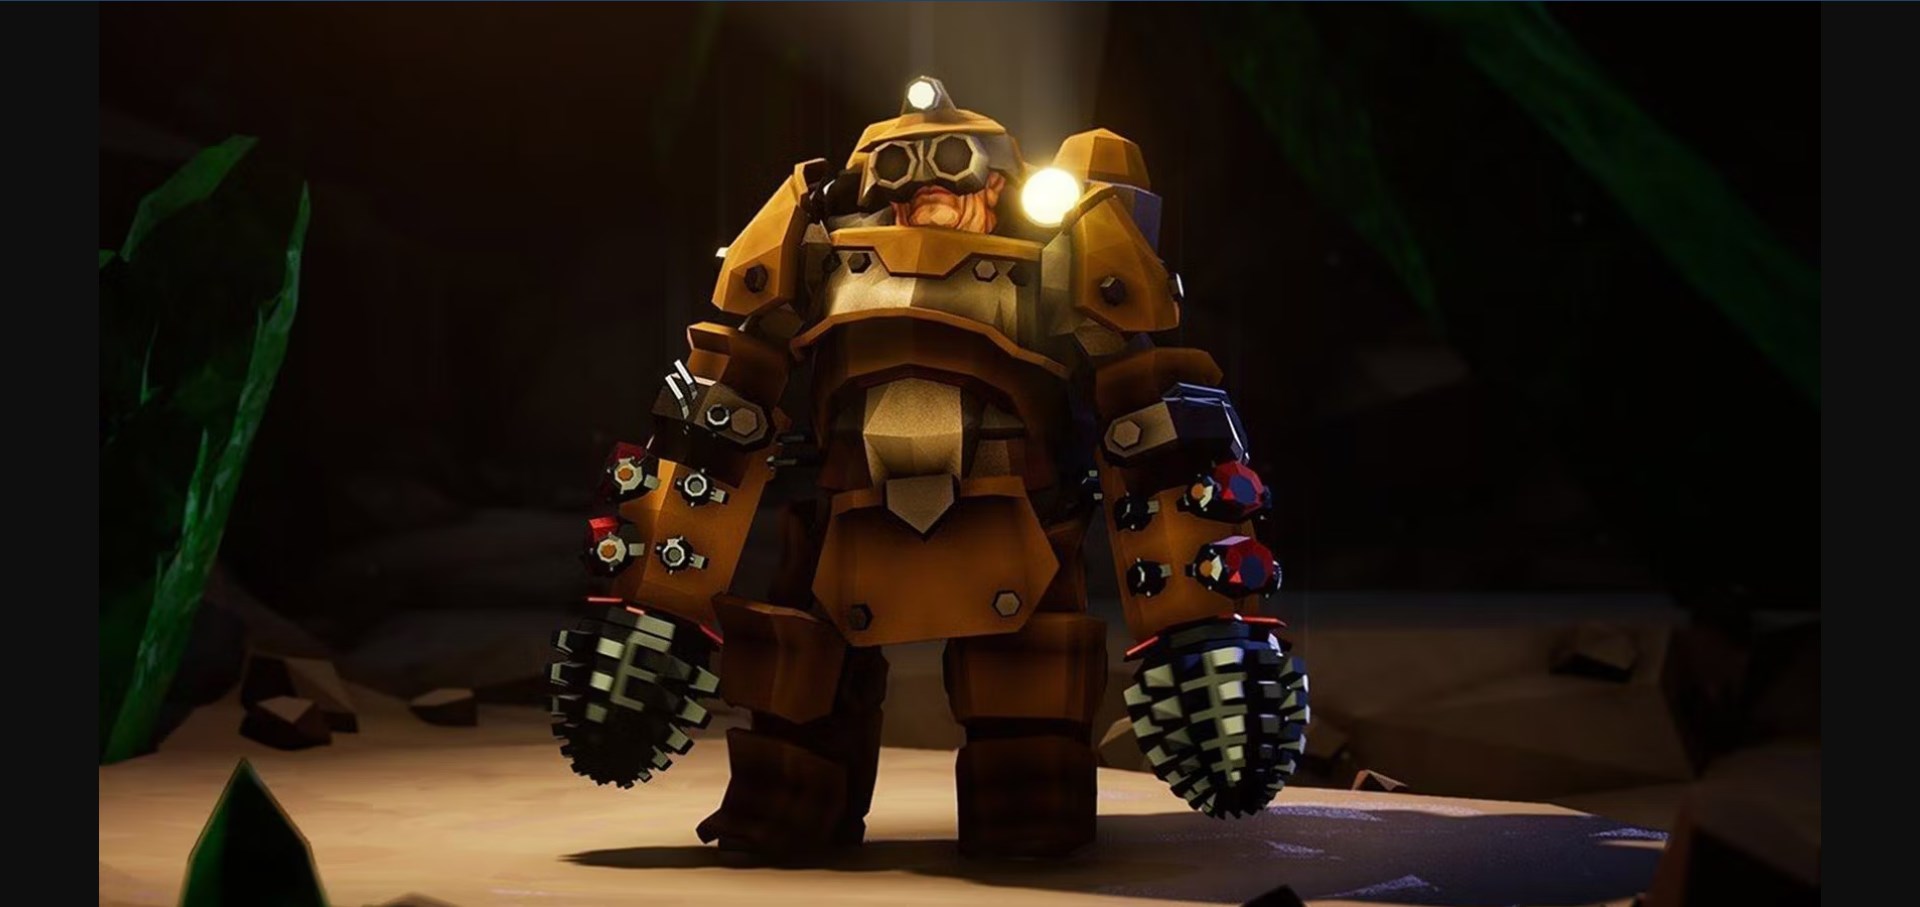
The Gunner is the badass of the bunch. You can describe him as a DPS Tank Medic class. This class shines when there are bugs to kill, since that’s his primary role! He won’t stop until everything is dead. Sometimes even other dwarves. The Gunner brings some of the highest single target damage in the game, making him a prime candidate for Elimination missions. He also brings respectable area of effect, making him useful in every type of mission. The Gunner can create permanent ziplines for him and his team to use, making hazardous terrain less straining to traverse. Finally, it’s the only class that brings an area shield, moving bugs away and creating a protective area where projectiles can’t come in while regenerating shields for everyone inside.
There is no meta in Deep Rock Galactic. Every build you can come up with works to an extent, and they’re very dependent on your playstyle and preferences. If you don’t have the overclocks listed here, don’t fret! You can always experiment with other overclocks and find success! If you don’t have any overclocks, the weapons are still fantastic, and you’ll be able to unlock overclocks as you play the game. Rock and Stone!
3. Fragmentation Missiles + Elephant Rounds
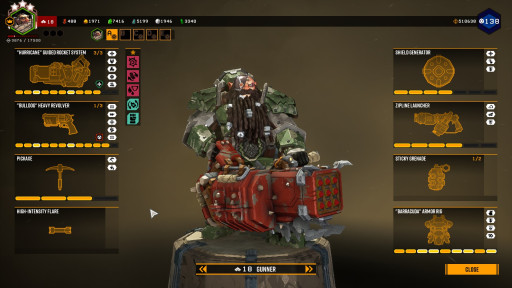
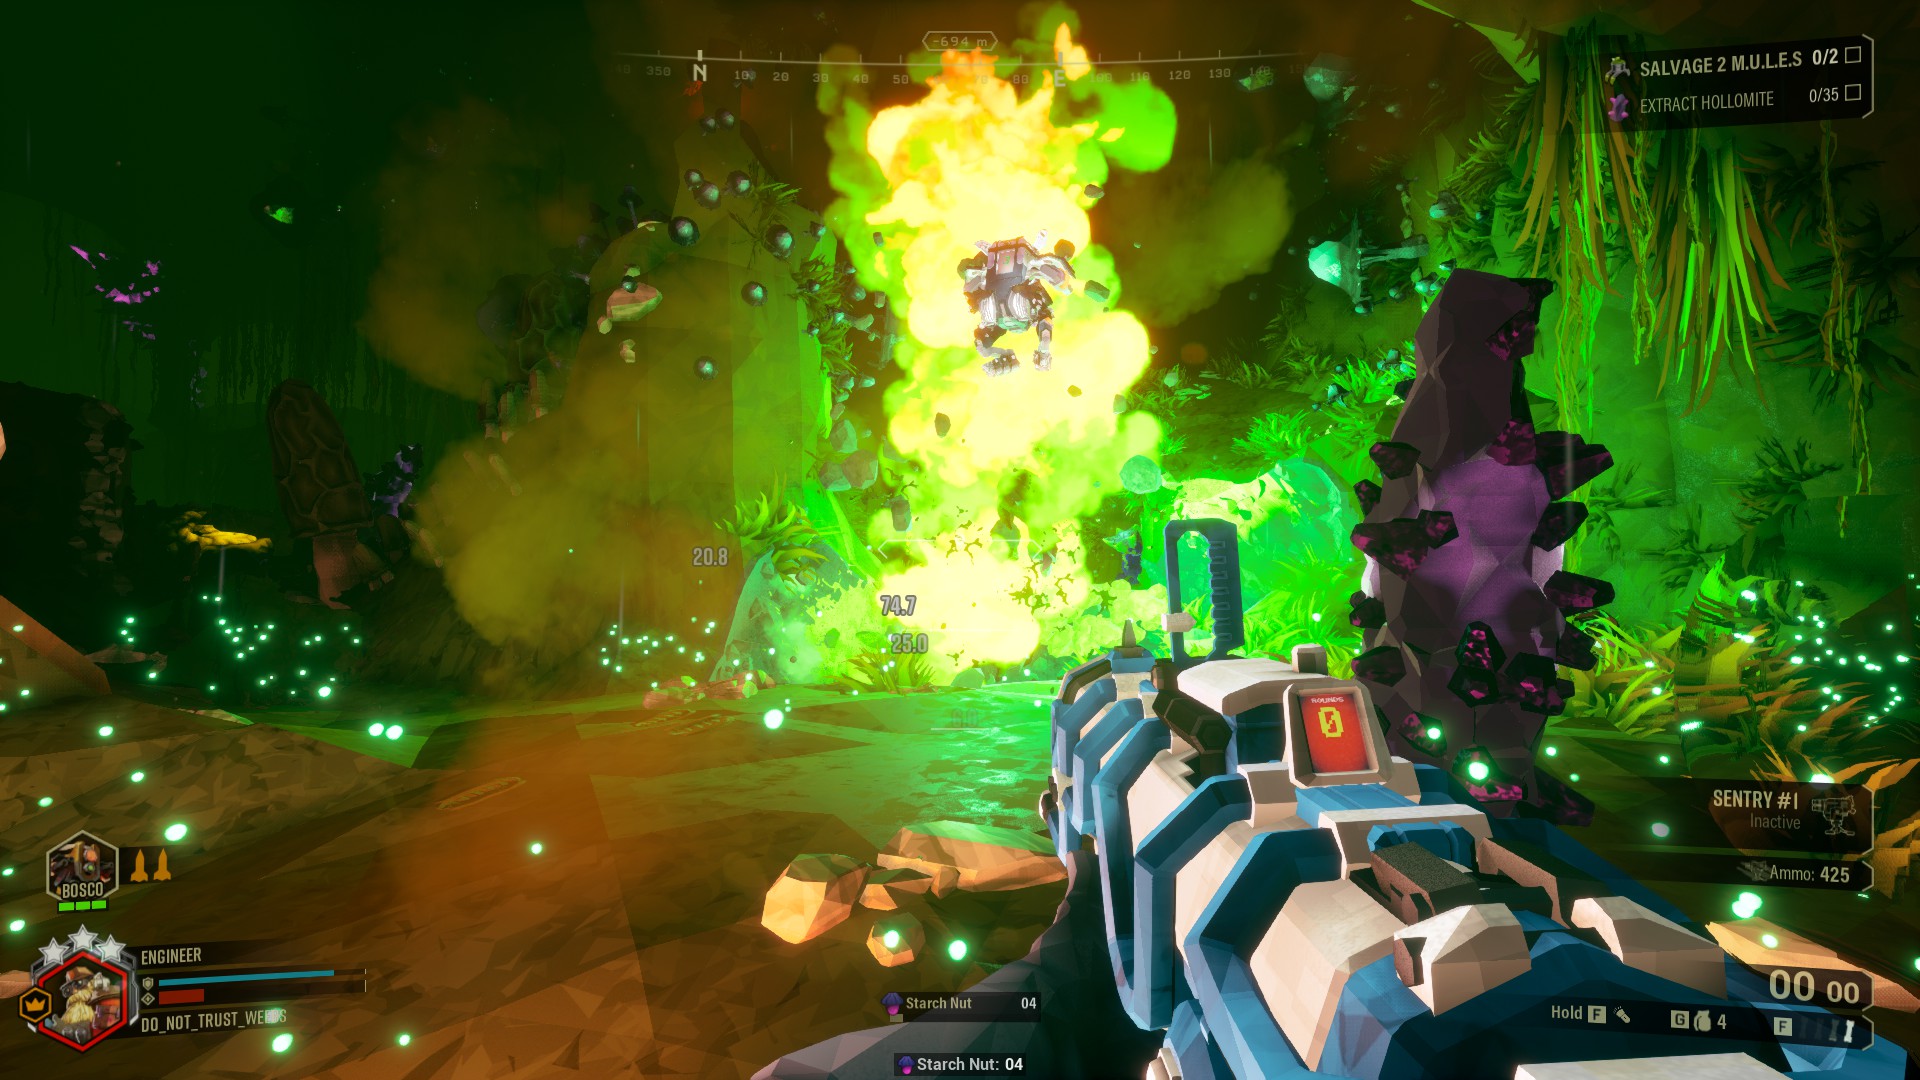
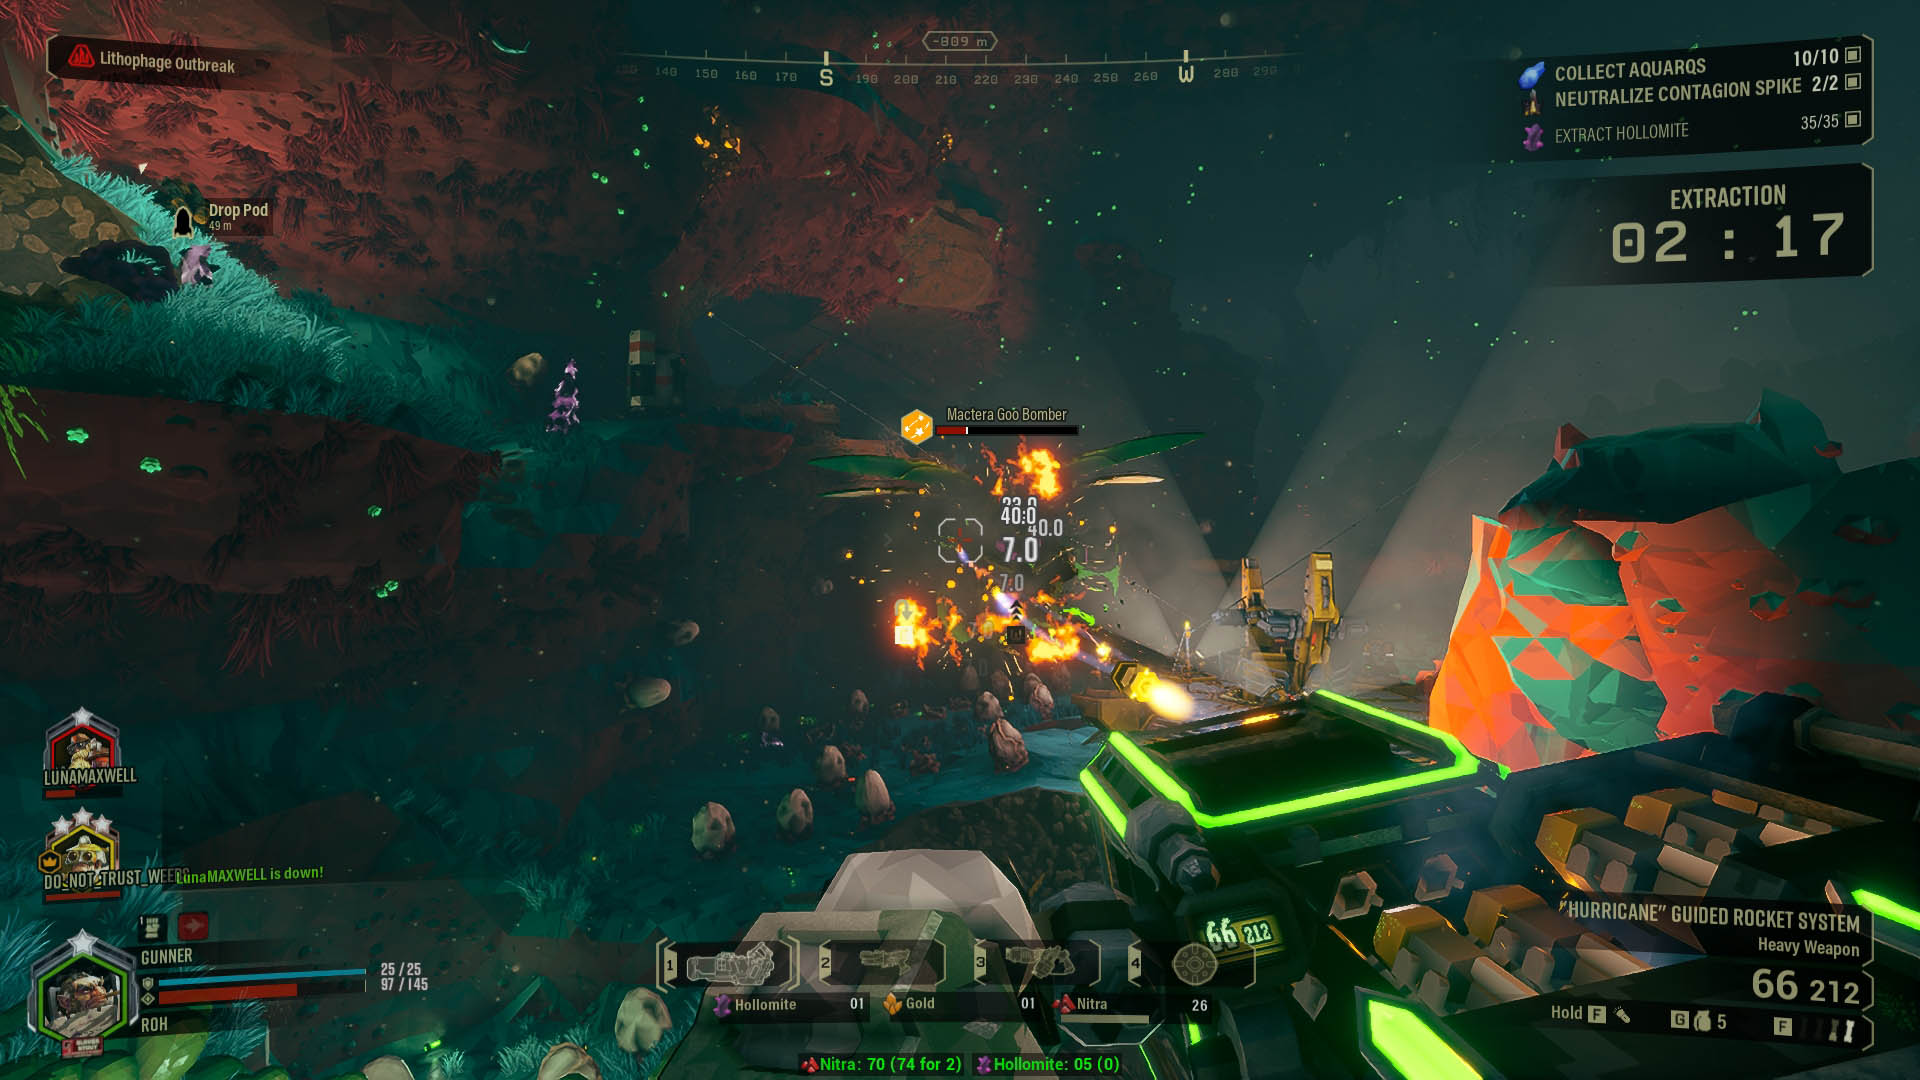
Mowing down through waves of Glyphids and Mactera? Shooting guided missiles that make the most satisfying sound when they hit something? Being a total badass? Then this build is for you. This build features the “Hurricane” Guided Rocket System and the “Bulldog” Heavy Revolver. With this spec, the Hurricane becomes your wave clear, as you’ll be using the increased area of effect of the explosions to kill anything that moves the wrong way. The Bulldog will be your single target; with Elephant Rounds, you’ll be able to deal massive amounts of damage to weak spots. This will let you be able to deal with bigger enemies, rounding up this build for any situation.
What Fragmentation Missiles + Elephant Rounds Excels in?
- The Hurricane brings high amounts of area of effect and respectable single target damage, helping you and your team dealing with the swarms.
- The Bulldog is built to deal with bigger enemies, making this build well rounded.
- You’ll never need to endure the long reload times of the Hurricane with Born Ready, enabling you to always be ready to shoot.
- Vampire and Iron Will combo will keep you alive and will give you an extra chance to finish the mission if things go south.
“Hurricane” Guided Rocket System - C-B-A-B-C
- Increased Blast Radius: This perk will increase the blast radius of the rockets, increasing the area of effect of the explosion.
- Anti-Tank Missiles - In this build we don’t want to take the faster missile travel because of the Tier 5 perk, so we take armor penetrating rounds.
- Nano-Missiles: This perk increases your magazine capacity, letting you shoot for longer before reloading.
- Zip Fuel: Taking this perk will increase the blast damage, which synergises with this build.
- Nitroglycerin Rounds: Nitroglycerin Rounds will increase the damage each rocket will deal, the more they are in the air. This makes the Hurricane a fantastic mid to long range carpet bomber.
- Overclock - Fragmentation Missiles: This overclock increases the area damage and the blast radius, further improving the wave clear capabilities of the Hurricane.
“Bulldog” Heavy Revolver - B-B-C-A-A
- Perfect Weight Balance: You’ll be building the Bulldog for accuracy, to counteract the Elephant Rounds’ downsides, so you’ll want to take this perk.
- Floating Barrel: This perk decreases the recoil and the bullet spread, letting you be more accurate.
- Hollow-Point Bullets: You’ll be using this weapon to shoot weak-spots, and taking this perk will increase the damage you deal while shooting them.
- Expanded Ammo Bags: Elephant Rounds reduces your ammo by a fair amount, so taking this perk will let you counteract that downside.
- Dead-Eye: Deadeye lets you shoot more accurately while moving, and moving is really important in Deep Rock Galactic, if you don’t want to die.
- Overclock - Elephant Rounds: This overclock increases the damage you deal twofold and reduces the bullet spread, but it also reduces your ammo, your magazine size, and it increases your recoil, base bullet spread per shot and your reload time. The damage is worth the downsides, since you’ll be killing big bugs quickly with this overclock.
Pickaxe - A-C
- Power Attack: The Power Attack is a great tool to fend yourself off and deal great amounts of damage. Use it often!
- Better Weight Balance: With this perk you’ll have the cooldown of the Power Attack lowered, letting you use it more often.
Shield Generator - B-B-B
- Improved Projector: This perk will increase the area your shield covers.
- Larger Capacitors: Larger Capacitors increase the duration of your shield.
- Lasting Effect: Taking Lasting Effect will make it so that the buffs the shield grants (damage resistance and faster shield regeneration) linger upon exiting the area the shield created.
Zipline Launcher - B-A-A
- Upgraded Connection Joint: This perk will increase the angle that you’ll be able to connect your ziplines. It’s a huge quality of life increase, so you’ll always want to take it!
- Reinforced Cable: This is the only perk you can take in this tier. It increases the range your zipline can reach.
- Disconnection Protection: Taking this perk will reduce the fall damage you’ll take after disconnecting from a zipline. It will save you more than you think, since enemies can bring you off it!
Grenade - Sticky Grenade
- The Sticky Grenade, as the name says, latches onto a surface or an enemy, detonating after a couple of seconds. It deals respectable damage, and it will kill any smaller enemies surrounding you. You can also bring Cluster Grenades if you prefer.
“Barracuda” Armor Rig - C-B-A-C
- Bigger Mineral Bag: Being able to carry more minerals will help you not having to wait for Molly every time you find a mineral vein.
- Healthy: This perk increases your hit points, letting you stay alive for longer.
- Reactive Armor: With this perk you’ll take reduced blast damage.
- Breathing Room: Taking this perk will give you brief invulnerability after being revived, letting you reposition to deal with the threats.
Perks
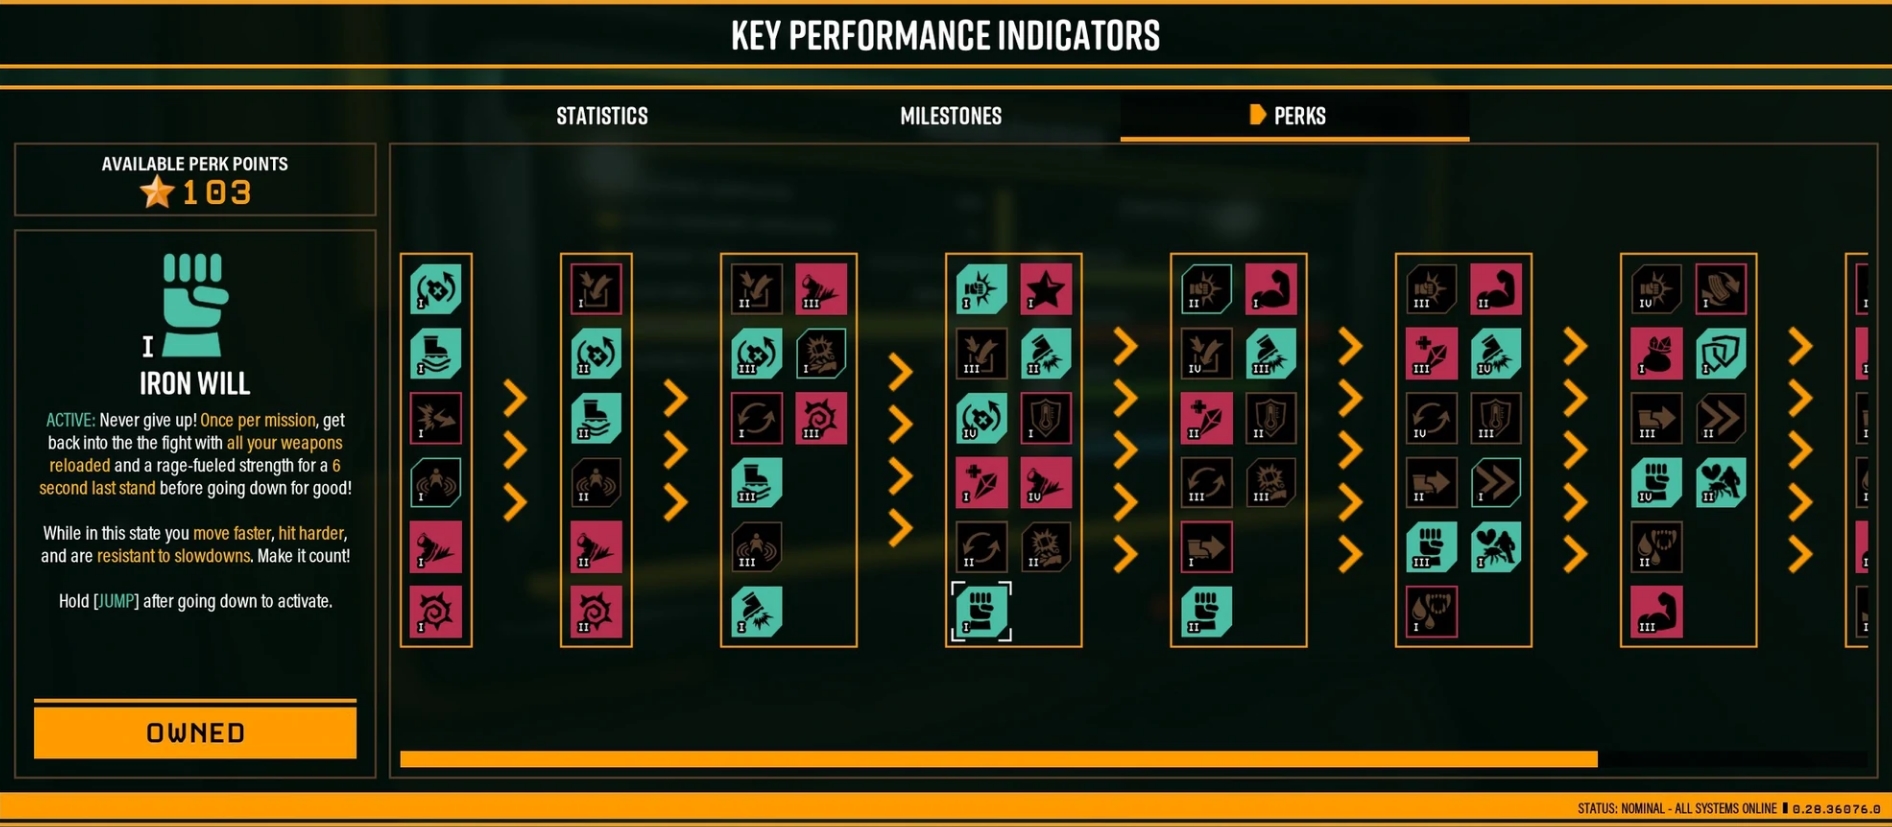
- For this build we recommend bringing Thorns, Born Ready and Vampire as your passive perks. Thorns will relieve you from having to deal with Swarmers, as it will deal damage back to anything that bites you. Born Ready will let you reload your weapons while not using it, letting you bypass the Gunner’s long reload times. Vampire is taken since it will replenish some of your health each time you kill an enemy with a melee attack. For active perks, we recommend taking Field Medic and Iron Will if you’re playing with a squad. Field Medic synergises extremely well with Gunner, as he can deploy a shield around the downed dwarf, being able to revive your teammate quickly and safely. Iron Will will be a mission saver every so often, letting you revive yourself once per mission, which will in turn let you revive another teammate before you get downed, which can revive you after. You can also bring Dash if you prefer, and if you’re playing Solo, you’ll want to switch Field Medic to Dash or Heightened Senses.
2. Lead Storm + Lead Spray
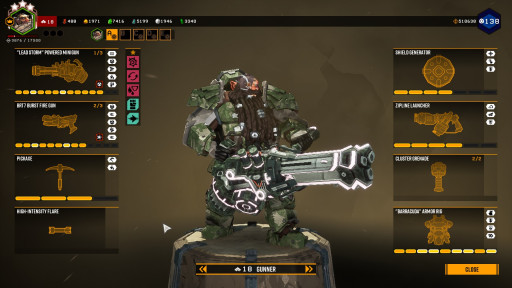
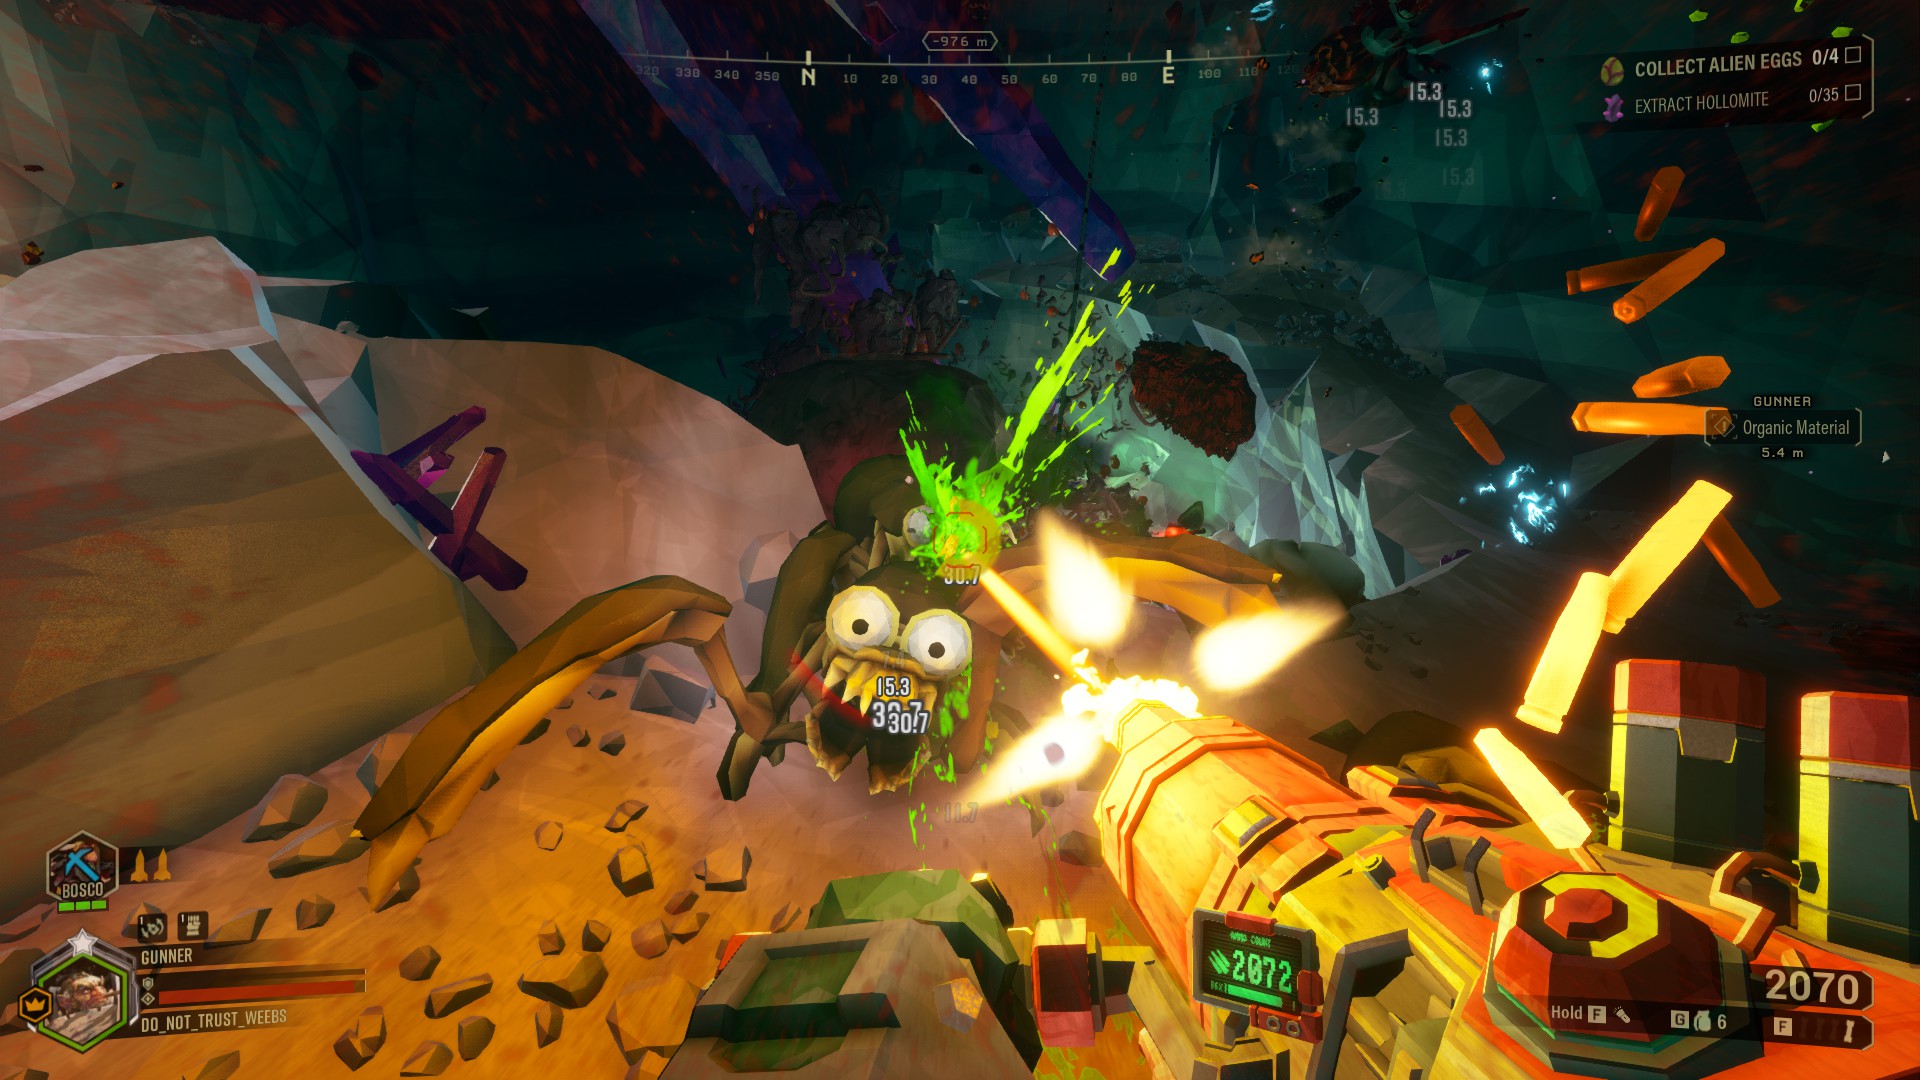
The Gunner’s arsenal has fantastic amounts of single target damage, and we’re showcasing it with this build. This build brings the “Lead Storm” Powered Minigun to the next level by using the Lead Storm Overclock! You’ll be able to kill any Dreadnaughts that come your way, as it specializes in single target damage, making you the primary DPS in Elimination missions. In other types of missions, your priority is to kill bigger threats, letting your squad members deal with the less dangerous bugs. If you’re following this build you’ll bring the BRT7 Burst Fire Gun, which will let you deal with smaller bugs if you need to. With Lead Storm and Lead Spray, no bug will be able to survive the onslaught!
What Lead Storm + Lead Spray Excels in?
- This build is specialized for single target damage while bringing a respectable amount of waveclear.
- You’ll be able to deal ridiculous amounts of weak spot damage with the Minigun!
- The Burst Fire Gun will be your way of dealing with bugs while you’re repositioning to fire your Minigun.
- It’s really satisfying to see a boss’ health bar disappear!
“Lead Storm” Powered Minigun - C-B-C-B-B
- Improved Platform Stability: This perk reduces the base spread of the Minigun, increasing accuracy.
- High Velocity Rounds: More damage equals bugs dying quicker.
- Blowthrough Rounds: With Blowthrough Rounds you’ll be able to deal with waves better, as it makes your bullets penetrate through enemies.
- Lighter Barrel Assembly: This perk will reduce the spinup time for your Minigun, letting you start firing faster.
- Cold As The Grave: Taking this perk will let you cool the weapon down every time you kill an enemy, enabling you to fire for longer when dealing with swarms.
- Overclock - Lead Storm: This overclock will increase your damage by a good amount, but it will not let you move while shooting. This will make positioning extremely important, and knowing when to start firing! It also reduces your stun chance and stun duration.
BRT7 Burst Fire Gun - A-C-B-B-B
- High Velocity Rounds: More damage means more dead bugs.
- Disabled Safety: This perk will increase the rate of fire of the BRT7, enabling you to deal damage faster.
- Increased Caliber Rounds: Taking this perk will let your Burst Fire Gun deal more damage.
- Expanded Ammo Bags: The BRT7 chews through ammo quickly, so taking this perk will let you use this gun for longer.
- Longer Burst: Having a longer burst will let you shoot more bullets, which in turn will let you kill more bugs.
- Overclock - Lead Spray: This overclock will increase the BRT7’s damage while also increasing its spread.
Pickaxe - A-C
- Power Attack: The Power Attack deals great damage to anything that you hit, becoming a useful tool to get out of sticky situations.
- Better Weight Balance: Taking this perk will reduce the power attack’s cooldown, letting you use it more often.
Shield Generator - B-B-B
- Improved Projector: Taking this perk will increase the shield area of effect.
- Larger Capacitors: This perk will increase the duration of your shield.
- Lasting Effect: Lasting effect makes the buff effects of the shield linger after you exit it.
Zipline Launcher - B-A-A
- Upgraded Connection Joint: Taking this perk will increase the angle at which you can latch ziplines.
- Reinforced Cable: This is the only perk you can take in this tier. It increases the range your zipline can reach.
- Disconnection Protection: This perk will reduce fall damage after you disconnect from the zipline.
Grenade - Cluster Grenade
- This build doesn’t have fantastic area of effect capabilities, so Cluster Grenade fills that void. This Grenade will explode after you throw it, releasing clusters that will explode on impact.
“Barracuda” Armor Rig - C-B-A-C
- Bigger Mineral Bag: Carrying more minerals will mean less trips to Molly.
- Healthy: This perk increases your hit points, letting you stay alive for longer.
- Reactive Armor: With this perk you’ll take reduced blast damage.
- Breathing Room: Taking this perk will give you brief invulnerability after being revived, letting you reposition to deal with the threats.
Perks
- We recommend taking Thorns, Vampire and Ressuplier for your passive perks. This way you’ll be able to deal with smaller enemies quickly, replenish health when you kill something with a melee attack, and get ammo and health faster at a Resupply Depot. For active perks we like to bring Iron Will and Dash. This combo will let you move quickly throughout the battlefield and revive yourself if you need to. You can also bring Field Medic if you prefer.
1. Big Bertha + Hellfire
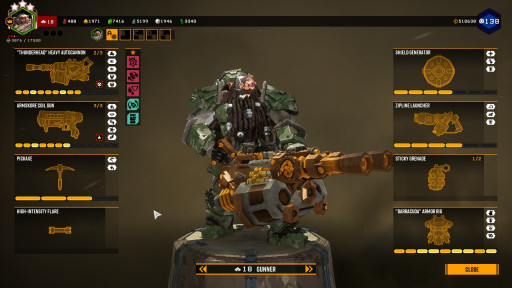
There’s nothing more badass than having your own personal autocannon. If you have the big girl equipped, there will be nothing that can defeat you! The “Thunderhead” Heavy Autocannon is somewhat of an area of effect weapon, but in this build we’re changing it to be our primary single target by bringing Big Bertha! It can mow through waves fairly quickly, and you’ll be surprised how much damage it can deal to high priority targets. To finish this build, we recommend bringing the Armskore Coil Gun with the Hellfire overclock. This weapon functions as your long range sniping tool, and it also brings good area coverage by leaving a trail of fire and electricity behind the shot.
What Big Bertha + Hellfire Excels In?
- This build is well rounded and very versatile, letting you tackle anything that Hoxxes II throws at you!
- The Autocannon with Big Bertha will let you deal massive amounts of direct damage, making you a priority target specialist!
- The Coil Gun brings good wave clear and long range capabilities, shoring the Autocannon’s weaknesses.
“Thunderhead” Heavy Autocannon - B-B-A-A-A
- High Capacity Magazine: Taking this perk will increase the magazine size for the Autocannon, letting you fire for longer without having to reload.
- Improved Gas System: This perk will increase the rate of fire of the Autocannon when it’s in full gear.
- Supercharged Feed Mechanism: This perk does the same thing as the above perk, letting you fire faster.
- Hardened Rounds: We don’t care about area of effect on this build, so taking armor shred is our best option. It also helps deal damage to armored targets.
- Feedback Loop: This perk will increase your damage when you’re at top rate of fire. More damage means quicker deaths.
- Overclock - Big Bertha: This overclock increases your damage by a big amount, but it also increases your spread. It will also decrease magazine size, total ammo and top rate of fire.
Armskore Coil Gun - C-B-B-B-C
- Optimized Magnetic Circuit: Taking this perk will let you charge the Coil Gun faster.
- Controlled Magnetic Flow: This perk will let you fire the projectile as soon as you start charging the weapon. The damage and energy consumption will scale with the amount of charge you release.
- Fear Trajectory: By taking this perk the trail the projectile leaves will fear the bugs that touch it, granting you a small amount of crowd control.
- Defense Enhancement: By taking this you’ll have damage reduction while charging the Coil Gun.
- Electric Trail: This perk will create a trail of electricity behind the projectile which will deal damage over time and slow the enemies that come into contact with it.
- Overclock - Hellfire: This overclock will let the Coil Gun ignite the ground or other terrain, burning any enemy that comes into contact with it. It will also lower your total ammo, reduce your charge speed and trail duration.
Pickaxe - A-C
- Power Attack: You’ll always want to use your Power Attack, as it deals massive amounts of damage, helping you deal with enemies that are threatening you from up close.
- Better Weight Balance: Having this perk will reduce the Power Attack’s cooldown, letting you use it more often.
Shield Generator - B-B-B
- Improved Projector: This perk will increase the shield’s area of effect.
- Larger Capacitors: Taking this perk will increase the duration of the shield.
- Lasting Effect: Lasting effect makes the buff effects of the shield linger after you exit it.
Zipline Launcher - B-A-A
- Upgraded Connection Joint: This perk is almost mandatory, since it increases the latching angle for the zipline.
- Reinforced Cable: This is the only perk you can take in this tier. It increases the range your zipline can reach.
- Disconnection Protection: Taking this perk will reduce fall damage if you disconnect from the zipline.
Grenade - Sticky Grenade
- The grenade option is up to you, but we recommend taking Sticky Grenade, as it is very flexible for all situations. This grenade will stick to any surface or enemy, detonating after a small amount of time. The explosion deals respectable damage, killing most smaller bugs in the process.
“Barracuda” Armor Rig - C-B-A-C
- Bigger Mineral Bag: If you’re mining often this perk will be a good quality of life improvement, since it lets you carry more of each mineral.
- Healthy: Taking this perk will increase your hit points, helping you survive for longer.
- Reactive Armor: With this perk you’ll take reduced blast damage.
- Breathing Room: Having this perk will give you brief invulnerability after being revived, letting you reposition or revive another teammate safely.
Perks
- For this build we recommend bringing Thorns, Vampire and Born Ready as your passive perks. Thorns will help you deal with bugs that are up close, Vampire will help you replenish your health and it combines well with Iron Will. Born Ready is the most important perk in this build, since it lets you bypass the long reloads of your weapons, reducing the downtime between raining down punishment. For your active perks, we advise you to bring Iron Will and Field Medic. Iron Will will let you revive yourself once per mission, which can be a second chance to finish the mission. If you’re playing with a squad, Field Medic is a fantastic option, because the Gunner can deploy a shield around a downed dwarf, letting him revive his teammate safely. If you’re playing solo, you’ll want to switch Field Medic with either Dash or Heightened Senses, depending on your preferences.
You may also be interested in:
[Top 10] Deep Rock Galactic Best Weapons That Are Powerful
Deep Rock Galactic Best Perks That Are Excellent
Deep Rock Galactic Best Class - What Should You Play?

